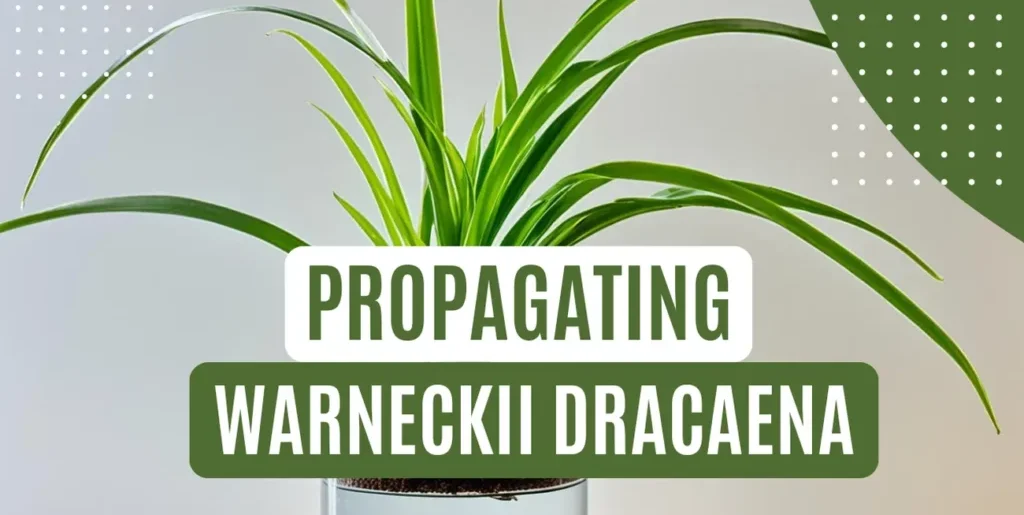
Propagate Warneckii Dracaena by cutting a stem or leaf node and planting it in moist soil or water, ensuring the cut end is submerged for roots to develop.
This article explores different ways to propagate Warneckii Dracaena, offering a comprehensive guide on how to increase your collection or share this beloved plant.
It covers a range of methods including seed, stem, leaf cuttings, water propagation, and division, providing insights for gardeners of all skill levels. By learning these techniques, you can enhance your indoor garden and gain a deeper understanding of Warneckii Dracaena’s distinct attributes, ensuring successful growth and propagation.
What is Warneckii Dracaena?
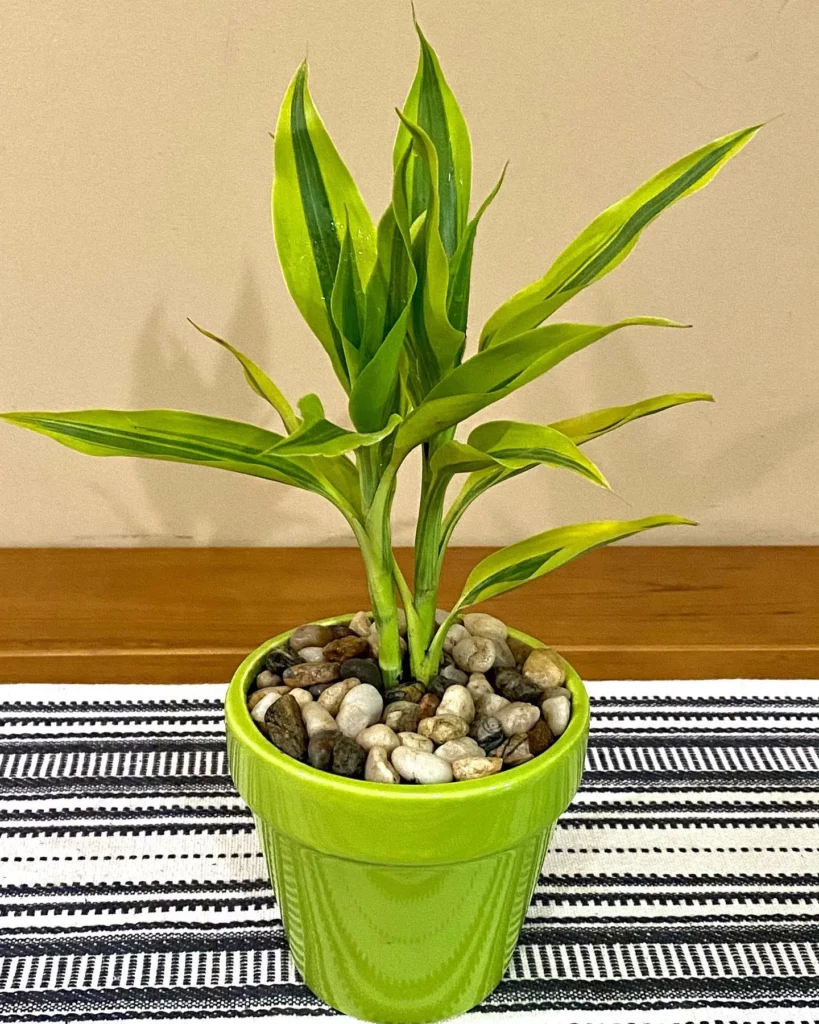
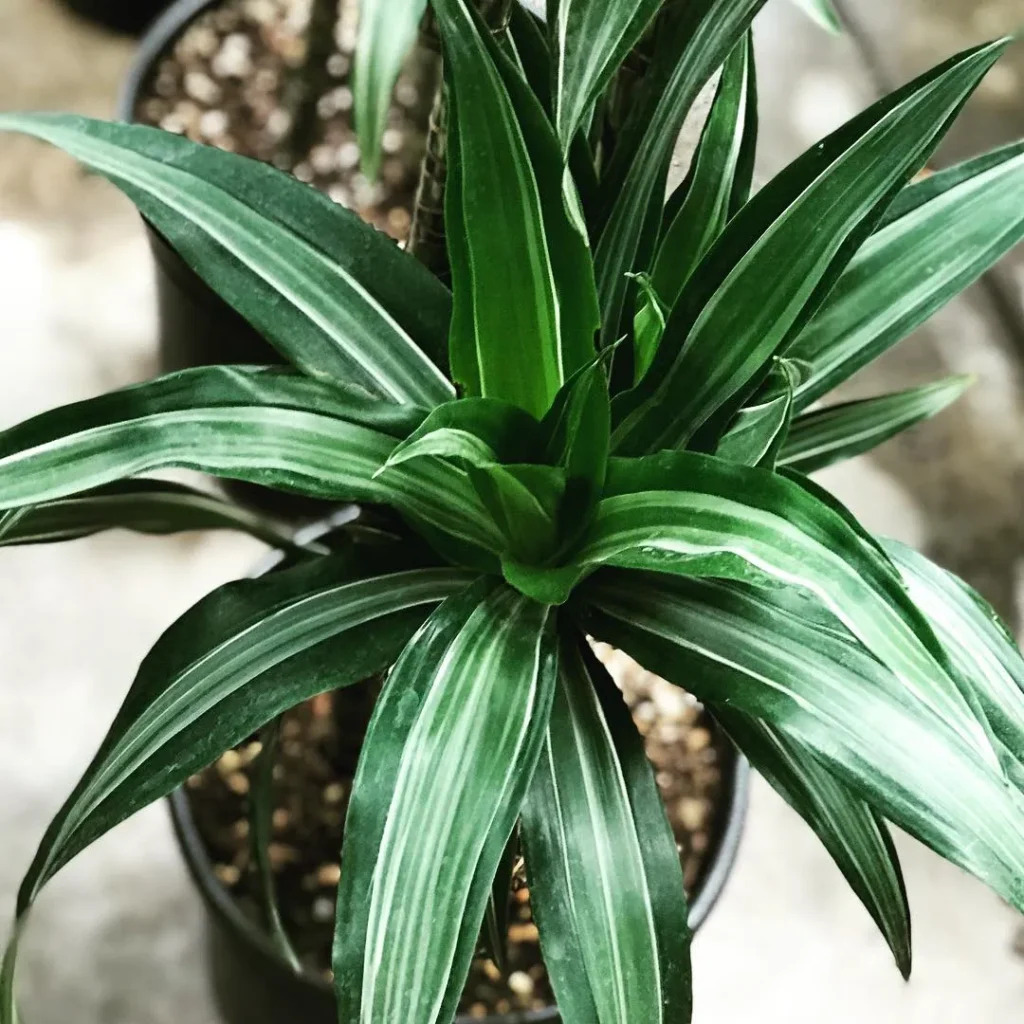
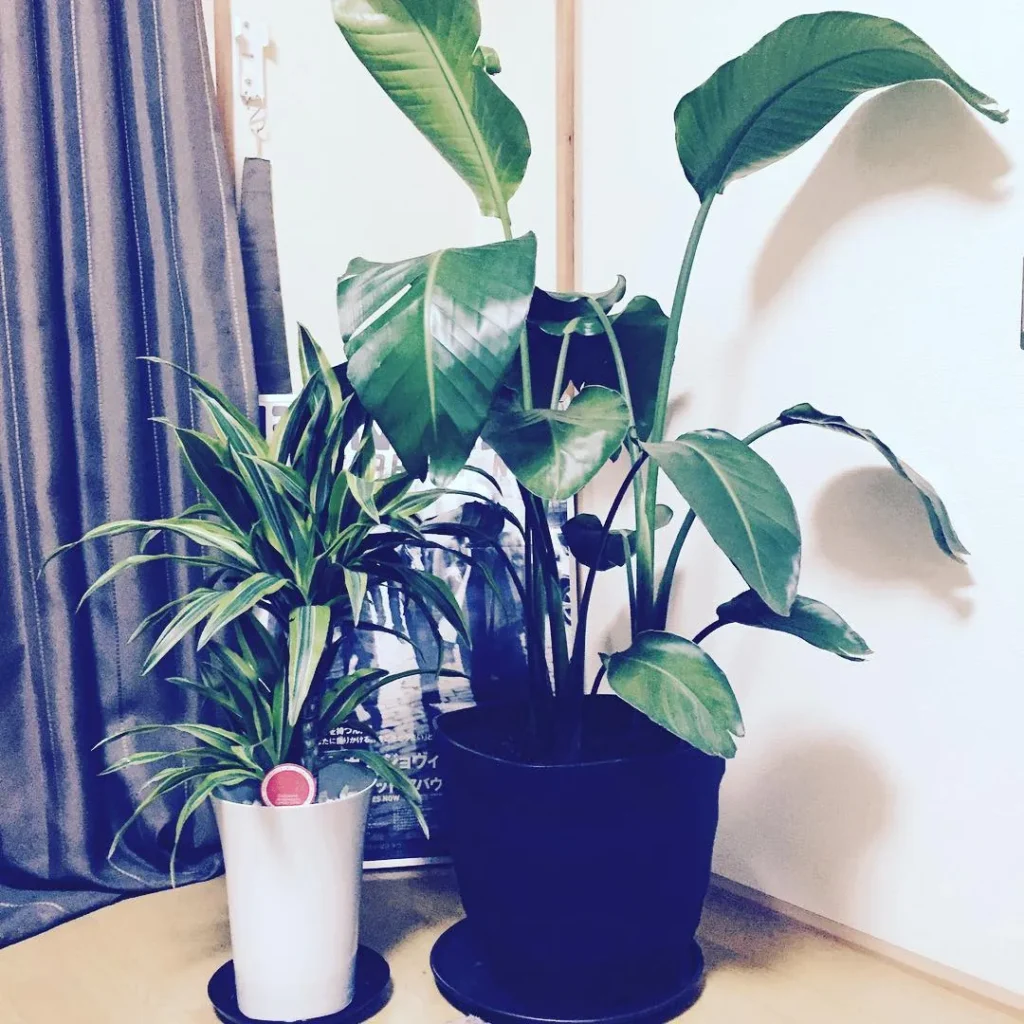
Before delving into the propagation methods, let’s start by understanding what Warneckii Dracaena is. Warneckii Dracaena, scientifically known as Dracaena deremensis ‘Warneckii,’ is a popular houseplant with long, slender leaves featuring green and white-striped patterns.
It is native to tropical regions and is known for its air-purifying qualities.
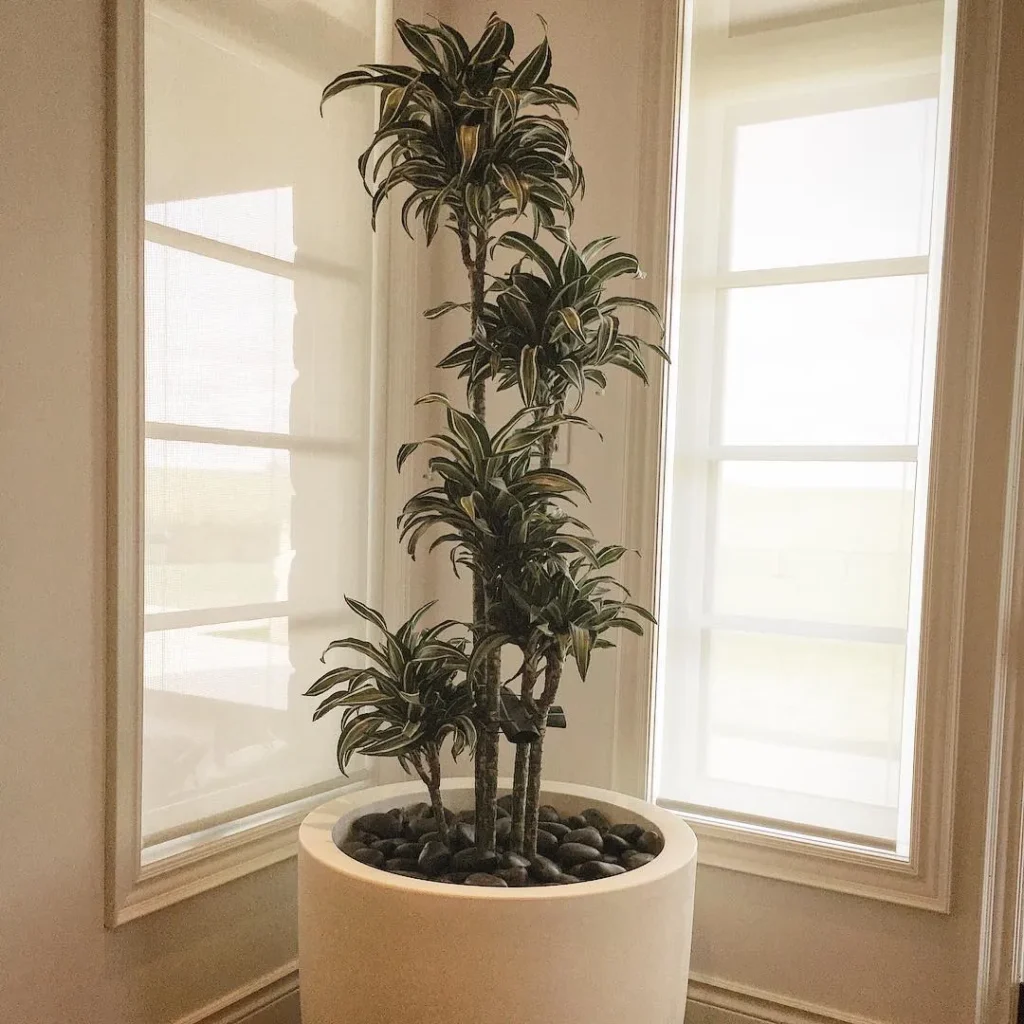
Warneckii Dracaena plants are admired for their striking appearance, adding a touch of elegance and natural beauty to any indoor space. The distinct green and white-striped leaves create a captivating visual contrast, making Warneckii Dracaenas a favorite choice among plant enthusiasts.
Aside from its aesthetic appeal, Warneckii Dracaena is prized for its air-purifying abilities. It is known to absorb pollutants from the surrounding environment, making it an excellent choice for improving indoor air quality.
Understanding Plants’ Propagation
Propagation is the reproductive process of producing new plants from existing ones. It is a fascinating and rewarding technique that allows plant enthusiasts to expand their green collections and share their favorite plants with others.
There are various methods of plant propagation, each with its own unique set of benefits and considerations. From growing plants from seeds to using other vegetative propagation techniques, the possibilities are vast.
Understanding the basics of plant propagation is crucial before delving into specific propagation methods for Warneckii Dracaena plants.
Plant propagation plays a vital role in the growth and survival of plant species. Through this natural process, plants can reproduce and adapt to their environments.
By understanding how plants propagate, we can harness this knowledge to cultivate beautiful and healthy Warneckii Dracaena plants.
Seed Propagation of Warneckii Dracaena
Seed propagation is an exciting and rewarding method to grow your own Warneckii Dracaena plants. By sowing seeds and nurturing them to germinate and grow, you’ll witness the entire life cycle of these stunning plants firsthand.
In this section, I will guide you through the process of collecting and sowing Warneckii Dracaena seeds, ensuring successful propagation.
To begin, let’s discuss how to collect Warneckii Dracaena seeds. Wait for the plant to produce flowers, which will eventually turn into seed pods.
Once the pods have fully ripened and turned brown, carefully extract the seeds and separate them from the pod. Take caution not to damage the seeds as they are delicate and vital for successful germination.
Next, prepare a suitable seed-starting mix by combining equal parts of well-draining potting soil, perlite, and vermiculite. Fill a small seed tray or pots with the mixture, leaving about an inch of space from the rim.
Gently press the seeds into the soil, ensuring they are in contact with the growing medium. Cover the seeds with a thin layer of the mix, approximately the same depth as the seed itself.
Water the soil thoroughly to moisten it but avoid overwatering, which could cause the seeds to rot. Place the seed tray or pots in a warm and well-lit area, away from direct sunlight.
Maintaining a consistent temperature of around 75°F (24°C) will aid in the germination process. Keep the soil evenly moist, misting it lightly as needed.
After a few weeks, you should start to see tiny Warneckii Dracaena seedlings emerging from the soil. These delicate young plants will require gentle care to ensure their healthy growth.
Provide them with bright, indirect light to avoid scorching the tender leaves. Gradually increase the exposure to sunlight over time.
Continue to water the seedlings regularly, keeping the soil evenly moist but not waterlogged. As the plants grow, you may want to transplant them into individual pots to allow for more space and nutrient availability.
Use a well-draining potting mix and ensure the pots have drainage holes to prevent waterlogging.
Stem Cutting Propagation
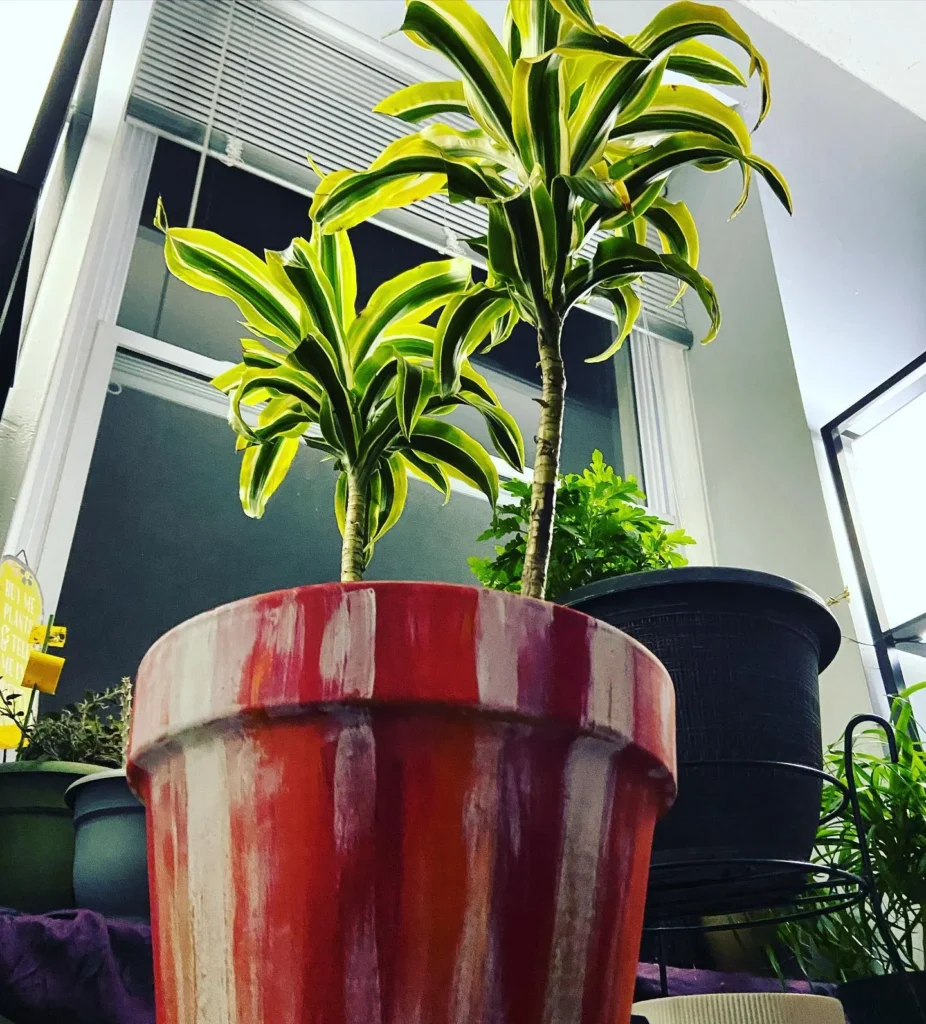
If you’re looking to expand your collection of Warneckii Dracaena plants, stem cutting propagation is an excellent method to try. With a few simple steps, you can create new plants from the stems of your existing Warneckii Dracaenas. Let me guide you through the process.
To begin, choose a healthy stem from your Warneckii Dracaena plant. Using a clean and sharp pair of pruning shears or scissors, make a clean cut just below a leaf node. The leaf node is where the leaf meets the stem, and it’s crucial for successful rooting.
Once you’ve taken your stem cutting, remove any leaves near the lower end of the cutting to create a clean stem. This will prevent the leaves from being submerged in the rooting medium.
Now, it’s time to create an ideal environment for rooting to take place. Prepare a container or pot filled with moistened well-draining soil or a suitable rooting medium, such as vermiculite or perlite. Make a hole in the soil using a pencil or a similar pointed object.
Insert the lower end of the stem cutting into the prepared hole, ensuring that at least one or two leaf nodes are buried in the soil. Gently press the soil around the cutting to provide stability.
As your stem cutting begins to develop new roots, it’s crucial to maintain the right conditions. Keep the soil consistently moist, but not waterlogged, as excessive moisture can lead to rotting.
Place the container in a warm and well-lit area, away from direct sunlight that could scorch the delicate stems.
Over time, you’ll notice new growth emerging from the leaf nodes of your stem cutting, which indicates successful rooting.
After a few weeks, once the roots have sufficiently developed, you can transplant your newly propagated Warneckii Dracaena into a larger pot with potting soil.
Leaf Cutting Propagation
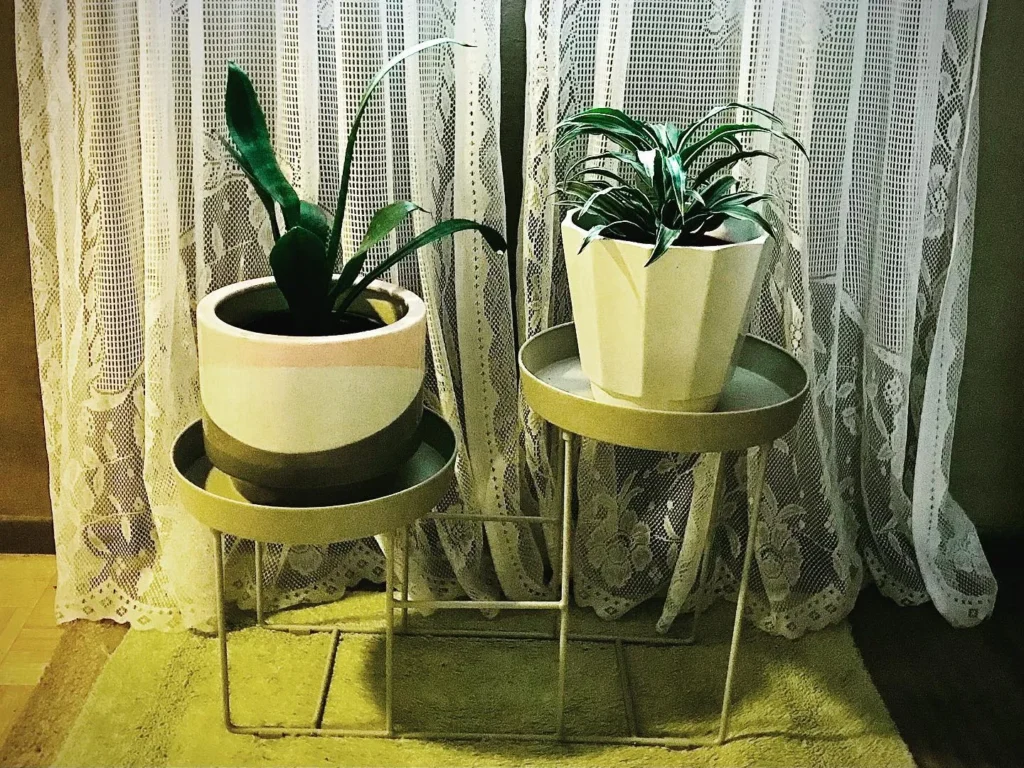
When it comes to propagating Warneckii Dracaena plants, leaf cutting propagation is another effective technique. This method involves using individual leaves from a mature plant to create new plants.
Not only is it an exciting process to watch the leaves develop into full-grown plants, but it also offers a rewarding sense of accomplishment.
Let’s delve into the steps involved in leaf cutting propagation, creating an optimal environment for root development, and nurturing the newly propagated plants.
Step 1: Leaf Selection and Preparation
Start by selecting healthy and mature leaves from your Warneckii Dracaena plant. Look for leaves that are free from any signs of damage or disease.
Using a clean, sharp pair of scissors or pruning shears, carefully remove a leaf close to its base. Ensure that the leaf’s stem is intact and not torn or damaged in any way.
Step 2: Creating a Suitable Environment for Root Development
Once you have your leaf cuttings, it’s important to create the right conditions for them to develop roots. Fill a small container with well-draining soil mix or use a rooting medium specifically designed for leaf cuttings.
Make small holes in the soil using your finger or a pencil and gently insert the cut ends of the leaves into the holes. Ensure that at least half of the leaf is buried in the soil.
Step 3: Nurturing the Newly Propagated Plants
After planting the leaf cuttings, mist the soil lightly with water to provide the necessary moisture. Place the container in a warm and bright location, but avoid direct sunlight as it can scorch the leaves.
Maintain consistent moisture in the soil by misting it regularly and ensuring it doesn’t dry out completely. Within a few weeks to a couple of months, you should start to see new roots forming from the buried part of the leaf.
This indicates that the leaf cutting propagation has been successful.
Water Propagation for Warneckii Dracaena
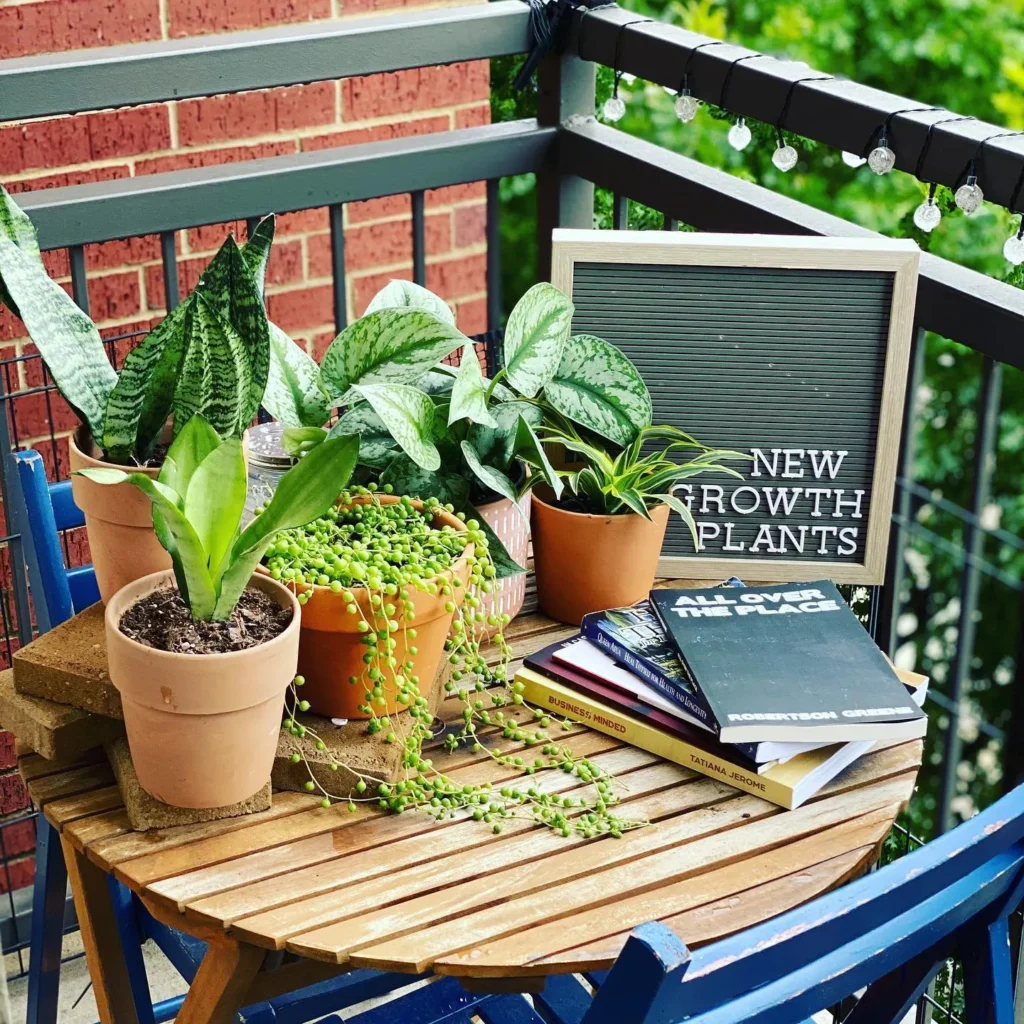
Water propagation is a simple and popular method for propagating various houseplants, including Warneckii Dracaenas. It is an excellent option for beginners and those looking for an easier way to expand their plant collection.
To propagate your Warneckii Dracaena cuttings in water, follow these steps:
- Start by selecting a healthy stem cutting from your parent plant. Choose a cutting that is about 4-6 inches long and has several leaves.
- Trim the cutting just below a leaf node using clean, sharp scissors. This is where the root formation will take place.
- Place the cutting in a container filled with clean, room-temperature water. Make sure to submerge the lower part of the cutting, leaving the upper leaves above the water surface.
- Position the container in a well-lit area away from direct sunlight. Warneckii Dracaenas prefer bright, indirect light for optimal growth.
- Change the water every 1-2 days to prevent the growth of bacteria or algae. Use fresh, room-temperature water each time.
- After a few weeks, you will start to see roots developing from the submerged part of the cutting. Once the roots are around 1-2 inches long, your cutting is ready for planting.
- Prepare a small pot with well-draining soil. Gently remove the cutting from the water and carefully plant it in the soil, ensuring the roots are covered and supported by the soil.
- Water the newly potted cutting thoroughly and place it in a location with bright, indirect light.
- Continue to provide proper care, including regular watering and adequate light, to help your propagated Warneckii Dracaena thrive.
Division Propagation
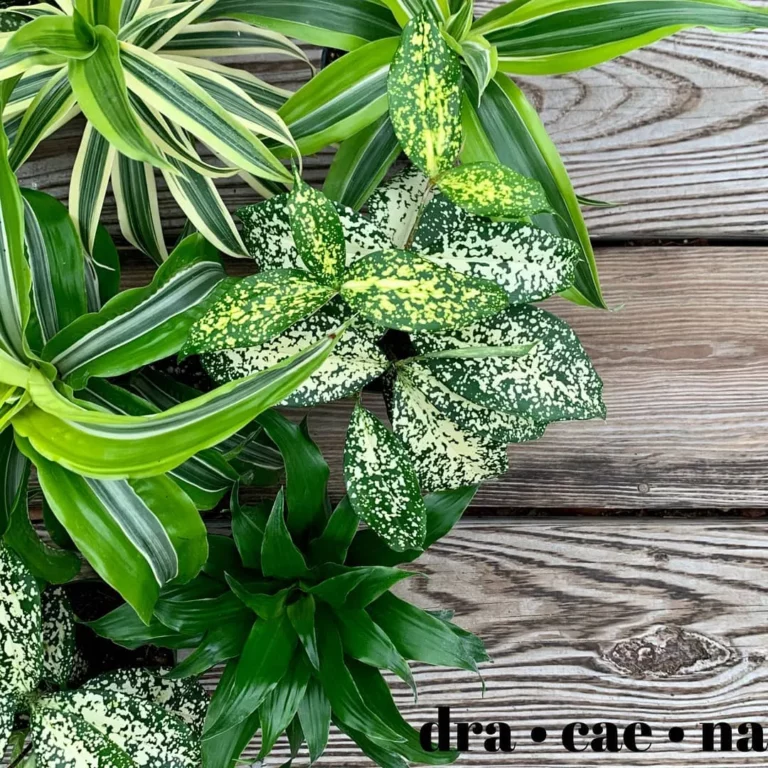
Division propagation is a popular and convenient method for expanding your Warneckii Dracaena collection. It’s especially useful when your plant has outgrown its current container or if you simply want to create multiple plants to decorate your home.
To divide your Warneckii Dracaena effectively and ensure successful growth, follow these steps:
- Carefully remove the Warneckii Dracaena from its container, taking care not to damage the roots.
- Inspect the root system and identify natural divisions or separate healthy stems with their own root systems.
- Using a clean and sharp knife or pruning shears, divide the plant into sections, ensuring each section has its own set of roots.
- Trim any damaged or dead roots from each divided section.
- Prepare separate containers for each divided section, making sure they have proper drainage holes.
- Fill the containers with well-draining potting soil, leaving enough space for the root system.
- Plant each divided section in its own container, covering the roots with soil and gently firming it around the base.
- Water the newly divided plants thoroughly, allowing the excess water to drain.
Care Tips for Propagated Warneckii Dracaena Plants
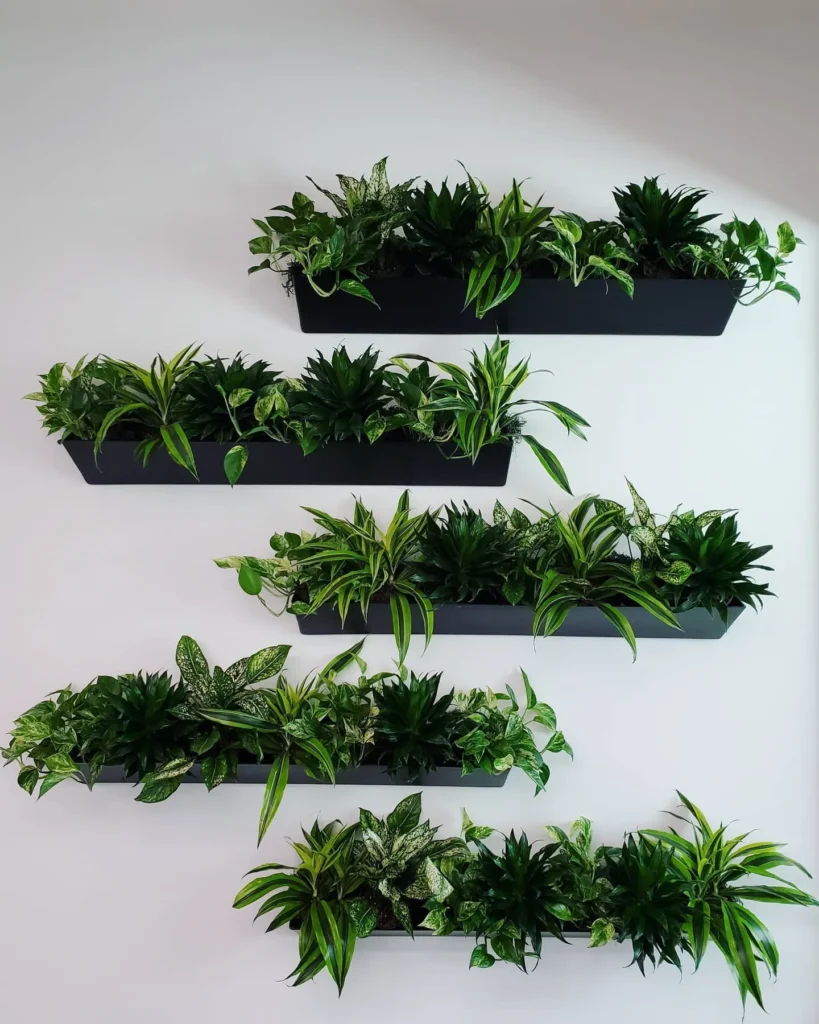
Now that you have successfully propagated your Warneckii Dracaena plants, it’s important to provide them with proper care and maintenance to ensure their healthy growth and development.
Here are some essential care tips for nurturing your newly propagated plants:
Watering:
Water your propagated Warneckii Dracaena plants when the top inch of the soil feels dry. Avoid overwatering, as this can lead to root rot. Ensure that the pot has drainage holes to allow excess water to escape.
Light Requirements:
Place your propagated plants in a location with bright, indirect light. Warneckii Dracaenas thrive in medium to bright light conditions but should be protected from direct sunlight, as it can scorch their leaves.
Temperature:
Maintain a consistent temperature between 65°F and 80°F (18°C – 27°C) for your propagated Warneckii Dracaena plants. Avoid exposing them to cold drafts or extreme temperature fluctuations that can stress the plants.
Soil Needs:
Use well-draining potting soil to ensure proper root aeration and moisture control. A mixture of peat moss, perlite, and compost is suitable for Warneckii Dracaenas. Avoid heavy or compacted soils that can lead to waterlogged roots.
Troubleshooting Common Propagation Issues
During your Warneckii Dracaena propagation journey, you may encounter some common issues that require troubleshooting.
By understanding and addressing these problems, you can increase your chances of successful propagation. Here are some propagation issues you might face and how to fix them:
1. Root Rot: Root rot is a common problem that occurs when the roots of your newly propagated plants become waterlogged, leading to fungal or bacterial infections.
To fix this issue, make sure you are using well-draining soil and avoiding overwatering. Allow the soil to dry out between watering sessions, and consider adjusting your watering schedule accordingly.
2. Lack of Root Development: If you notice that your propagated plants are not developing roots, it could be due to a few factors. One possible cause is insufficient humidity, which can hinder root growth.
Consider using a propagation dome or covering your cuttings with a plastic bag to create a more humid environment. Additionally, ensure that your cuttings receive indirect sunlight and maintain an optimal temperature range for root development.
3. Insufficient Light: Lack of proper lighting can also impede the growth of your propagated Warneckii Dracaena plants. These plants thrive in bright, indirect light, so make sure they are placed in a location where they can receive adequate illumination.
If you notice elongated, weak stems or pale foliage, it might be a sign that your plants are not getting enough light. Consider moving them to a brighter spot or using artificial grow lights to supplement their light requirements.
By identifying and addressing these common propagation issues, you can troubleshoot problems effectively and ensure the successful growth of your Warneckii Dracaena plants.
Remember to monitor your plants closely, provide the necessary care and adjustments, and enjoy the rewarding experience of propagating and expanding your plant collection.

