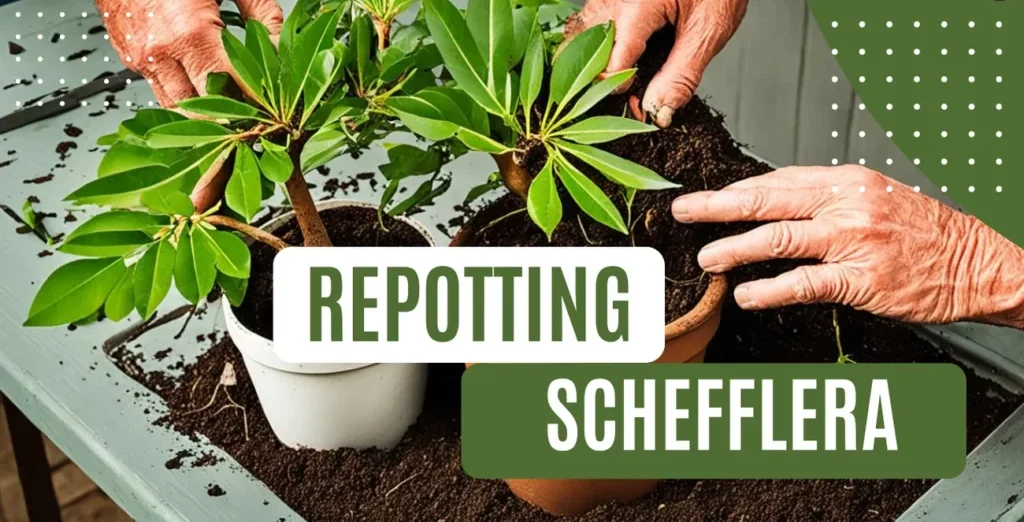
To repot Schefflera, gently remove it from its current pot, trim any damaged roots, place it in a slightly larger pot with fresh, well-draining soil, and water thoroughly.
In this comprehensive Schefflera repotting guide, I will take you through the easy steps and share valuable tips to successfully repot your Schefflera plant. Repotting is an important aspect of plant care that helps revitalize your Schefflera and ensure its healthy growth in your home.
Why Should You Repot Your Schefflera?
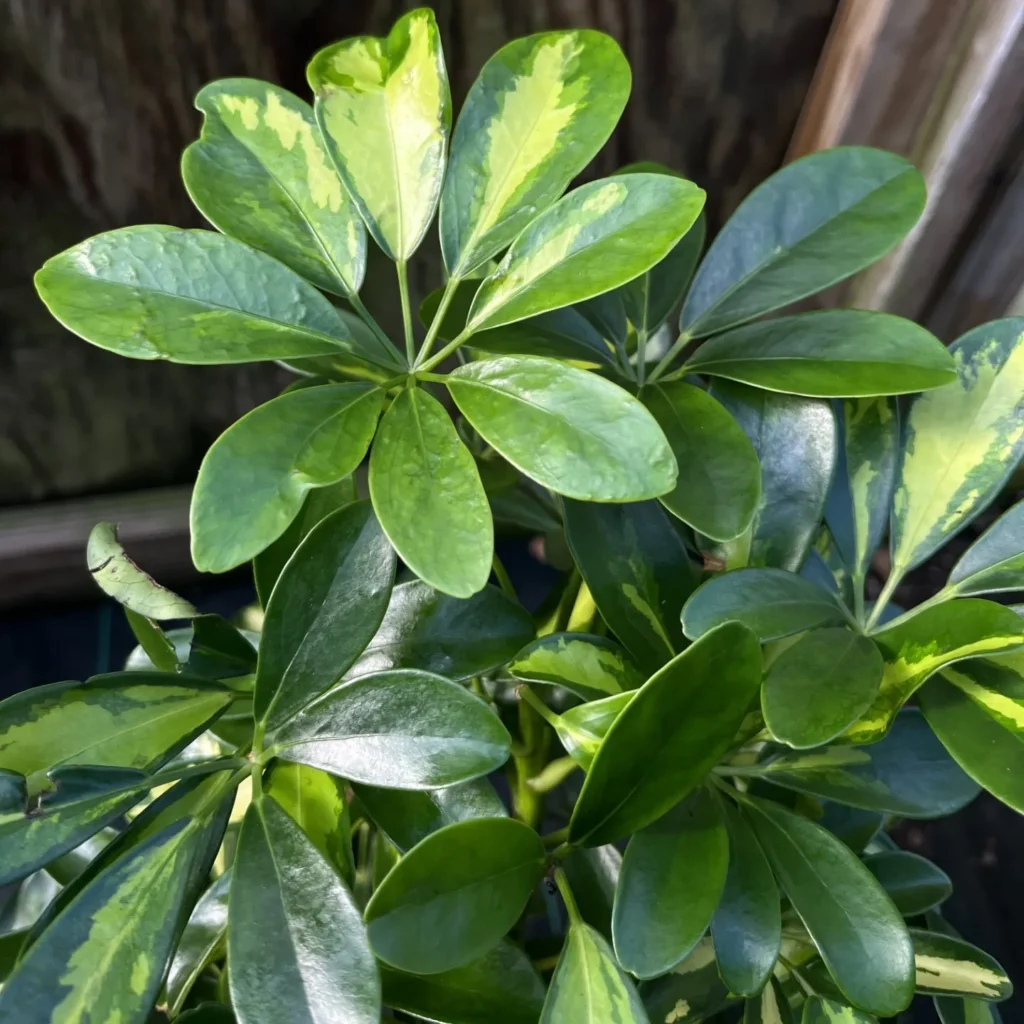
Repotting your Schefflera is an essential task that can bring numerous benefits to your beloved plant. Understanding these benefits will motivate you to take the necessary steps to keep your Schefflera healthy and thriving.
Let’s explore why repotting is so important and how to determine when it’s the right time to repot.
- Optimal Growing Conditions: Repotting provides an opportunity to refresh the soil and ensure your Schefflera has access to the nutrients it needs. Over time, the soil in your current pot can become depleted, hindering the plant’s growth. By repotting, you provide fresh soil that promotes healthy root development and supports optimal growth.
- Root Health: Repotting allows you to inspect the roots of your Schefflera. Overgrown or root-bound plants can experience stunted growth or other health issues. During the repotting process, you can gently trim any damaged or overcrowded roots, encouraging new growth and preventing future problems.
- Improved Drainage: The right potting mix and a well-draining pot are crucial for good drainage. Repotting gives you the opportunity to choose a pot with proper drainage holes and select a soil mix that facilitates water flow. This helps prevent waterlogged soil, which can lead to root rot and other fungal diseases.
- Refreshed Aesthetic: Repotting allows you to refresh the look of your Schefflera. As the plant grows, it may become too large and outgrow its current pot. Repotting into a larger container not only provides more space for the roots to grow but also enhances the overall appearance of your Schefflera.
Choosing the Right Pot for Your Schefflera
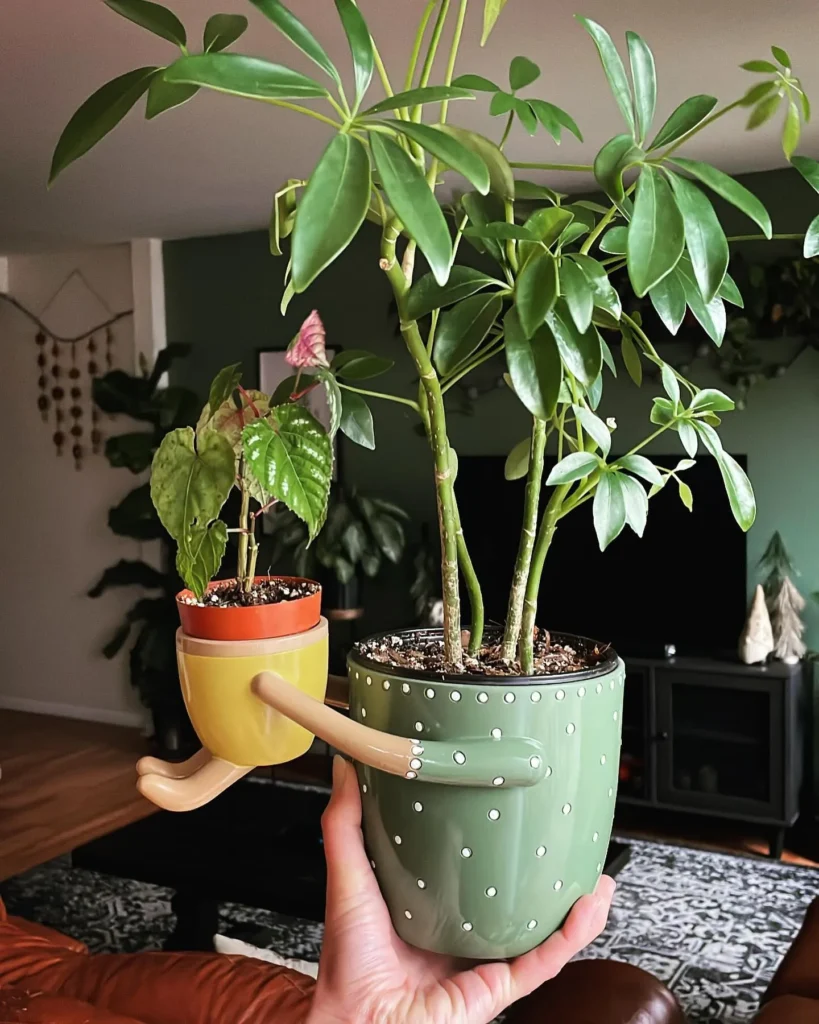
When it comes to repotting your Schefflera, selecting the right pot is vital for its overall health and growth. The potting options available for your Schefflera are diverse, each with its unique advantages. By carefully considering the pot size and material, you can provide your Schefflera with the best environment to thrive.
Here are some potting options to consider:
- Terra cotta pots: These porous clay pots allow for better airflow and moisture regulation, promoting healthy root growth for your Schefflera.
- Plastic pots: Lightweight and durable, plastic pots are a popular choice. They come in various sizes and designs, making them versatile and easy to handle.
- Decorative pots: If you want to add a touch of style to your Schefflera’s home, decorative pots come in a variety of materials, including ceramic and porcelain. However, ensure that these pots have drainage holes to prevent waterlogging.
When deciding on the pot size, it’s crucial to find the right balance. A pot that is too small can restrict root growth, causing stunted development, while a pot that is too large may hold excess moisture and lead to root rot.
To determine the appropriate pot size for your Schefflera, consider its current root system. If the roots are densely packed in the current pot, it’s an indication that your Schefflera needs a slightly larger pot.
However, if the root system appears healthy and has room to grow, opt for a pot that is only one size larger to avoid overwhelming the plant.
Preparing Your Schefflera for Repotting
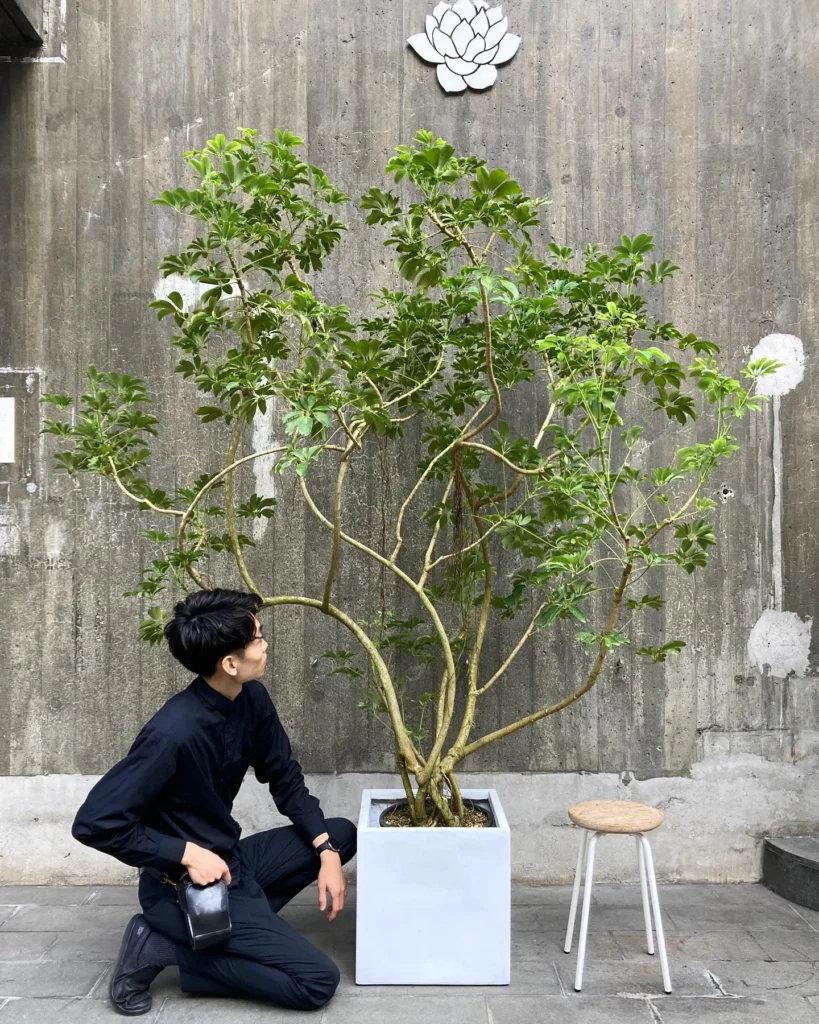
Before repotting your Schefflera, it’s important to properly prepare the plant to ensure a successful transition. This involves inspecting the roots, trimming any damaged or overgrown roots, and creating an optimal environment for your plant to thrive in its new pot.
To begin, gently remove your Schefflera from its current pot, being careful not to damage the roots. Take a moment to examine the root system for any signs of disease, such as discoloration or rot.
If you notice any damaged or unhealthy roots, it’s crucial to trim them to promote healthy growth. Use clean and sharp pruners or scissors to carefully remove any affected roots. Make clean cuts to minimize stress on the plant and prevent further damage.
Additionally, if you notice any roots that have become overgrown or circling around the root ball, you can gently untangle them or make small vertical cuts along the sides of the root ball to encourage new root growth.
Once you have inspected and trimmed the roots, it’s time to prepare the plant for its new pot. Ensure the new pot is clean and has drainage holes to prevent water accumulation. Fill the bottom of the pot with a layer of well-draining potting mix, creating a solid foundation for your Schefflera.
Gently place the prepared Schefflera into the new pot, ensuring it is positioned at the same depth as it was in its previous pot. Add more potting mix around the sides, firming it gently to provide stability. Avoid compacting the soil too tightly as this can restrict root growth.
Finally, give your newly repotted Schefflera a thorough watering, allowing the excess water to drain out of the pot. This will help settle the soil and ensure proper hydration for your plant.
Steps to Repot Your Schefflera
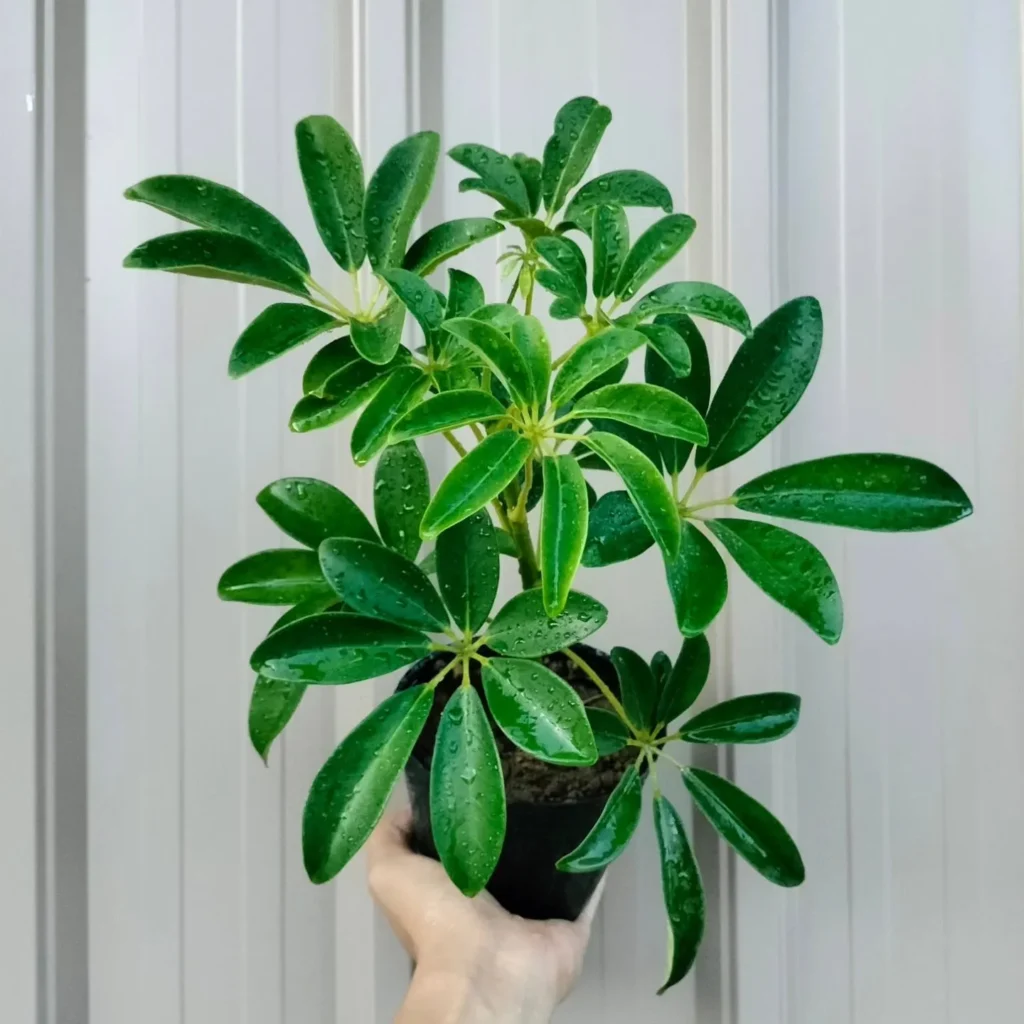
Repotting your Schefflera is an essential part of its care routine, and following the correct steps is crucial for its overall health and growth. In this section, I will guide you through the step-by-step process of repotting your Schefflera plant.
- Choose the right time: The ideal time to repot your Schefflera is during the spring or early summer when it is actively growing. This allows the plant to recover quickly.
- Prepare the new pot: Select a new pot that is one size larger than the current one. Make sure it has drainage holes at the bottom to prevent waterlogging. Fill the new pot with a well-draining potting mix.
- Water your Schefflera: Before repotting, water your Schefflera thoroughly. This will help the root ball hold its shape and prevent excessive root damage during the repotting process.
- Remove the plant from the old pot: Gently turn the pot upside down while supporting the base of the plant. Tap the bottom of the pot to loosen the root ball. Carefully remove the plant from the pot.
- Inspect and trim the roots: Take a close look at the roots and trim any damaged or rotting roots with clean and sharp pruning shears. This encourages healthy new growth.
- Place your Schefflera in the new pot: Position the plant in the center of the new pot, ensuring that the top of the root ball is slightly below the rim. Add additional potting mix around the root ball, gently pressing it down to secure the plant.
- Water and settle the soil: Thoroughly water your repotted Schefflera to settle the soil and remove any air pockets. Allow the excess water to drain out of the pot.
- Provide proper care: After repotting, place your Schefflera in a spot with bright, indirect light and maintain a consistent watering schedule. Avoid overwatering, as this can lead to root rot.
The Right Soil Mix for Schefflera Repotting
Instagram @detailsdiary
Propagating a Christmas cactus is a rewarding way to expand your plant collection or share this beautiful houseplant with others. One of the most common methods of propagation is through stem cuttings. To start, choose a healthy segment of the Christmas cactus with at least two flat stem segments.
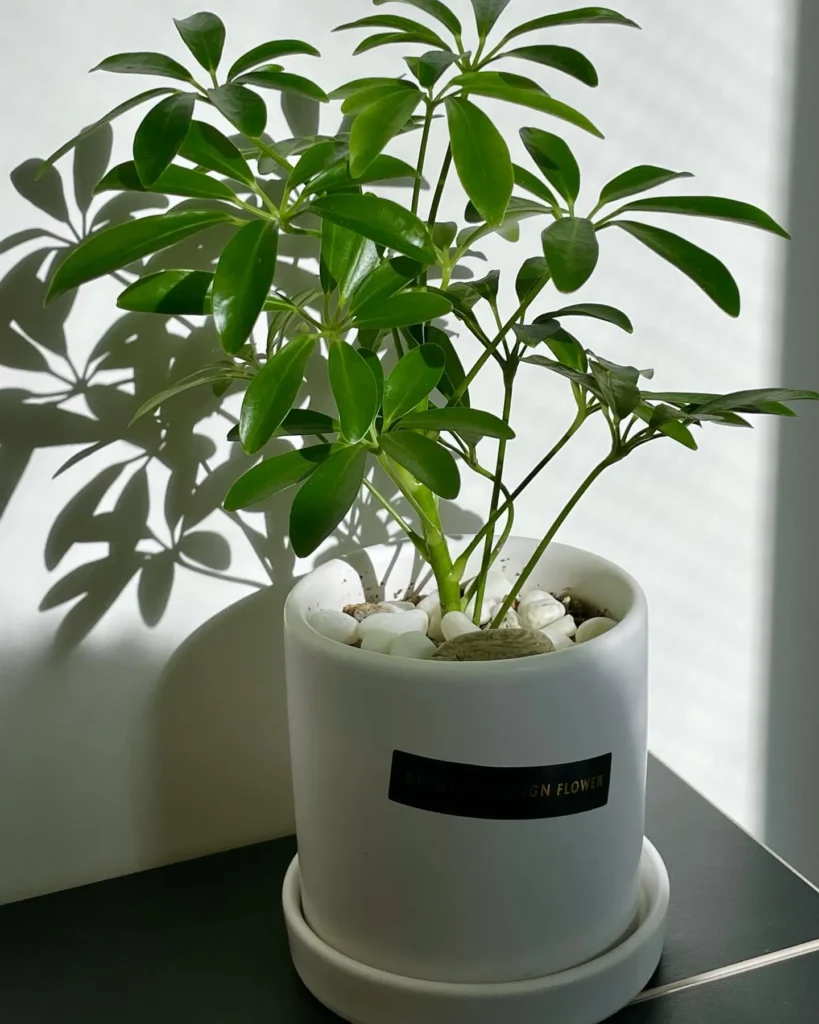
Choosing the right soil mix is crucial for the health and vitality of your Schefflera after repotting. The soil composition directly affects the plant’s ability to absorb nutrients and water, ensuring optimal growth.
In this section, I will guide you on creating the perfect soil mix for your Schefflera, emphasizing the importance of a well-draining blend.
Ideal Soil Composition
The ideal soil composition for repotting your Schefflera should be rich in organic matter, well-aerated, and capable of retaining moisture without becoming waterlogged. A balanced mix of ingredients creates the perfect growing environment for your plant.
Here are the primary components of a well-rounded soil mix for Schefflera:
- Peat Moss: Provides moisture retention and improves soil structure.
- Perlite: Enhances drainage and prevents soil compaction.
- Coarse Sand: Promotes aeration and prevents waterlogging.
- High-Quality Potting Soil: Acts as the base for the soil mix, providing essential nutrients.
The Importance of a Well-Draining Mix
A well-draining soil mix is crucial for preventing waterlogged roots, which can lead to root rot and other plant health issues. Scheffleras thrive in slightly moist soil but cannot tolerate being constantly saturated with water.
A well-draining mix allows excess water to flow away from the root system, maintaining the required moisture levels without causing harm.
When repotting your Schefflera, make sure to choose a soil mix that provides excellent drainage. The presence of perlite, coarse sand, and the right potting soil blend will ensure the excess water easily drains away, preventing waterlogged roots and promoting healthy growth.
Post-Repotting Care for Your Schefflera
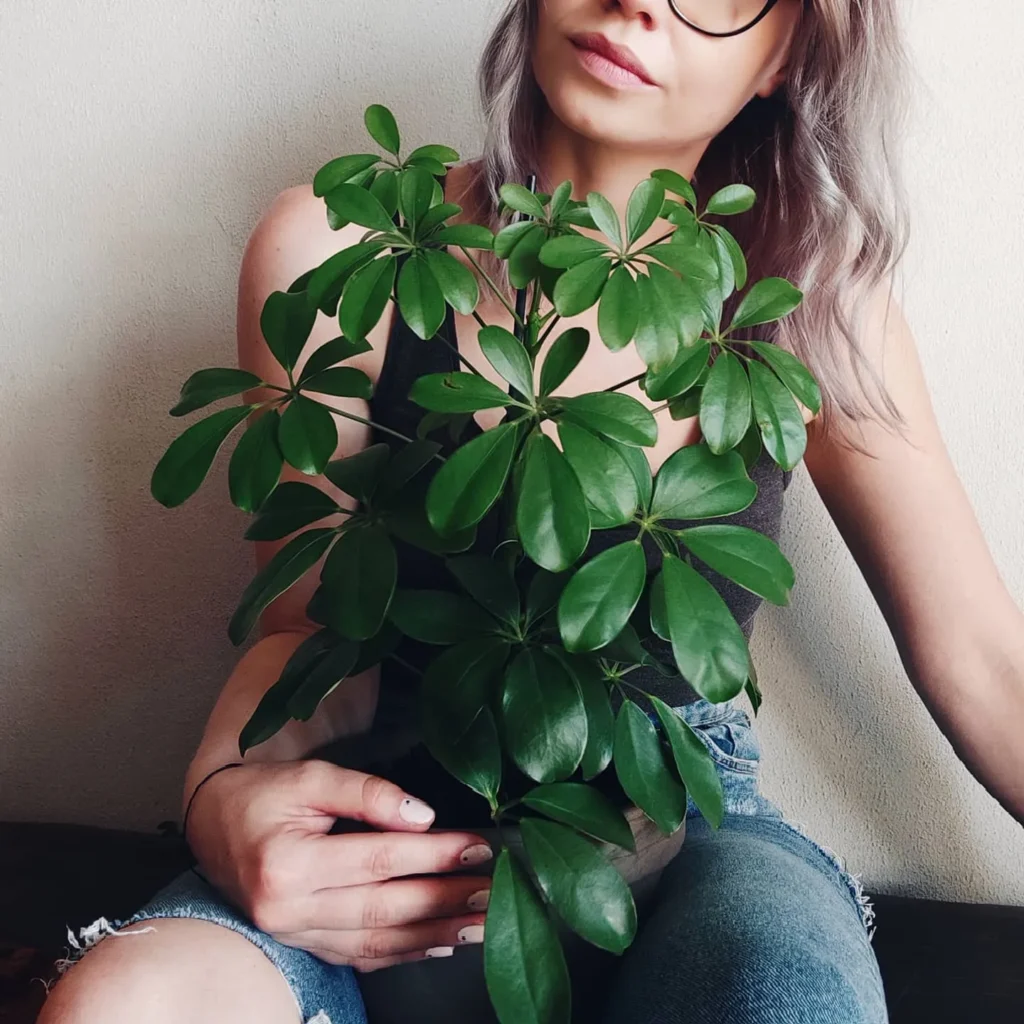
Now that you’ve successfully repotted your Schefflera, it’s important to provide it with the proper post-repotting care to ensure its healthy growth and continued flourishing. This section will guide you through the essential steps to take after repotting, including watering schedules, adjusting to the new pot, and providing optimal light conditions.
After repotting, it’s crucial to water your Schefflera appropriately. While it’s important not to overwater, it’s equally vital to ensure that your plant is receiving adequate moisture.
A good rule of thumb is to water your Schefflera thoroughly, allowing the water to drain out through the bottom of the pot. Then, wait until the top inch of the soil feels dry before watering again.
This approach helps prevent waterlogging and encourages healthy root development.
Additionally, your Schefflera may need some time to adjust to its new pot. The process of adjusting to a new pot can be stressful for plants, so it’s essential to provide a stable environment.
Place your repotted Schefflera in a location that offers the right amount of light, avoiding direct sunlight, which can scorch the leaves. Gradually expose your plant to its new surroundings over the course of a few days to allow it to acclimate comfortably.
Troubleshooting Common Issues After Repotting
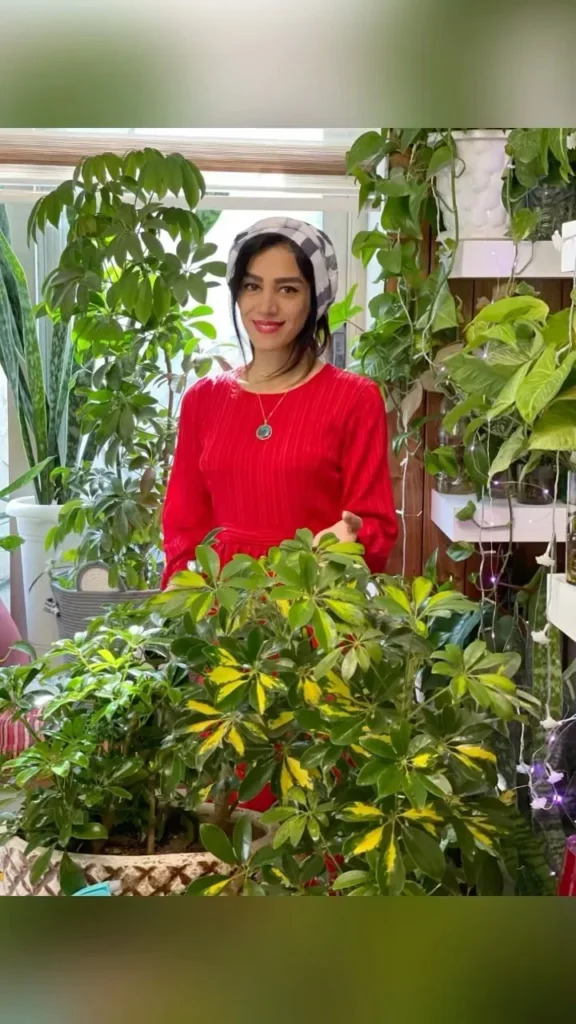
While repotting your Schefflera plant can enhance its overall health and growth, it’s essential to be prepared for potential issues that may arise.
In this section, we will discuss some common problems that may occur after repotting and provide practical troubleshooting tips to help you address them.
Yellowing Leaves
One of the most common issues you may encounter after repotting your Schefflera is yellowing leaves. This can be a sign of stress or inadequate care. To troubleshoot this problem, consider the following:
- Check the watering routine: Ensure you are not overwatering or underwatering your plant. Scheffleras prefer slightly moist soil.
- Inspect the light conditions: Make sure your plant is receiving the appropriate amount of light. Too much or too little light can cause leaf discoloration.
- Assess the pot size: If the pot you chose for repotting is too large, it can lead to waterlogged soil and root rot. Consider downsizing the pot if necessary.
Root Rot
Root rot is a serious condition that can occur when the roots are consistently exposed to excess water, leading to bacterial and fungal growth. If you suspect root rot in your Schefflera, take the following steps:
- Remove the plant from the pot: Gently remove the Schefflera from its pot and carefully examine the roots.
- Trim affected roots: If you notice blackened or mushy roots, trim them using clean, sterilized pruning shears.
- Repot in fresh, well-draining soil: Choose a new pot with drainage holes and repot your Schefflera in a well-draining soil mix.
- Adjust the watering routine: After repotting, adjust your watering schedule to prevent overwatering and promote healthy root growth.
Tips for Maintaining a Healthy Schefflera After Repotting
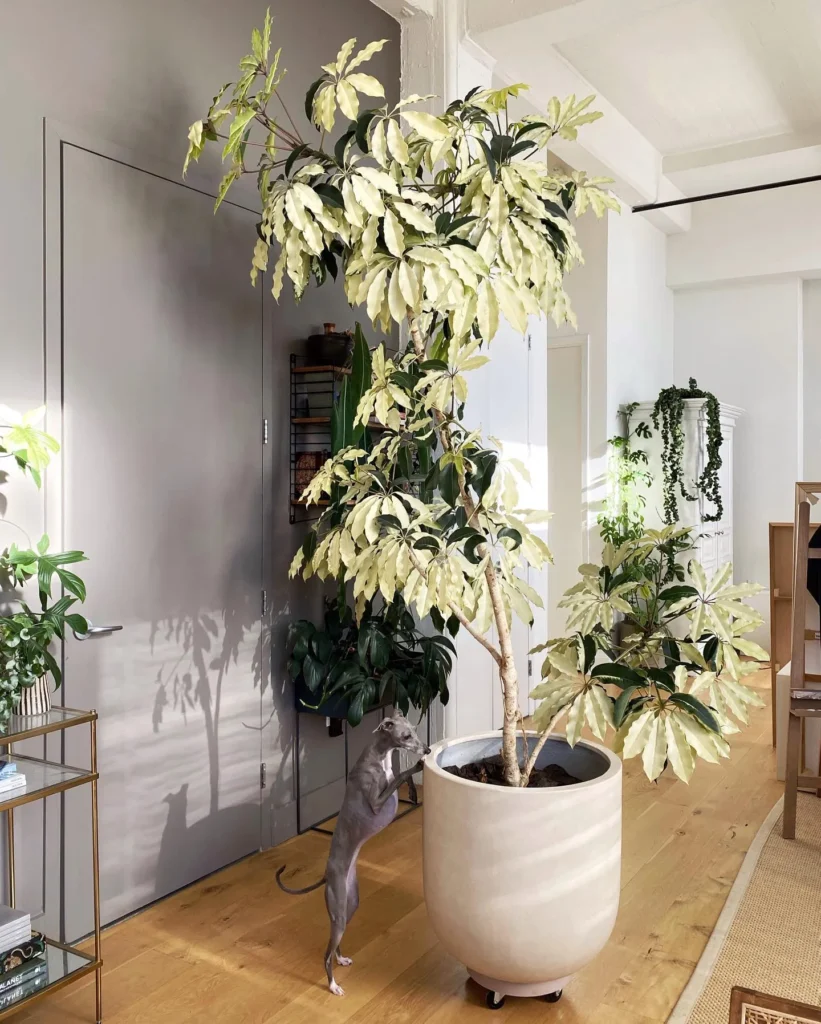
Now that you have successfully repotted your Schefflera, it’s important to provide proper care to promote its growth and ensure its long-term health. Follow these valuable tips to maintain a healthy Schefflera after repotting:
1. Watering: After repotting, it’s crucial to establish a consistent watering routine. Allow the top inch of soil to dry out between waterings, and ensure that the pot has proper drainage to avoid overwatering, which can lead to root rot.
2. Lighting: Place your Schefflera in a bright spot, away from direct sunlight. This tropical plant thrives in bright, indirect light conditions. Rotating the plant every few weeks will help ensure even growth.
3. Fertilizing: Feed your Schefflera with a balanced liquid fertilizer every 4-6 weeks during the growing season. Dilute the fertilizer to half the recommended strength to prevent fertilizer burn. This will provide the necessary nutrients to support healthy foliage and promote growth.
4. Pruning: Regular pruning helps maintain a bushy and compact shape for your Schefflera. Trim any leggy or overgrown branches to encourage new growth. Additionally, remove any yellowing or dead leaves to keep the plant looking fresh.
By following these maintenance tips, you can ensure that your Schefflera continues to thrive and adds beauty to your indoor space.
Remember, each plant is unique, so observe your Schefflera closely to make adjustments as needed. With proper care and attention, your Schefflera will flourish for years to come.

