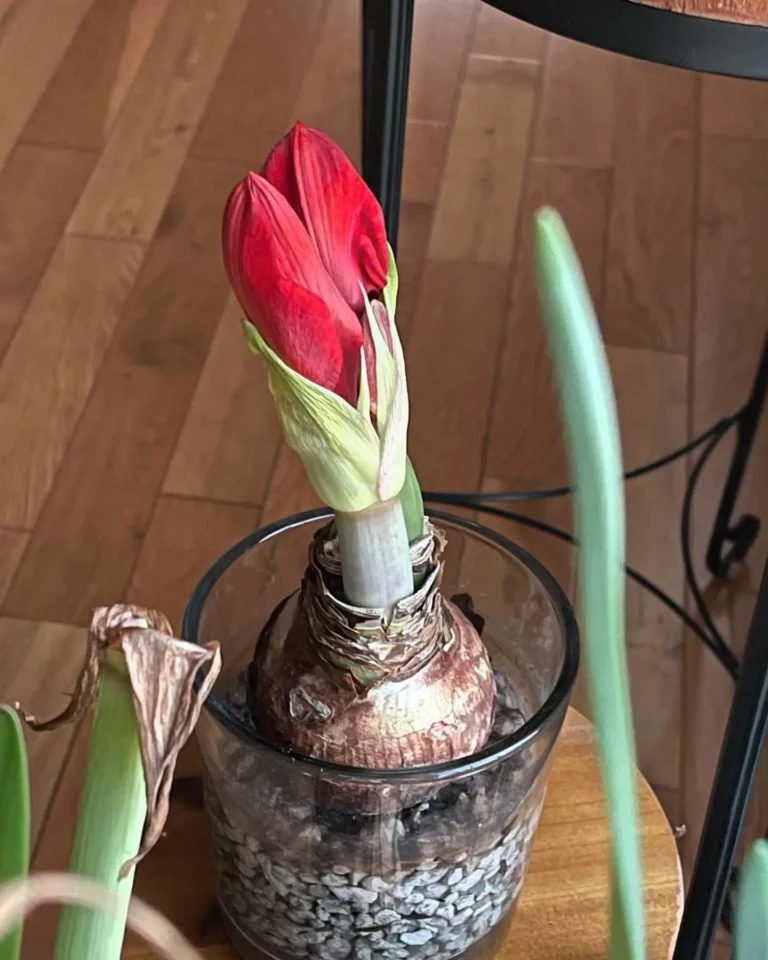
To save your Amaryllis bulb for blooming next year, gradually reduce water after blooming, allow leaves to remain, move it to a cool, dark place for 8-10 weeks of dormancy before restarting water and light exposure.
This guide outlines the process of saving your amaryllis bulb to bloom again, covering proper care, storage, and rejuvenation techniques. Learn how to prepare, store, and monitor your bulb during dormancy, followed by replanting and nurturing steps for healthy growth and vibrant blooms.
Ideal for both beginners and experienced enthusiasts, it ensures your amaryllis continues to beautify your space year after year.
Understanding Amaryllis Bulbs
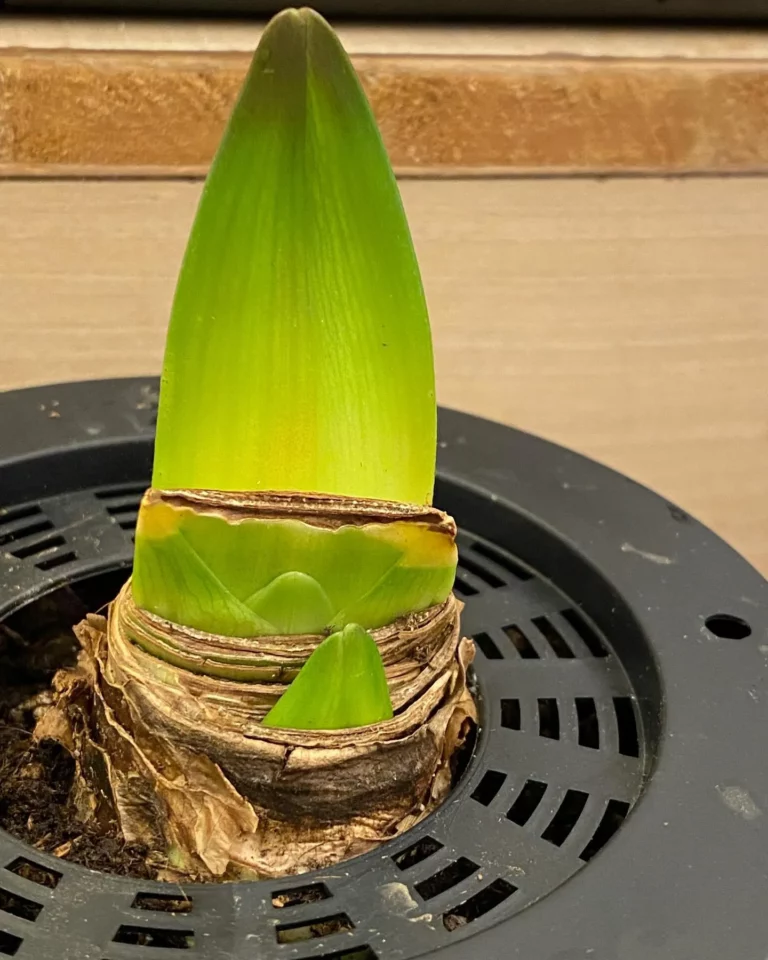
Before we embark on the saving process, it’s essential to grasp the characteristics of amaryllis bulbs. Understanding their life cycle, growth patterns, and preferred conditions for optimal blooming will equip you with the knowledge needed to care for your amaryllis bulb effectively and increase the likelihood of successful saving.
Preparing Your Amaryllis Bulb for Saving
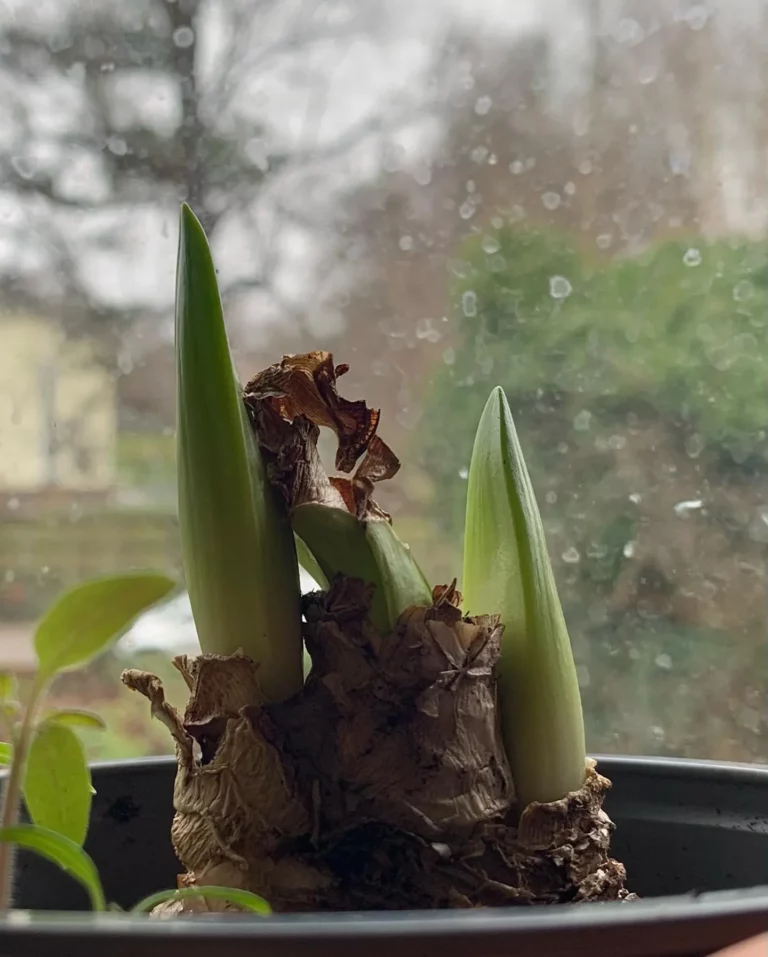
Before you put your amaryllis bulb into storage, it’s crucial to properly prepare it for its dormant period. By following these essential steps, you’ll ensure the bulb remains healthy and ready to bloom again next year.
- Stop watering: About 8 to 10 weeks before you plan to save your amaryllis bulb, gradually reduce the amount of water you give it. This will signal the plant to go into dormancy.
- Trim the leaves: Once the leaves turn yellow and begin to wither, it’s time to trim them down to about 1-2 inches above the bulb. This helps conserve energy and prevents rot during storage.
- Remove excess soil: Gently remove any loose soil from the bulb, being careful not to damage the roots. If necessary, lightly rinse the bulb to ensure it’s clean and free from pests or diseases.
- Cure the bulb: Allow the bulb to sit in a cool, dry place for a few days. This will help the outer layers of the bulb dry out and prevent moisture accumulation during storage.
Digging Up and Storing the Amaryllis Bulb
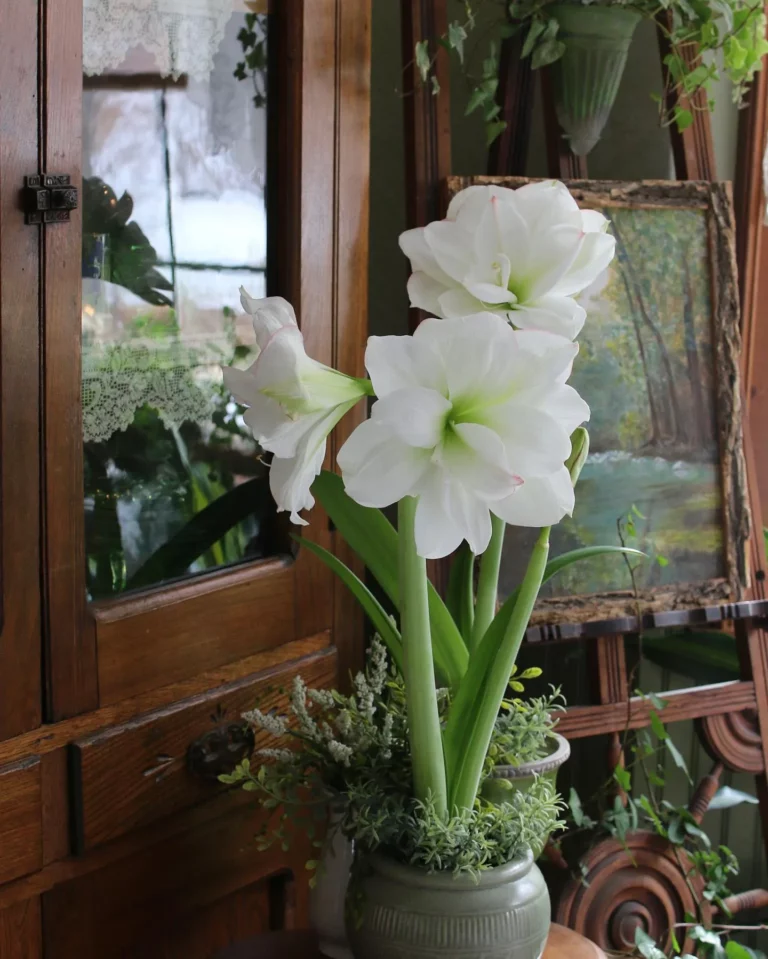
Once your amaryllis bulb has finished blooming and begins to enter its dormant phase, it’s important to dig it up and store it properly to ensure its vitality for the next blooming season. Follow these tips for digging up and storing your amaryllis bulb:
- Wait until the foliage has turned yellow and wilted before digging up the bulb. This indicates that the bulb has completed its blooming cycle and is ready for dormancy.
- Gently loosen the soil around the bulb using a garden fork or spade, being careful not to damage the bulb or its roots.
- Once the bulb is exposed, carefully lift it out of the ground, grasping it by the base to avoid any damage to the bulb or stem.
- Remove any excess soil from the bulb by gently shaking it or lightly brushing it off with your hands.
- Inspect the bulb for any signs of damage, disease, or rot. If you notice any issues, it’s best to discard the bulb and start fresh with a new one.
- Choose a cool, dark, and dry location to store your amaryllis bulb. Options include a paper bag, a cardboard box, or a well-ventilated storage container.
- Place the bulb in the storage container, making sure it is not overcrowded and has enough space to breathe. You can also add a layer of dry peat moss or vermiculite around the bulb to provide additional insulation and moisture regulation.
- Store the bulb in a place where temperatures remain consistently between 40°F (4°C) and 50°F (10°C), such as a basement or a garage. Avoid areas that experience extreme temperature fluctuations or are prone to high humidity.
Choosing the Ideal Storage Conditions

Preserving your amaryllis bulb requires the implementation of ideal storage conditions. Here are some expert tips to create an environment conducive to the bulb’s long-term well-being:
Temperature:
- Maintain a temperature between 40°F (4°C) and 50°F (10°C). This cool, dark environment helps the bulb enter its dormant phase and prevents premature growth.
- Avoid exposing the bulb to extreme temperatures or fluctuations, as it can damage the bulb and hinder its future blooming.
Light:
- Store the bulb in a dark location to simulate the natural cycle it would experience in its native habitat.
- Avoid exposing the bulb to direct sunlight, as it can cause the bulb to dry out or become damaged.
Storage Container:
Choose a suitable storage container that provides adequate airflow and prevents excessive moisture buildup. Opt for containers made of breathable materials like paper bags, wooden crates, or mesh bags.
Avoid:
- Avoid storing the bulb near fruits or vegetables. Certain fruits release ethylene gas, which can adversely affect the bulb’s health.
- Avoid storing the bulb in sealed containers or plastic bags, as they can trap moisture and lead to rot or fungal growth.
Monitoring Your Saved Amaryllis Bulb
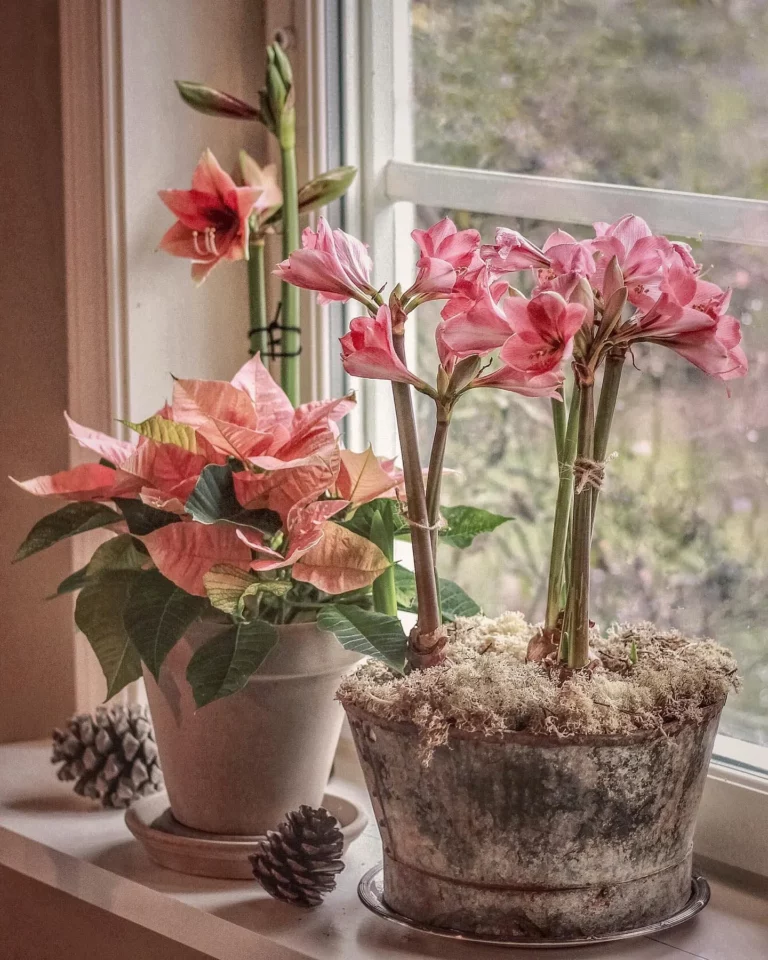
Once you have successfully stored your amaryllis bulb, it’s important to keep a close eye on its progress during the dormant period. Regular monitoring will help you ensure the bulb’s health and address any potential issues promptly.
Here are some essential tips on how to effectively monitor your saved amaryllis bulb:
- Check for Signs of Growth: Carefully inspect the bulb for any signs of new growth. Look for emerging shoots or roots, which indicate that the bulb is transitioning out of its dormant phase.
- Monitor Moisture Levels: Assess the moisture content of the storage medium regularly. The goal is to keep the bulb in a state of minimal moisture without allowing it to completely dry out.
- Watch for Mold or Fungal Growth: Check for any signs of mold or fungal growth on the bulb’s surface or in the storage container. If detected, take immediate action to prevent the spread of infection.
- Inspect for Pest Infestations: Keep an eye out for any pests that may have found their way into the storage area. Common culprits include mites and mealybugs. Take appropriate measures if an infestation is detected.
- Record Observations: Maintain a record of your observations, noting any changes or abnormalities in the bulb’s appearance or condition. This record will be helpful when troubleshooting or assessing the success of your saving efforts.
Preparing Your Saved Bulb for Replanting
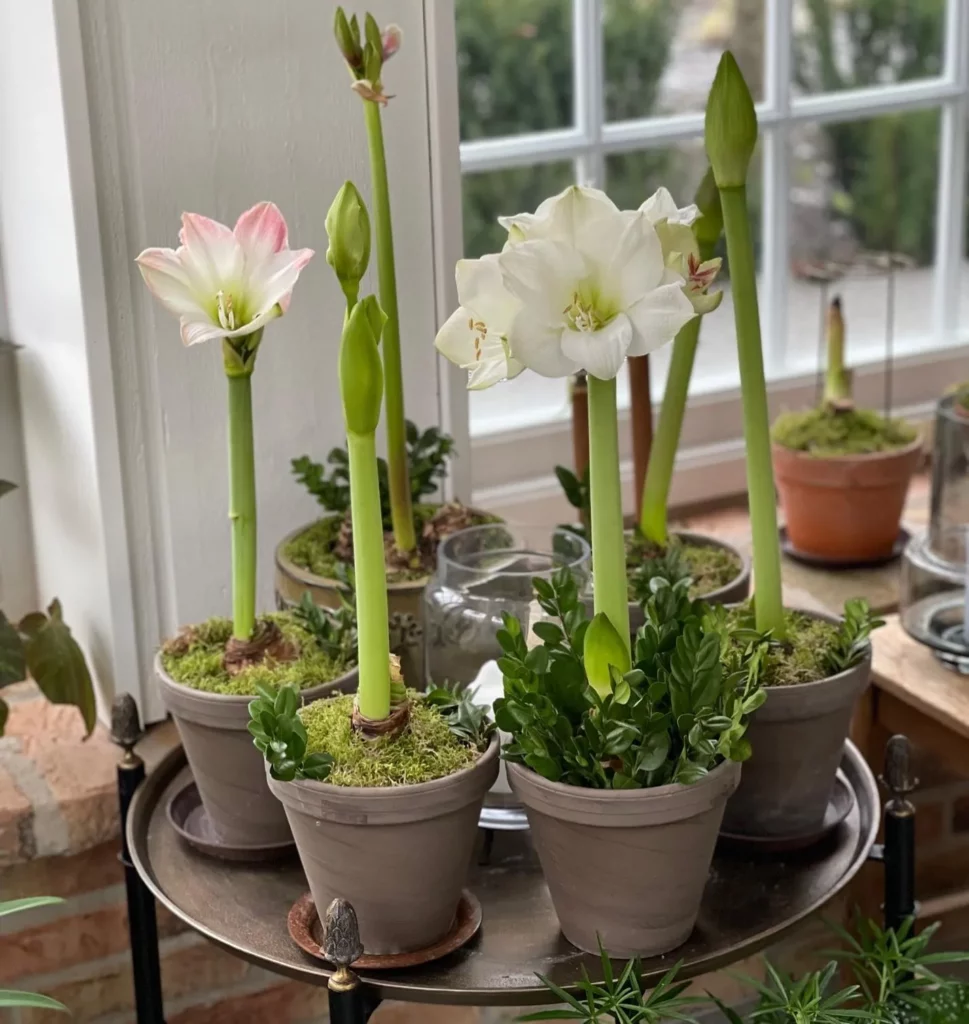
Once you have successfully saved your amaryllis bulb, it’s time to prepare it for replanting. Taking the necessary steps to rejuvenate the bulb will ensure its health and vitality as it transitions from its dormant phase to a new growing season.
Choosing the Right Potting Mix
When selecting a potting mix for your saved bulb, opt for a well-draining and nutrient-rich soil mixture. Amaryllis bulbs prefer a slightly acidic to neutral pH level.
Adding perlite or vermiculite to the mix can promote better drainage, preventing waterlogged conditions that may lead to root rot.
Timing is Key
Timing plays a crucial role in successfully replanting your amaryllis bulb. Wait until the dormant period is over and signs of active growth are visible, such as the emergence of new leaves.
Replanting too early may disrupt the bulb’s natural cycle, while delaying it may result in stunted growth.
Ensuring Adequate Lighting
Amaryllis bulbs thrive in bright, indirect light. Choose a location that receives at least six hours of sunlight per day or provide supplemental artificial light if needed.
Placing the bulb near a south or west-facing window can ensure it receives the optimal amount of light for healthy growth.
Proper Planting Depth
When replanting your amaryllis bulb, ensure it is planted at the correct depth. The top third of the bulb should remain exposed above the soil surface.
Planting it too deep may inhibit proper growth, while planting it too shallow may lead to instability.
Temperature and Humidity Considerations
Provide your replanted amaryllis bulb with the right temperature and humidity conditions for robust growth. Aim for an average room temperature between 65°F to 75°F (18°C to 24°C) and maintain a humidity level of around 40% to 60%.
Avoid placing the bulb in areas with extreme temperature fluctuations or drafty spots.
Replanting and Nurturing Your Revived Amaryllis Bulb
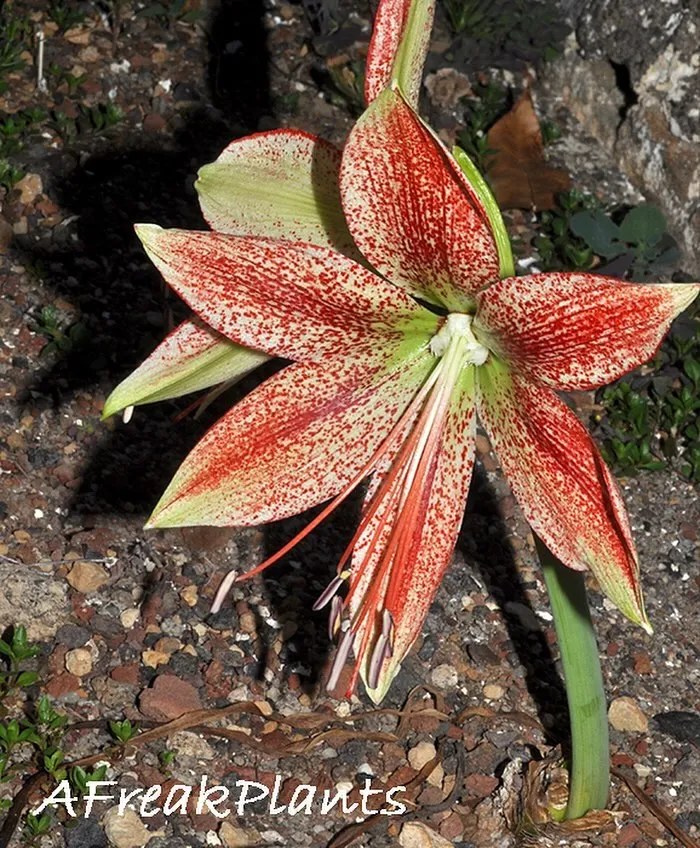
Now that you’ve successfully saved your amaryllis bulb, it’s time to bring it back to life! Replanting the bulb properly and providing the nurturing care it needs will help encourage healthy growth and ensure a bountiful display of blooms.
Follow these best practices for replanting and nurturing your revived amaryllis bulb:
1. Selecting the Right Pot
Choose a pot that is slightly larger than the size of your bulb, allowing room for growth. Ensure the pot has drainage holes to prevent waterlogged roots.
2. Choosing the Potting Mix
Use a well-draining potting mix specifically formulated for bulbs or a mixture of equal parts peat moss, perlite, and vermiculite. This will provide the right balance of moisture retention and aeration for optimal root development.
3. Replanting the Bulb
Gently place the bulb in the pot, ensuring that the neck of the bulb is slightly above the soil surface. Backfill with the potting mix, making sure the roots are well-covered but the top of the bulb remains visible.
4. Watering
Give your newly replanted bulb a thorough watering, allowing excess water to drain out of the pot. Afterward, water the bulb only when the top inch of soil feels dry. Overwatering can lead to root rot, so it’s important to strike a balance.
5. Sunlight and Temperature
Place your amaryllis in a bright location that receives indirect sunlight for at least six hours a day. Maintain a room temperature of around 65 to 75°F (18 to 24°C) during the growing season.
6. Fertilizing
Once new leaves emerge, start fertilizing your amaryllis bulb every two to four weeks with a balanced fertilizer. Follow the instructions on the fertilizer packaging for the correct dilution and application method.
7. Supporting Stems
As your amaryllis grows and produces flower stalks, provide support in the form of stakes or trellises to prevent them from bending or toppling over.
8. Troubleshooting
If you notice any signs of pests or diseases, take immediate action to prevent further damage. Common issues include spider mites, aphids, and fungal infections. Use appropriate insecticides or fungicides as recommended by a gardening expert.
Enjoying the Fruits of Your Efforts
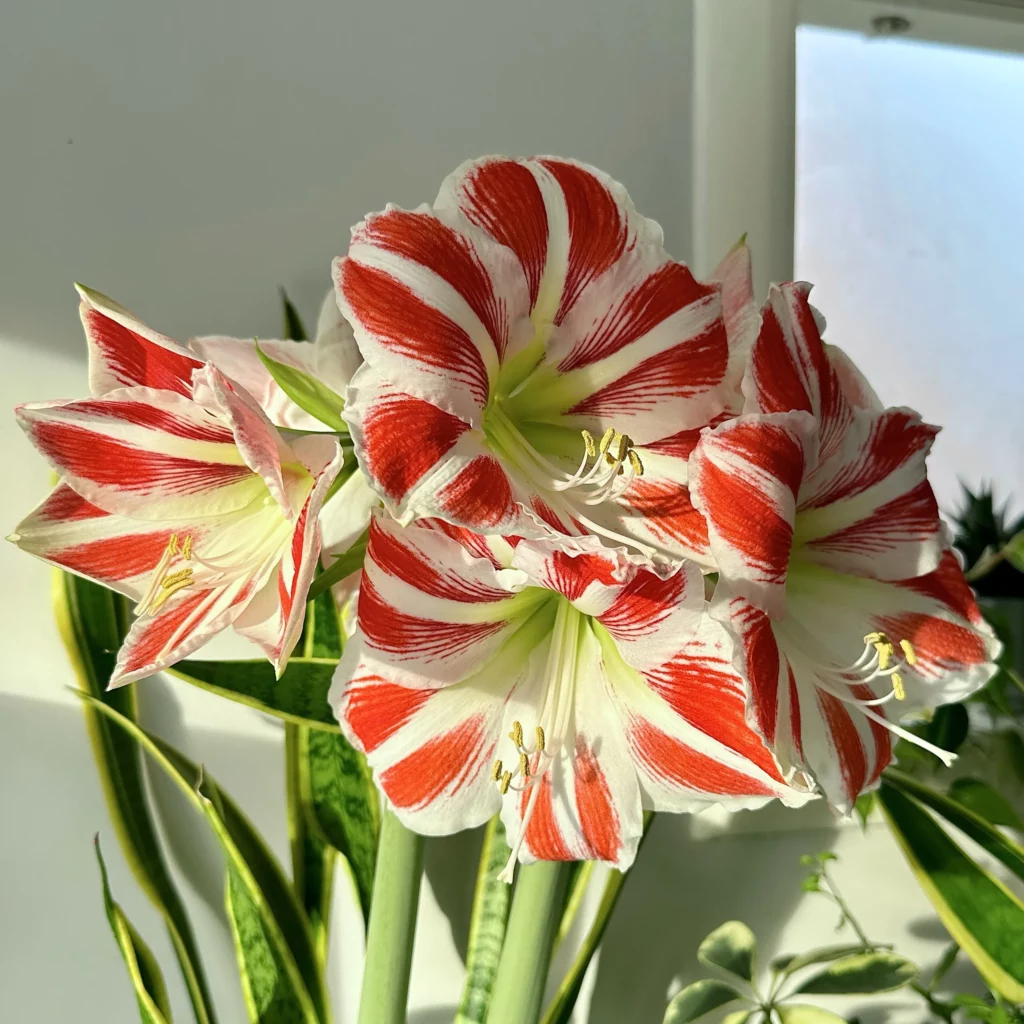
After all the hard work you put into saving your amaryllis bulb, it’s time to enjoy the beautiful results. As your revived bulb blossoms once again, you’ll be rewarded with vibrant and exquisite blooms that bring a touch of nature’s elegance into your home.
To ensure the prolonged enjoyment of your saved amaryllis bulb, continue providing it with the care it deserves. Place your blooming amaryllis in a well-lit area, away from direct sunlight, to allow it to thrive. Regularly water the plant, keeping the soil moist but not excessively wet.
As your amaryllis delights you with its stunning flowers, take a moment to appreciate the fruits of your efforts. The vibrant colors and captivating scent will enhance the ambiance of any room, creating a welcoming and enchanting atmosphere.
Remember to indulge in the beauty and joy your revived amaryllis bulb brings to your home. Capture this delightful display through photographs or simply savor the experience of witnessing nature’s miracle firsthand.
By enjoying the blooming period, you celebrate the success of your dedication and admire the splendor of the amaryllis.
FAQ
Q: What should I know about understanding amaryllis bulbs?
A: Understanding amaryllis bulbs will help you better care for them. Learn about their life cycle, growth patterns, and preferred conditions for optimal blooming.
Q: How do I prepare my amaryllis bulb for saving?
A: To prepare your amaryllis bulb for saving, stop watering when the leaves show signs of yellowing, and trim the leaves properly.
Q: How do I dig up and store my amaryllis bulb?
A: Dig up your amaryllis bulb carefully and store it properly during its dormant phase. Handle it with care, clean it, and use appropriate storage techniques to maintain its vitality.
Q: What are the ideal storage conditions for my saved amaryllis bulb?
A: Preserve your amaryllis bulb by storing it in optimal conditions. Ensure the storage container provides suitable temperature, lighting, and ventilation.
Q: How do I monitor the health of my saved amaryllis bulb?
A: Periodically check on the health and condition of your saved amaryllis bulb during its dormant period. Look for signs of growth and address any potential issues promptly.
Q: How do I prepare my saved bulb for replanting?
A: When it’s time to replant your saved amaryllis bulb, rejuvenate it by preparing the right potting mix and considering timing and other essential factors.
Q: How do I replant and nurture my revived amaryllis bulb?
A: Replant your saved amaryllis bulb and provide the necessary care to encourage healthy growth and abundant blooms. This includes proper watering, fertilizing, and troubleshooting techniques.
Q: How do I enjoy the blooms of my saved amaryllis bulb?
A: Care for and sustain your revived amaryllis bulb throughout the blooming period to enjoy its beauty. Follow guidelines for watering, fertilizing, and general care.

