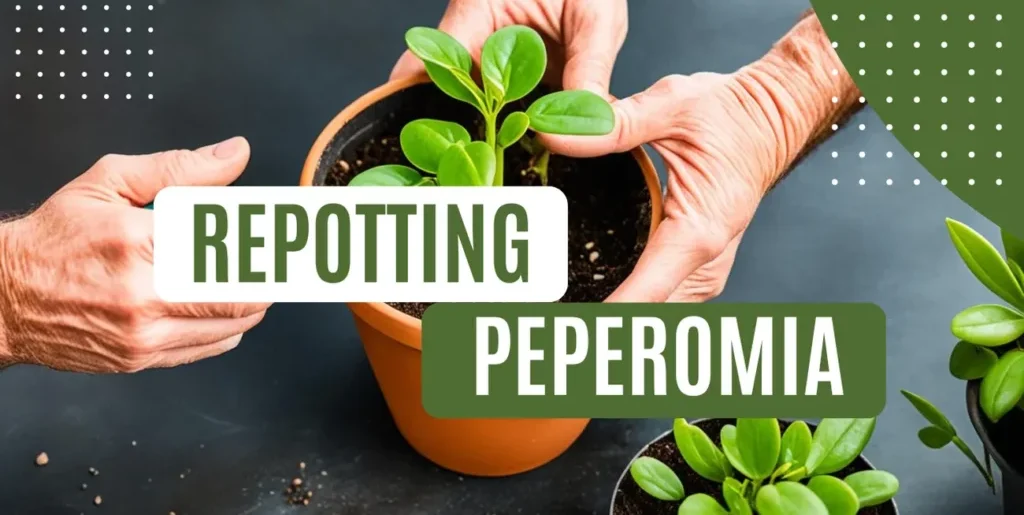
Repot Peperomia in well-draining soil during spring or early summer, choosing a pot slightly larger than the current one.
Learn the necessary steps for a successful Peperomia repotting, including recognizing readiness signs, selecting the proper pot and soil, and following a detailed process to ensure your plant thrives.
This guide also offers advice on post-repotting care and addresses common problems, equipping beginners and seasoned gardeners alike with comprehensive knowledge for a stress-free experience.
Signs Your Peperomia Needs Repotting
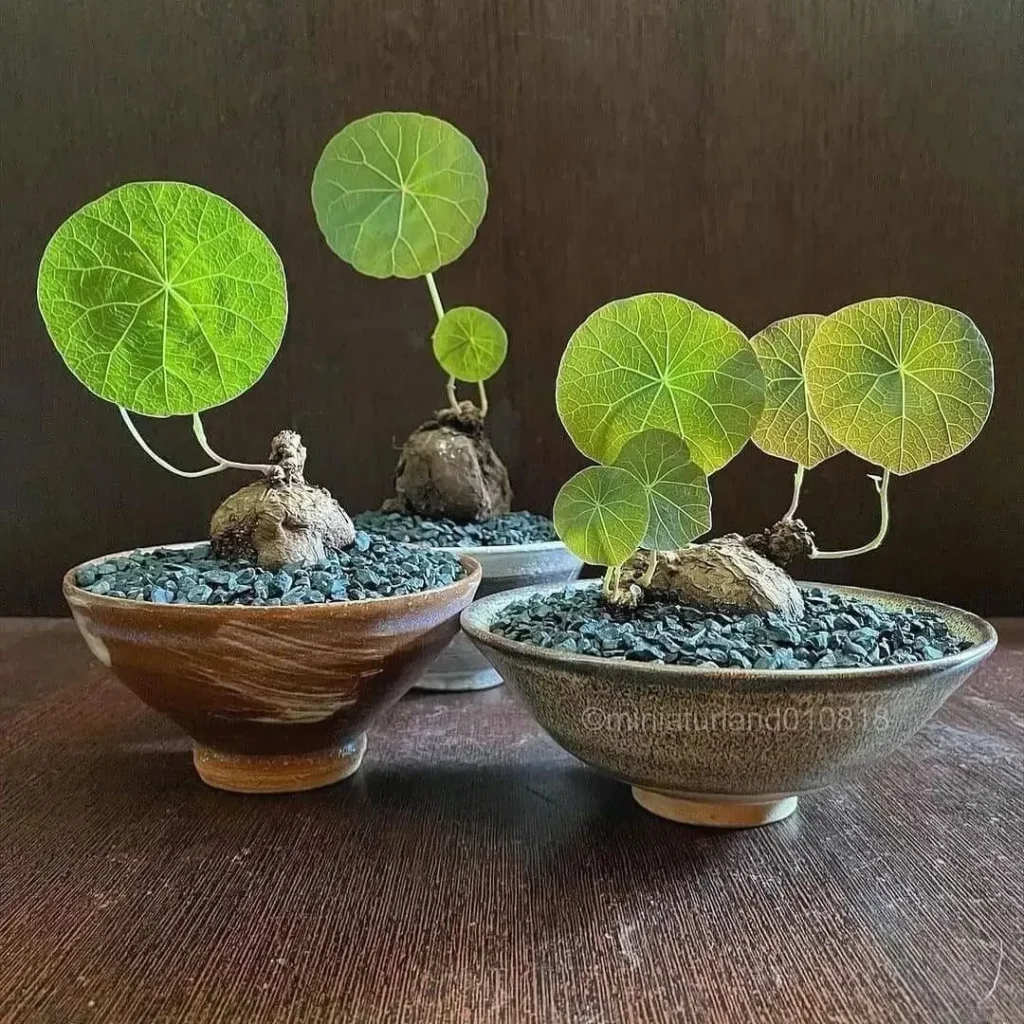
Before diving into the repotting process, it’s important to recognize the signs that indicate your Peperomia plant needs repotting.
One of the most common signs is root bound growth. When you notice the roots tightly wrapping around the edges of the pot or poking out from the drainage holes, your Peperomia is likely due for repotting.
Another sign to look out for is stunted development. If your Peperomia is not growing as vigorously as before, with smaller or fewer leaves, it may be a sign that the current pot can no longer provide enough space or nutrients.
Drainage issues can also indicate the need for repotting. If you observe water pooling on the surface or the soil staying consistently wet for an extended period after watering, it could mean that the roots are not receiving adequate oxygen, and repotting may be necessary.
By identifying these signs of root bound growth, stunted development, and drainage issues, you can determine when it’s time to give your Peperomia a fresh start in a new pot.
Choosing the Right Pot and Soil
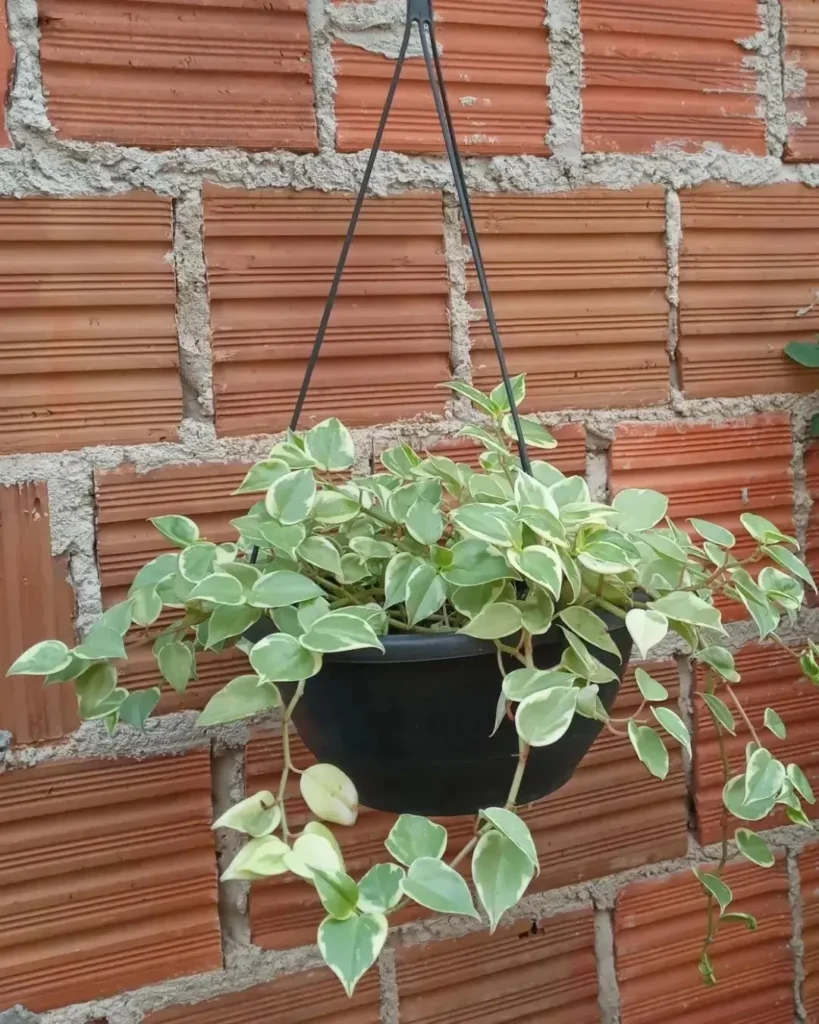
When it comes to repotting your Peperomia, selecting the appropriate pot and soil is key to its success.
In this section, I will guide you through the process of choosing the right pot size, material, and drainage features, as well as the ideal soil mixture that promotes optimal growth and drainage.
Let’s start with pot selection. The size of the pot is crucial as it provides enough space for your Peperomia’s root growth. A pot that is too small can hinder its development, while a pot that is too large may lead to overwatering and root rot.
Look for a pot that is about 1-2 inches larger in diameter than the current pot.
In terms of material, I recommend using a well-draining pot made of clay or terracotta. These materials allow excess water to evaporate, preventing waterlogged soil and the associated problems. Avoid pots made of plastic or other non-breathable materials, as they can retain moisture and lead to root rot.
Next, consider the pot’s drainage features. Look for pots with drainage holes at the bottom to ensure proper water flow. These holes allow excess water to escape, preventing water accumulation and potential overwatering.
Now, let’s move on to soil selection. Peperomias prefer a well-draining soil mixture that retains enough moisture without becoming soggy. A suitable soil mix for repotting your Peperomia consists of a combination of potting soil, perlite, and peat moss. This blend provides good drainage while retaining enough moisture for healthy root development.
When repotting your Peperomia, gently remove it from its current pot and place it in the new pot filled with the fresh soil mixture. Be careful not to damage the roots during the transition.
The right pot and soil are crucial for successful Peperomia repotting.
Preparing Your Peperomia for Repotting
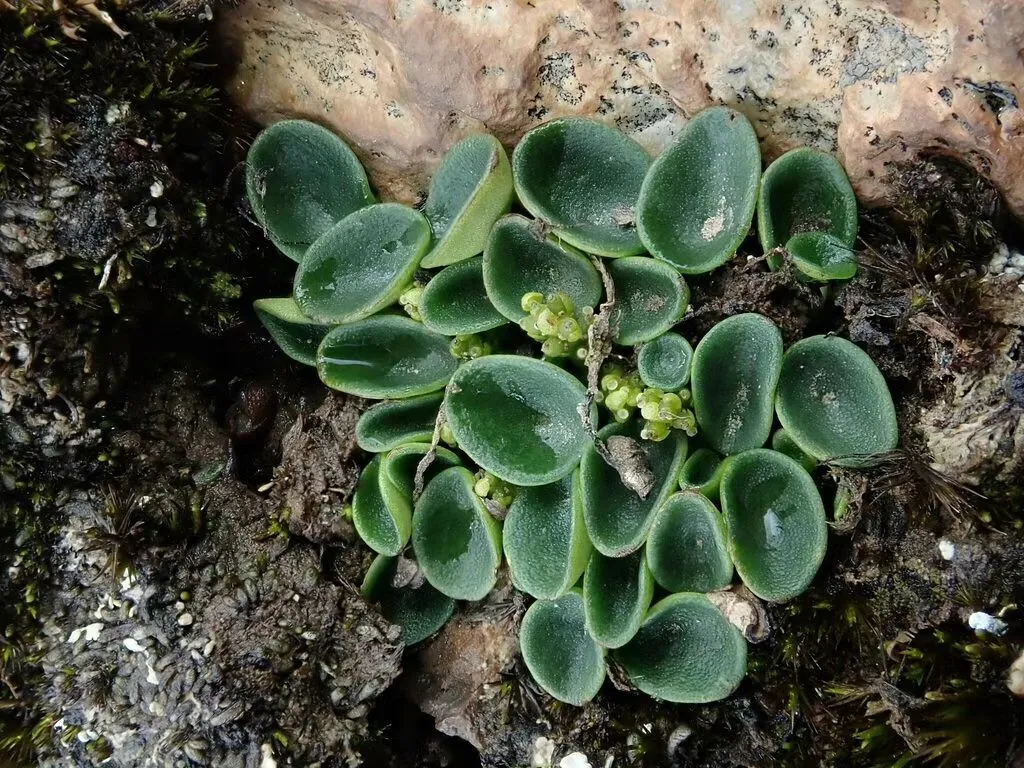
Before you transfer your beloved Peperomia to its new pot, it’s important to make the necessary preparations for a seamless transition.
By following these crucial steps, you’ll ensure that your Peperomia experiences minimal stress during the repotting process.
1. Watering Your Plant
It’s important to hydrate your Peperomia adequately before repotting. Water the plant thoroughly a day or two before the process to ensure the roots are well-moistened and the plant is hydrated. This will make it easier to handle during repotting.
2. Loosening the Root Ball
Peperomia plants often develop compacted root balls, which can hinder healthy growth. Gently loosen the root ball with your hands or a small tool, taking care not to damage the roots. This step will help the roots expand and absorb nutrients more effectively in the new pot.
3. Inspecting for Pests or Diseases
Before repotting, thoroughly inspect your Peperomia’s leaves and roots for any signs of pests or diseases. Look for common issues like spider mites, mealybugs, or root rot. If you notice any problems, take appropriate measures to address them before proceeding with repotting.
Step-by-Step Peperomia Repotting Process
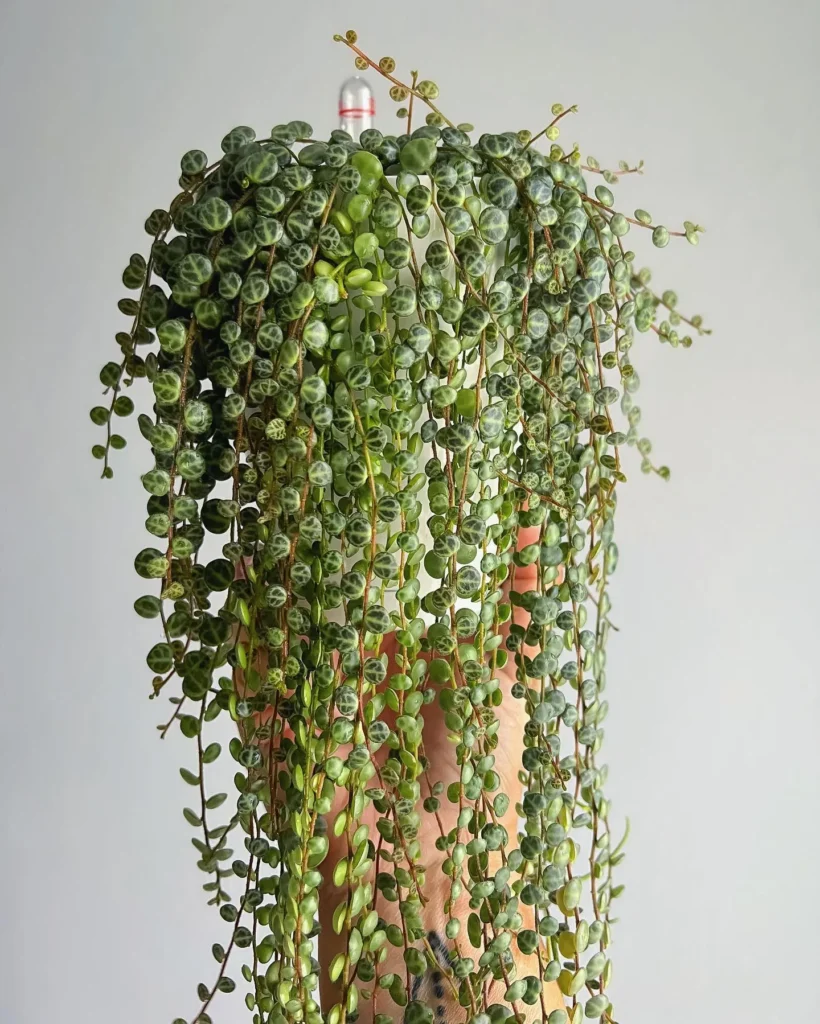
Proper watering and soil conditions are essential for the health and growth of your Swiss cheese plant. Here are some tips to ensure you meet the watering and soil requirements of your indoor plant:
- Check the soil: Before watering your Swiss cheese plant, always check the moisture level of the soil. Stick your finger about an inch deep into the soil; if it feels nearly dry, it’s time to water.
- Consistent moisture: Swiss cheese plants prefer consistently moist soil, but be cautious not to overwater. It’s important to find a balance and avoid allowing the plant to sit in waterlogged soil. Choose a well-draining soil mix and ensure that the pot has drainage holes.
- Peat-based potting mix: It’s recommended to use a peat-based potting mix for your Swiss cheese plant. This type of mix retains moisture without causing waterlogging, ensuring the roots have access to the right amount of water.
- Watering technique: When watering, aim to thoroughly moisten the soil until some excess water runs out of the drainage holes. This helps ensure proper hydration without excess moisture, which can lead to root rot.
Post-Repotting Care Tips
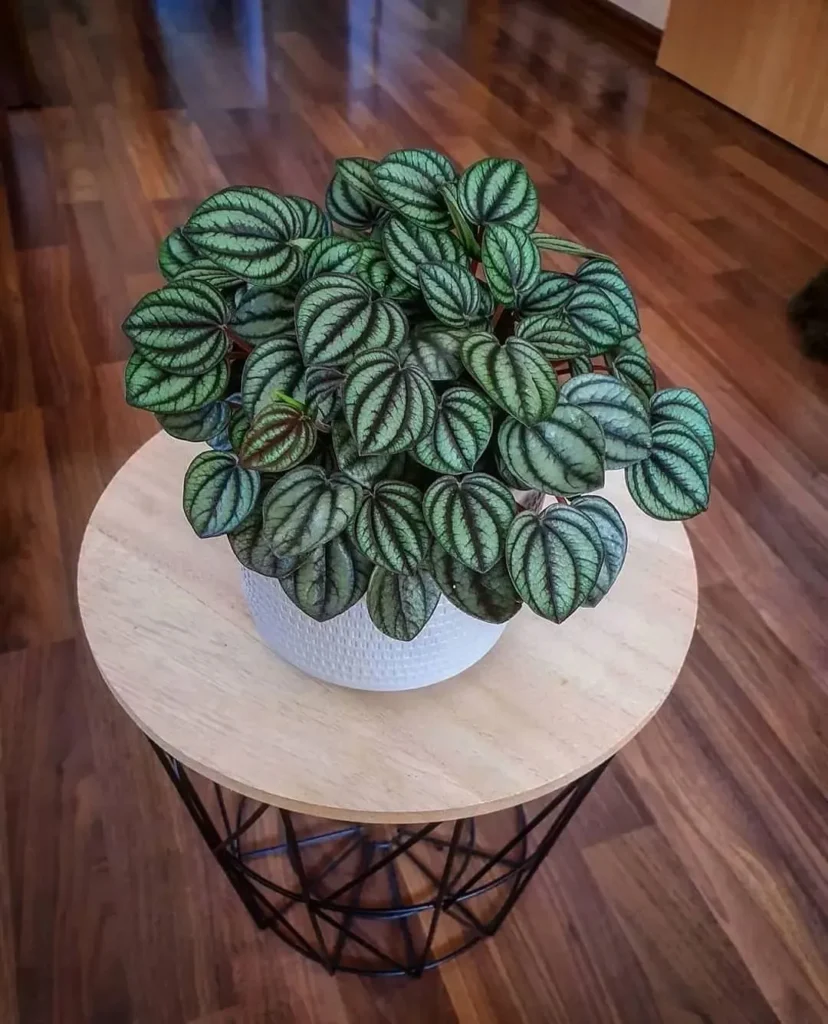
Repotting is just the beginning. To ensure your Peperomia thrives in its new environment, proper care is essential.
In this section, I will provide you with valuable tips on watering, lighting, and fertilizing your Peperomia after repotting. Following these care tips will support healthy growth and help your plant adjust to its new home.
1. Watering
After repotting your Peperomia, it’s important to establish a regular watering routine. Ensure that the soil is evenly moist, but not soggy, by watering your plant when the top inch of soil feels dry to the touch.
Avoid overwatering, as it can lead to root rot. Remember to adjust your watering schedule based on the environmental conditions and the specific needs of your Peperomia plant.
2. Lighting
Proper lighting is crucial for the growth and development of your Peperomia after repotting. Place your plant in a location where it can receive bright, indirect light. Avoid exposing it to direct sunlight, as it can cause leaf burn. If natural light is limited in your space, supplement it with a grow light to ensure your Peperomia gets the necessary light intensity for optimal growth.
Avoid exposing it to direct sunlight, as it can cause leaf burn. If natural light is limited in your space, supplement it with a grow light to ensure your Peperomia gets the necessary light intensity for optimal growth.
3. Fertilizing
To provide your Peperomia with essential nutrients, consider fertilizing it after repotting. Choose a balanced, water-soluble fertilizer specifically formulated for houseplants.
Follow the instructions on the fertilizer packaging to determine the appropriate dosage and frequency for your Peperomia. Be mindful not to over-fertilize, as it can lead to fertilizer burn and damage your plant.
Troubleshooting Common Repotting Issues
Keeping up with the pruning and maintenance of your Swiss cheese plant is essential for its overall health and appearance. Regular pruning helps control the size and growth of the plant, while maintenance tasks ensure that it stays in top condition. Here are some tips to help you with plant pruning and indoor plant maintenance:
- Trimming the stems: Use sterile pruning shears to cut back the stems of your Swiss cheese plant. It’s best to trim no more than 25 percent of the stem’s length to avoid shocking the plant. This will help maintain its desired size and shape.
- Removing dead leaves: Regularly remove any dead or damaged leaves from your Swiss cheese plant. This not only improves its appearance but also prevents the spread of diseases and pests.
- Dusting the leaves: Dust can accumulate on the leaves of your Swiss cheese plant, affecting its ability to photosynthesize. Gently wipe the leaves with a soft cloth or sponge to keep them clean and free from dust.
- Providing support: As your Swiss cheese plant grows, it may need some support to keep it upright. Consider using a stake or trellis to provide support and guide its growth.
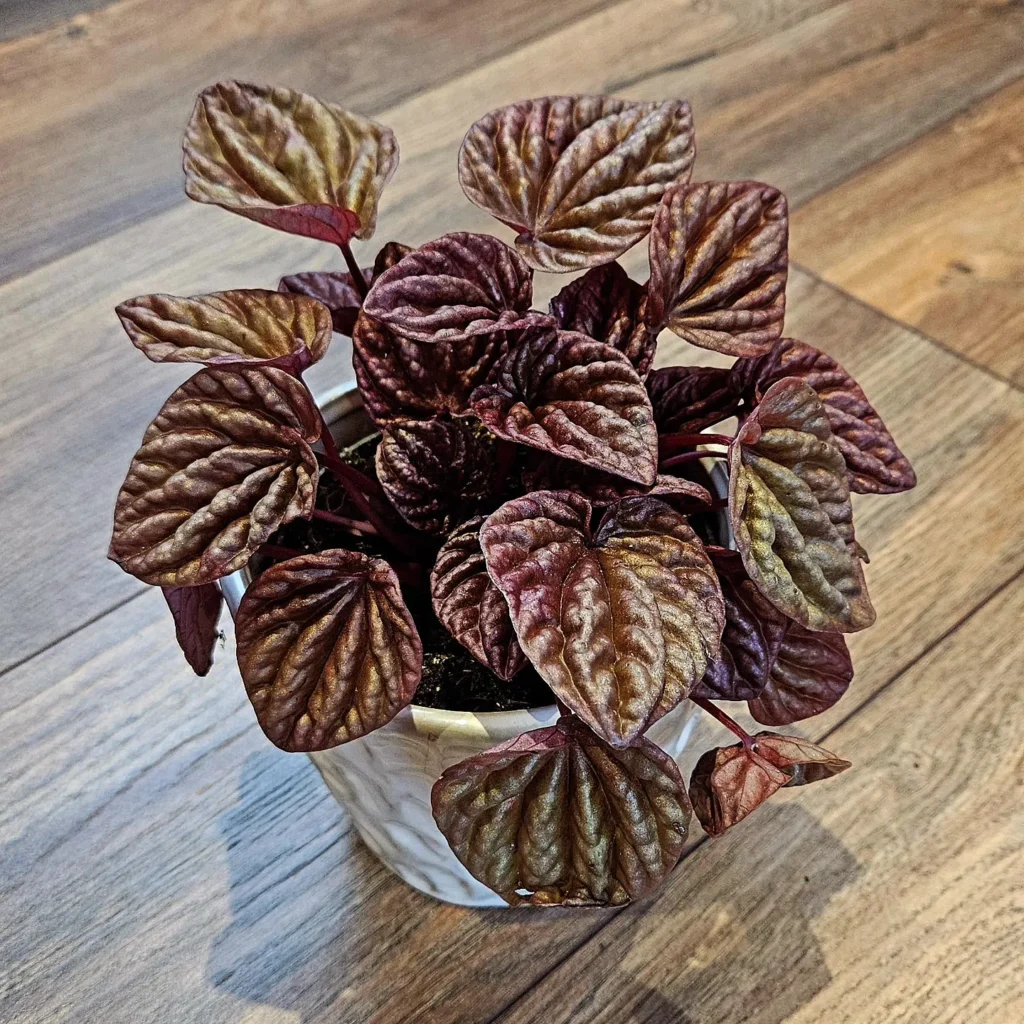
During the repotting process, it’s possible to encounter various problems that can hinder the success of your Peperomia’s transition to a new pot. In this section, I will address common repotting problems and provide solutions to help you troubleshoot these issues.
By being aware of these potential challenges and knowing how to overcome them, you can ensure a seamless repotting experience.
Root Damage: One of the most common repotting problems is root damage. When removing your Peperomia from its old pot, be gentle to avoid tearing or breaking the roots.
If you notice any damaged roots, trim them with clean gardening shears to encourage new growth and prevent potential diseases.
Transplant Shock: Transplant shock can occur when your Peperomia experiences stress during repotting. Symptoms may include wilting, yellowing leaves, or slowed growth.
To minimize transplant shock, provide your plant with a stable environment, appropriate lighting, and proper watering. Additionally, ensure your Peperomia is not exposed to extreme temperatures immediately after repotting.
Overwatering: Overwatering is a common issue that can lead to root rot and other problems. To prevent overwatering, allow the soil to dry out partially between waterings.
Ensure your new pot has proper drainage holes to prevent water accumulation. Additionally, consider using a well-draining soil mixture specifically designed for Peperomia plants.
When to Repot Again
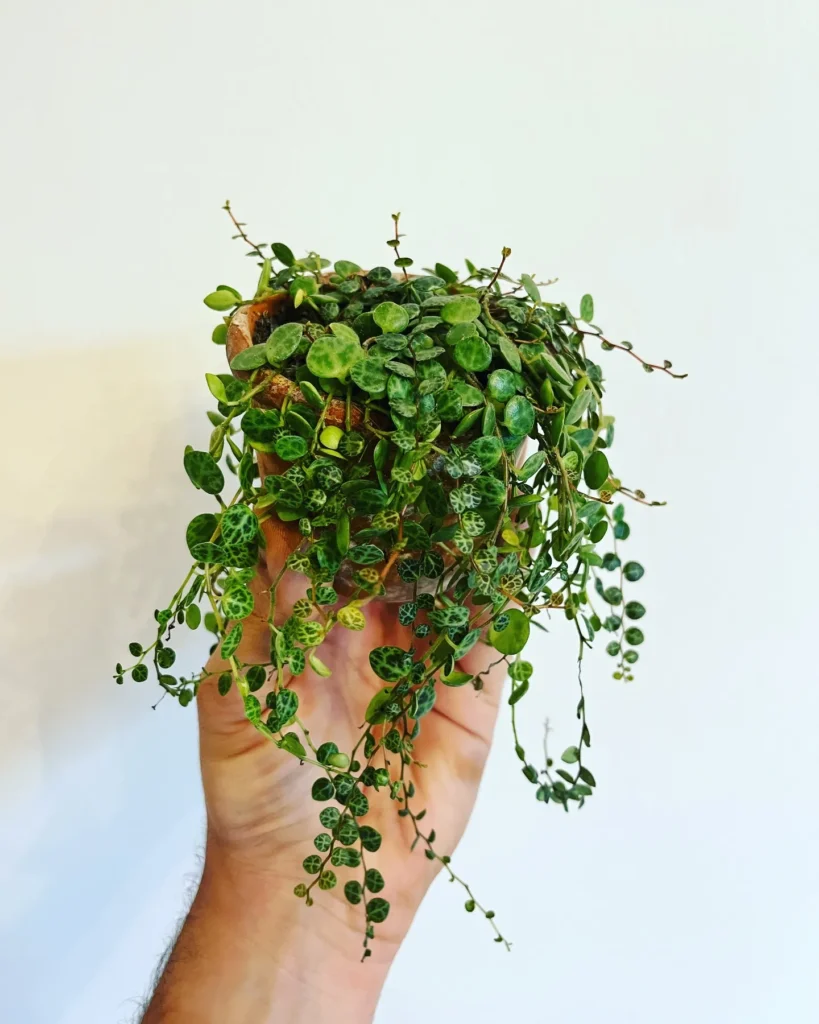
Repotting is a recurring process that ensures the long-term health and growth of your Peperomia plant. As your plant continues to thrive, there will come a time when it outgrows its current pot or requires a fresh soil change.
To determine when it’s time to repot your Peperomia again, consider the following factors:
- Root Growth: Check the root system of your Peperomia periodically. If you notice that the roots are densely packed and circling around the pot, it’s an indication that your plant needs a larger space to accommodate its growing roots.
- Pot Size: If your Peperomia is starting to appear top-heavy or the plant is struggling to stay upright, it may be a sign that the current pot is too small. Transferring your Peperomia to a larger pot will provide it with additional stability.
- General Plant Health: Pay attention to your Peperomia’s overall health. If you notice stunted growth, yellowing leaves, or decreased vigor, it can be a signal that the plant is not receiving sufficient nutrients or has outgrown its current pot.
Conclusion
After following this comprehensive guide on Peperomia repotting, you are now equipped with the knowledge and skills to successfully repot your beloved plant.
By carefully choosing the right pot and soil, preparing your Peperomia for the repotting process, and following the step-by-step instructions, you have set the foundation for its healthy growth and development.
Remember, proper care and maintenance are crucial after repotting. Monitor your Peperomia’s progress, ensuring it receives the right amount of water, light, and nutrients.
By providing regular care and attention, you can enjoy the vibrant foliage and beauty that your Peperomia will continue to offer.
Whether you’re a beginner or experienced gardener, repotting your Peperomia can be a rewarding experience.
By giving your plant a new home and the space it needs to thrive, you’re taking an important step towards ensuring its long-term health and happiness. Congratulations on successfully completing the Peperomia repotting process, and may your plant flourish for years to come!

