The ZZ plant is not just beautiful but also easy to care for. It doesn’t need much attention yet keeps your air clean. But, as it grows, you need to look after it more by repotting. This is important to keep it healthy. This zz plant care guide will teach you how to notice when your plant needs a new home, why it’s important, and exactly how to do it without any harm.
Key Takeaways
- ZZ plants need repotting when roots grow out of drainage holes or the plant appears unhealthy.
- Repotting provides fresh soil, prevents bound roots, and ensures the plant’s well-being.
- Use a pot 1-2 inches wider with well-draining cactus/succulent soil mix.
- Repot during the spring or early summer active growth phase.
- After repotting, adjust lighting, watering, and allow time to acclimate.
Understanding the ZZ Plant
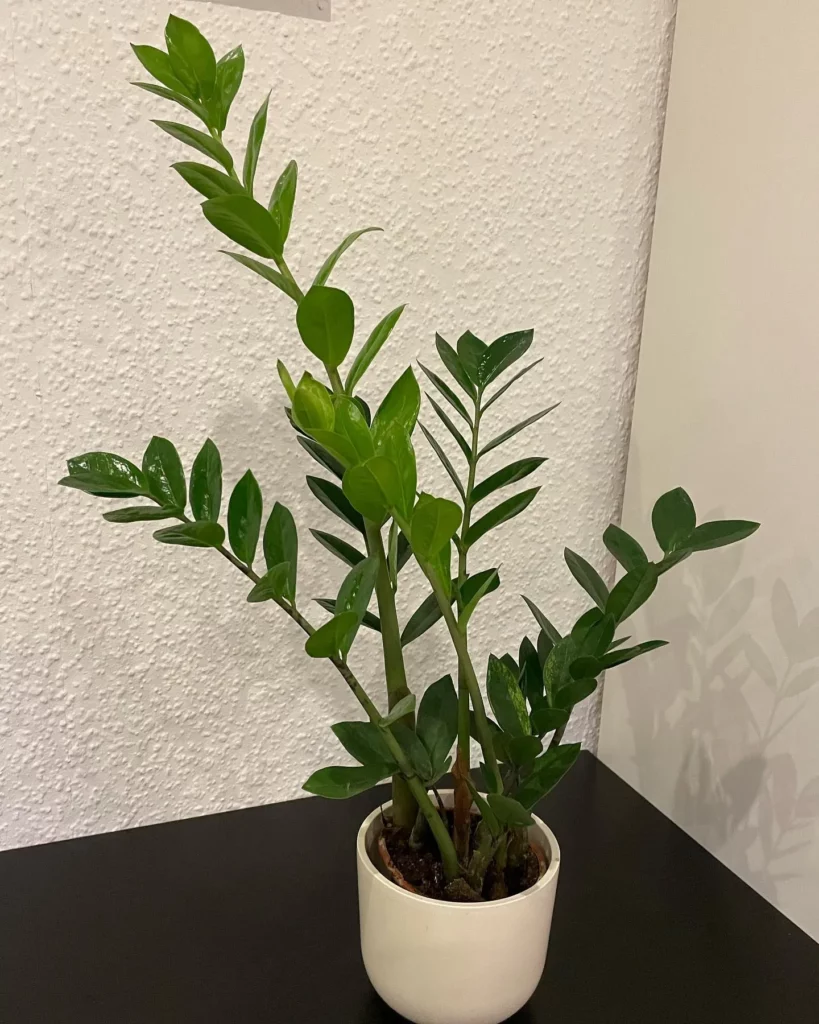
The ZZ plant, or Zamioculcas zamiifolia, is loved for its unique look and easy care. It comes from eastern Africa and belongs to a plant family called aroids. It has bold, upright leaves with a zigzag pattern. The amazing thing about the ZZ plant is it doesn’t need much water and can grow in low light.
About ZZ Plants
ZZ plants are known for being low maintenance. They can get pretty tall, up to 3-4 feet, and they look great thanks to their shiny, green leaves. They don’t need a lot of water often because they can hold some in their roots. This makes them perfect for busy people or those new to caring for plants. Plus, they make any room look stylish with their elegant leaves and how they grow.
Varieties of ZZ Plants
There’s only one kind of plant in the Zamioculcas group, but you can find a few different looks. Here are some types you might like:
- Standard ZZ Plant: The classic variety with glossy, deep green leaves.
- ‘Raven’ ZZ Plant: Featuring striking near-black foliage for a dramatic statement.
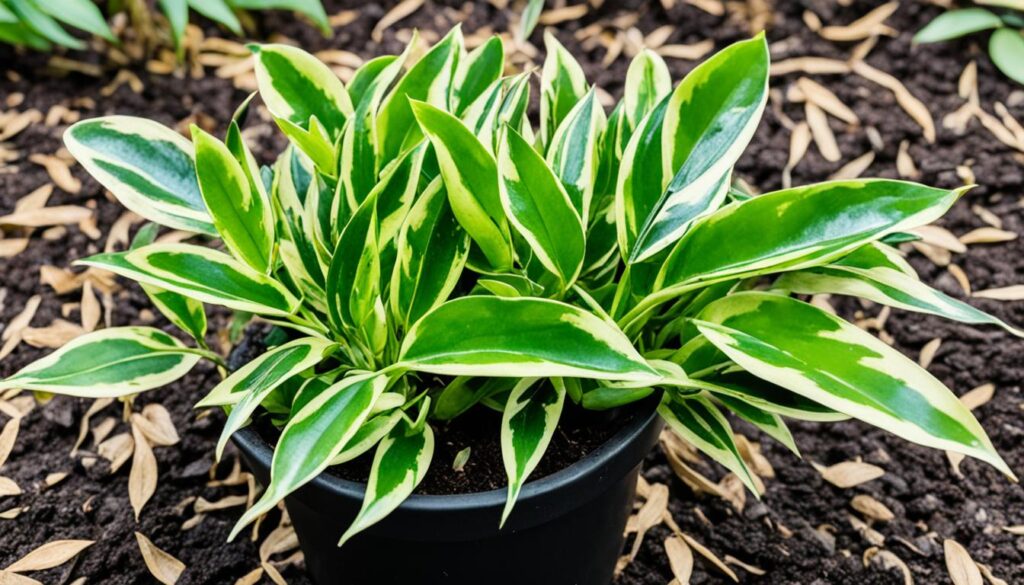
- Variegated ZZ Plant: Boasts leaves with creamy-white patterns or streaks.
If you like traditional green or something different, like unique patterns, there’s a ZZ plant for you. These zz plant varieties can match any room’s style.
Signs Your ZZ Plant Needs Repotting
It’s vital to repot your ZZ plant at the right time. This is key for its growth and health. Wondering when to change its home? Look for these signs:
- Pale, droopy, or stunted growth can indicate that the plant is rootbound and lacks nutrients.
- Roots visibly growing out of the drainage holes or cracks in the pot.
- Water runs straight through the soil without properly moistening it, suggesting that the soil is compacted.
- The plant looks off-balance or wobbly, which could mean the roots have outgrown the pot.
ZZ plants don’t need frequent repotting; every 2-3 years is okay, according to experts. But, paying attention to these clues will help you know when it’s time to repot your ZZ plant.
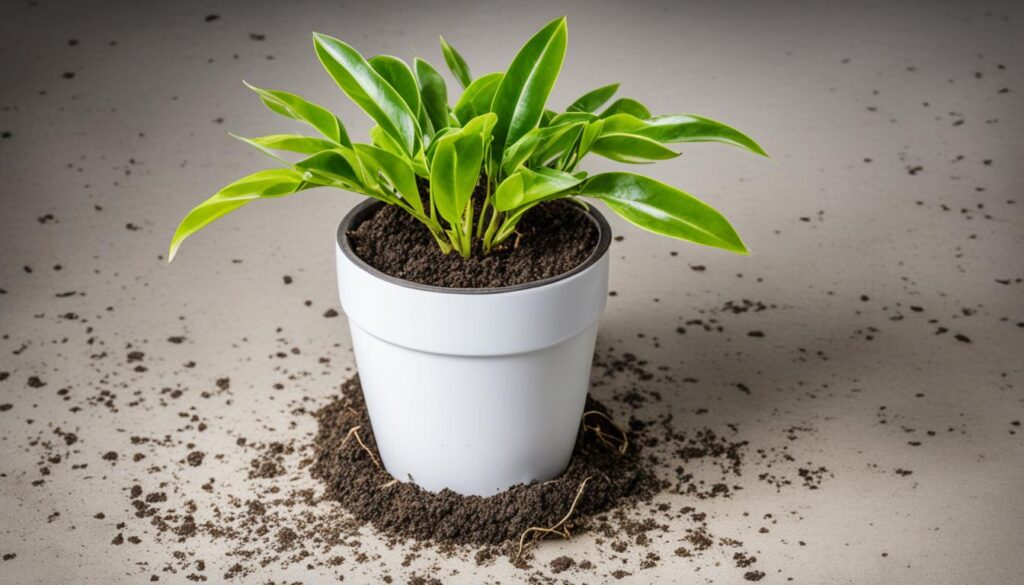
Many say that the top times for repotting ZZ plants are early spring and early fall in warmer areas. Avoid winter though, as ZZ plants are resting then.
Watching for these signs and taking action ensures a healthy ZZ plant. Give it a new and nutrient-rich space when needed.
Reasons to Repot a ZZ Plant
Repotting your ZZ plant is crucial for its health and longevity. It ensures the plant thrives. Changing its pot offers several perks. It helps the plant grow better.
Here are three key reasons to repot your zz plant now and then:
Improve Water Retention in Soil
Over time, your ZZ plant’s soil can get hard and stop holding water well. Changing the soil and giving it room to get air makes sure it doesn’t drown. Your plant will grow strong and avoid getting sick this way.
Divide Multiple Rhizomes
ZZ plants have big, fat roots that need space. If not given room, they can overcrowd. By repotting, you can make more plants or just help the current one stay healthy by giving it space.
Prevent or Address Root Rot
A big reason to repot is to fight off zz plant root rot. This happens when the soil is always wet. By using fresh soil and a pot with holes, the problem can be fixed. This will keep your plant happy and thriving.
By doing this, you make sure your ZZ plant stays healthy and lively. It’s a way to care for it and maybe even get more plants in the process.
Supplies Needed for Repotting ZZ Plants
When you’re ready to repot a ZZ plant, having the right zz plant repotting supplies is key. You’ll need these tools for repotting your ZZ plant:
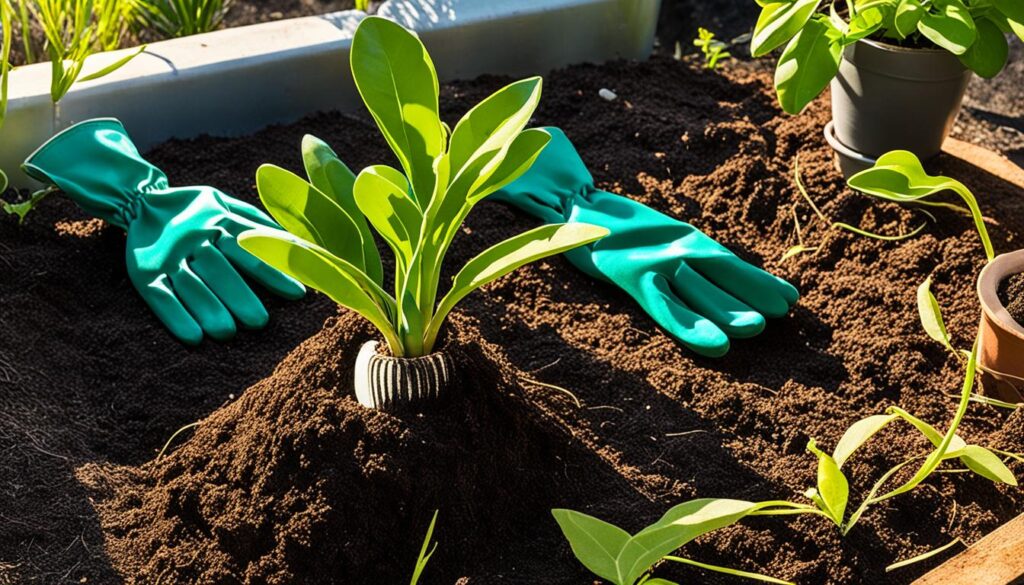
- Gardening gloves to protect your hands
- New pot(s) with drainage holes
- Fresh potting mix designed for cacti and succulents
- Knife or trowel for loosening the roots
- Sterile pruners for trimming damaged roots
- Newspaper or tarp to protect your workspace
- Porous drainage materials like clay pellets or gravel
The best soil mix for ZZ plants should drain well but also hold some moisture. Use 2 parts all-purpose mix, 1 part coarse sand, 1 part perlite, and have a slightly acidic pH of 6.0-7.0.
For repotting, consider top picks like Black Gold’s Natural and Organic Potting Soil. Alternatively, mix regular potting soil with cactus mix for the right balance.
| Soil Component | Purpose | Recommended Proportion |
| All-purpose potting mix | Base for soil mixture | 2 parts |
| Coarse sand | Improves drainage | 1 part |
| Perlite | Provides aeration | 1 part |
Liquid fertilizer often works well for ZZ plants. Organic types offer natural benefits. But remember, too much fertilizer can harm them. So, use it wisely.
Choose terracotta pots with holes for ZZ plants. They help prevent issues like yellow leaves or slow growth post-repotting. The right pot size and soil blend are crucial for their health.
Choosing the Right Potting Mix and Pot Size
When it’s time to repot your ZZ plant, the right potting mix and pot size are key. They support the plant’s growth and health. The right mix and size help the plant’s roots to flourish.
What is the Best Soil for Repotting ZZ Plants?
ZZ plants like well-draining soil to stay healthy. A good mix includes potting soil, perlite or pumice, and wood chips. This mix makes sure the roots get air and keeps the soil moist but not too wet.
Alternatively, a cacti or succulent mix works well too, meeting ZZ plants’ needs. Such mixes drain well and keep the roots from getting too wet, preventing rot.
- Recommended potting mix ratio: 50% orchid potting mix and 50% regular potting mix.
- Look for a loose, porous mix containing bark, charcoal, and perlite to promote drainage and water retention.
What Size Pot Should a ZZ Plant Be in?
Pick a pot for your ZZ plant 1-2 inches wider than its current pot. This size jump helps the roots spread and the plant grow. It avoids too much water that can cause root rot.
- For plants in 10-inch pots or smaller, choose a pot 1-2 inches wider.
- If your plant is in a pot larger than 10 inches, go with one 2-3 inches bigger.
Finding the right pot size is important. Too big a pot might trap too much water, leading to problems. Yet, a too-small pot can hamper the plant’s growth.
Look at the material of the container too when repotting your ZZ plant. Terracotta and wood pots dry the soil more than plastic pots. Fiberglass is great for keeping in moisture and is strong for big ZZ plants.
zz plant safe repotting: Step-by-Step Guide
Repotting your ZZ plant helps it stay healthy and grow well. Follow these steps for an easy change. Repotting gives your plant new, fertile soil. It lets the roots stretch and the plant to thrive.
Prepare the New Pot
First, get your items ready for repotting. Add a layer of stones or chipped pots at the bottom. This stops too much water from gathering. Then, put soil for succulents or cacti in the pot about two-thirds full.
Remove and Inspect the ZZ Plant
Water your ZZ plant a few days before moving it. This makes the roots get softer and easier to remove. Tilt the pot and pull the plant out. Check the roots for any bad signs and cut off any parts that look sick. Use sharp, clean scissors or pruners to do this.
If your ZZ plant has more than one rhizome, or underground stem, it’s a good time to split them. Make sure to keep some roots and stems for each new piece. This separation helps the plant stay healthy and grow better.
Transplant into New Pot
- Put the ZZ plant in the middle of the new pot, making sure it’s at the same height as the pot.
- Add more soil around the plant, pressing down gently to remove air.
- Then, water the plant well so the soil settles and any bad air leaves out the bottom.
Following these zz plant repotting steps will support your plant’s growth. ZZ plants are tough but need care. Repotting on time is a key part of their well-being.
Dividing and Propagating ZZ Plants
ZZ plants are easy to grow from cuttings, making them great for those who love indoor plants. You can get more plants for your collection or share them with friends. There are three main ways to make new ZZ plants: using stem cuttings, leaf cuttings, or by dividing the mother plant.
How to Divide and Repot a ZZ Plant
Dividing a ZZ plant is an easy, fast way to get more plants. This works best with mature plants that have many rhizomes and stems. Here’s what to do:
- Take the plant out of its pot and loosen the soil around the roots.
- Split the rhizomes and stems into parts. Make sure each part has roots and stems.
- Get new pots filled with soil that drains well and is good for ZZ plants.
- Put each part into its own pot, and press the soil down gently.
- Water the plants well and put them where they’ll get bright but not direct sunlight.
Gently handle the rhizomes when dividing zz plant rhizomes. This helps prevent any harm. With the right care, the new ZZ plants will grow strong.
You can also propagate ZZ plants by cutting from their stems or leaves. But, this way needs you to be patient. It might take a few months for them to grow new roots and shoots.
Whichever way you pick to grow ZZ plants, know that they’re very tough and bounce back easily. They’re an awesome choice for anyone who likes indoor plants, whether you’re just starting or you’re already experienced.
Post-Repotting Care for ZZ Plants
After repotting your ZZ plant, giving it the right care is vital for it to get better and grow. Here are key tips for after-repotting care to help your ZZ plant flourish.
Light Adjustment
Start post-repotting care with adjusting the light your ZZ plant gets. Put it in a place with bright, but not direct, sunlight. Direct sun can burn its leaves and stress the plant. Over a few weeks, increase its light gradually until it’s in its favorite light conditions.
Watering Schedule
Keep a regular watering schedule for your ZZ plant after repotting. ZZ plants like their soil to dry a bit between waterings, so avoid giving too much water. Check the soil often and water when the top layer is dry. Too much water can cause root rot, harming your plant.
- Water your ZZ plant when the top 1-2 inches of soil are dry.
- Avoid letting the soil dry out completely, as this can stress the plant.
- Ensure the pot has adequate drainage to prevent waterlogged soil.
Stable Environment
ZZ plants don’t like big changes, so keep the environment stable after repotting. Don’t let it get cold or feel sudden drafts. These things can shock the plant. Also, hold off on fertilizing right after repotting. The plant likely won’t be ready for extra nutrients yet.
Following these care tips after you repot your ZZ plant can help it adjust well. Be patient and consistent. A repotted ZZ plant may need a few weeks to recover and start growing again like it used to.
Troubleshooting Common Issues
Repotting your ZZ plant may lead to some issues at first. Yet, knowing the reasons can help you fix these problems. This will help ensure your plant continues to grow well. Let’s look at two common issues and how to deal with them.
Why Is My ZZ Plant Yellowing After Repotting?
Yellow leaves on your ZZ plant after repotting means you’re probably overwatering it. When you change the pot and soil, the plant’s water needs also change. Too much moisture in the soil can cause root rot or other fungal problems, making the leaves turn yellow.
- Allow the soil to dry out more between waterings, as ZZ plants prefer drier conditions.
- Check for proper drainage in the new pot, and consider using a well-draining potting mix.
- Remove any severely yellow or mushy leaves to promote new growth.
By adjusting your watering routine, your ZZ plant will likely turn green again within a few weeks.
Why Is My ZZ Plant Not Growing After Repotting?
It’s normal for ZZ plants to slow down in growth after being repotted. This happens because the plant is stressed from the change. It uses its energy to grow new roots in the fresh soil.
- Ensure your ZZ plant is getting enough light since low light can slow its growth.
- Water it regularly, but not too much or too little.
- Make sure the plant’s environment has the right humidity and temperature.
- Use a balanced fertilizer to give it key nutrients if necessary.
If you’re patient and take good care of your ZZ plant, it will grow again in a few months.
Keep in mind, problems with ZZ plants after repotting are usually just a phase. They’ll adjust to their new conditions if you pay attention to their needs. Then, they’ll start thriving again.
Conclusion
Repotting your ZZ plant is a key step in keeping it healthy. Fresh soil and room to grow help your plant thrive. Look for signs like slow growth or roots out of the bottom. These clues mean it’s time for a bigger pot. When you repot, make sure to handle the roots with care.
After you repot, keep an eye on the plant’s light, water, and temperature needs. With your care and patience, the ZZ plant will settle into its new home. Soon, it will reward you with beautiful green leaves.
Changing the plant’s pot every so often is a wise move. It supports the ZZ plant’s health and life span. By using the tips in this guide, you can smoothly upgrade your plant’s pot. This will lead to a happy, healthy ZZ plant for many years.

