To repot a Janet Craig Dracaena, choose a pot one size larger, use well-draining soil, gently remove the plant, untangle roots if necessary, place it in the new pot, fill with soil, water thoroughly, and avoid direct sunlight for a few days.
This guide simplifies repotting Janet Craig Dracaena, detailing the necessity for roomier pots and fresh soil to support root expansion and plant health. It emphasizes the significance of repotting for the plant’s vitality, aiming to equip plant enthusiasts with the knowledge to foster a thriving Janet Craig Dracaena.
Understanding Janet Craig Dracaena
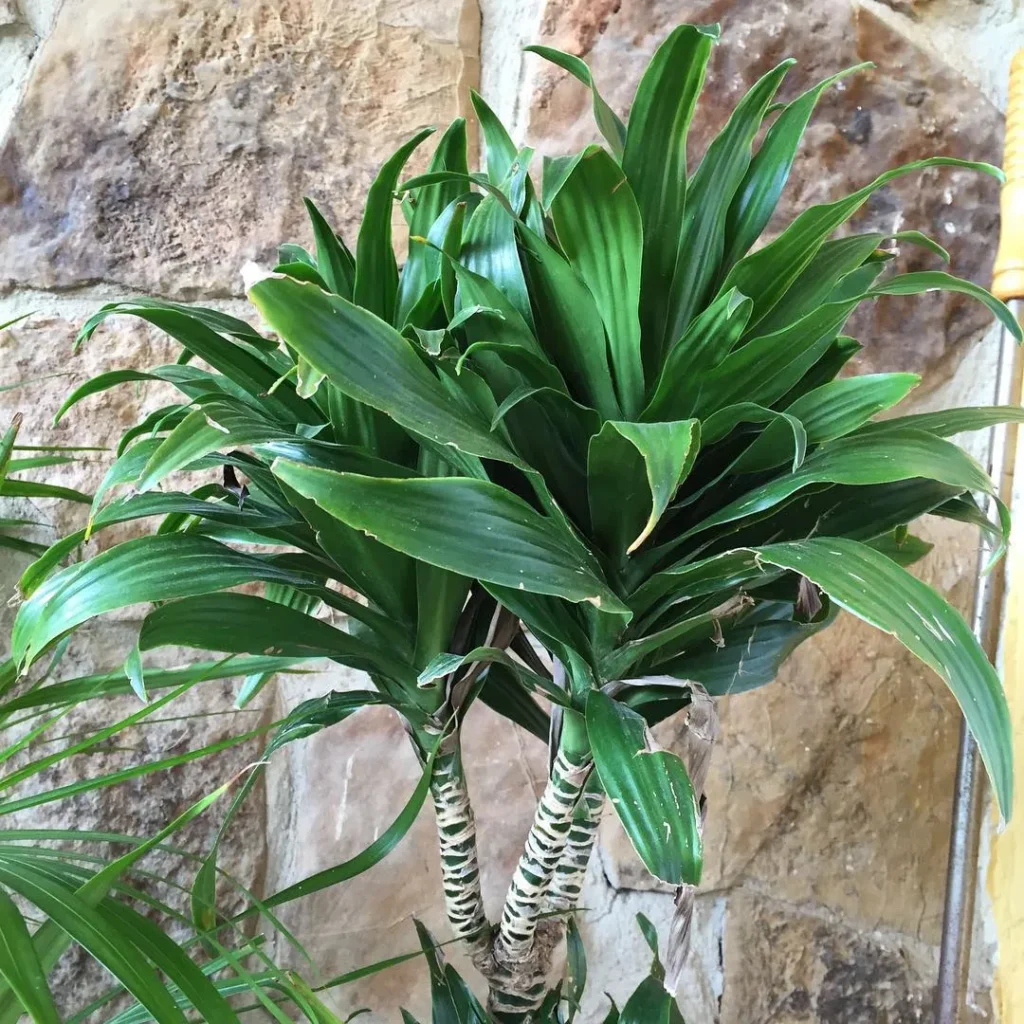
Before we get into the repotting process, let’s take a moment to understand the Janet Craig Dracaena plant. Janet Craig Dracaena, known botanically as Dracaena deremensis “Janet Craig,” is a popular houseplant known for its lush, dark green foliage.
Janet Craig Dracaena is native to tropical Africa and thrives in warm, humid environments. It is an evergreen plant that can grow up to 10 feet tall, making it a striking addition to any indoor space.
One of the key characteristics of Janet Craig Dracaena is its broad, sword-shaped leaves. These leaves can reach a length of 2 to 3 feet and have a glossy texture, adding a touch of elegance to the plant’s overall appearance.
As a slow-growing plant, Janet Craig Dracaena is relatively low-maintenance. It adapts well to low light conditions, making it suitable for various indoor settings. However, it can also tolerate brighter, indirect light.
This versatility is one reason why many plant enthusiasts love having a Janet Craig Dracaena in their collection.
Over time, your Janet Craig Dracaena may outgrow its current pot or require fresh soil for optimal growth. This is why understanding its growth habits and knowing when to repot is essential.
- Dark green foliage
- Broad, sword-shaped leaves
- Glossy texture
- Slow-growing
- Adapts to low light conditions
- Tolerates brighter, indirect light
Choosing the Right Pot
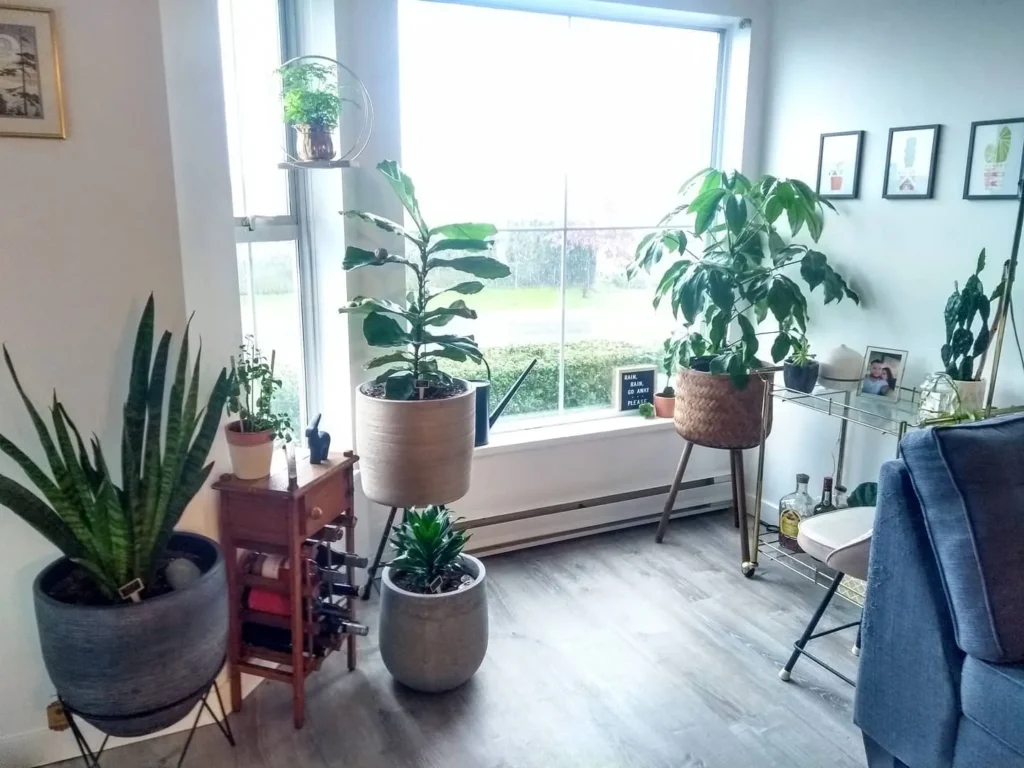
When it comes to repotting your beloved Janet Craig Dracaena plant, selecting the right pot is a crucial step in ensuring its continued health and growth. Here are some key factors to consider when choosing the perfect pot:
Size: The size of the pot is important for providing enough space for your plant’s roots to grow. A pot that is too small can restrict root development, while a pot that is too large can lead to overwatering.
Choose a pot that allows for some room for your Janet Craig Dracaena to grow, but isn’t excessively large.
Drainage: Proper drainage is essential to prevent waterlogged soil and the risk of root rot. Look for pots with drainage holes at the bottom to allow excess water to escape.
If you fall in love with a pot that doesn’t have drainage holes, you can always use a secondary pot with drainage and place the decorative pot inside it.
Material: Consider the material of the pot as it can impact the moisture retention and temperature regulation of the soil. Clay pots are porous and allow for better airflow, promoting healthy root growth.
Plastic pots, on the other hand, retain moisture better, which can be beneficial for plants that prefer slightly higher humidity.
Aesthetics: While functionality is important, don’t forget to choose a pot that complements your personal style and the overall decor of your space.
There are various pot designs and colors available that can add a touch of beauty to your Janet Craig Dracaena’s new home.
Preparing the New Pot
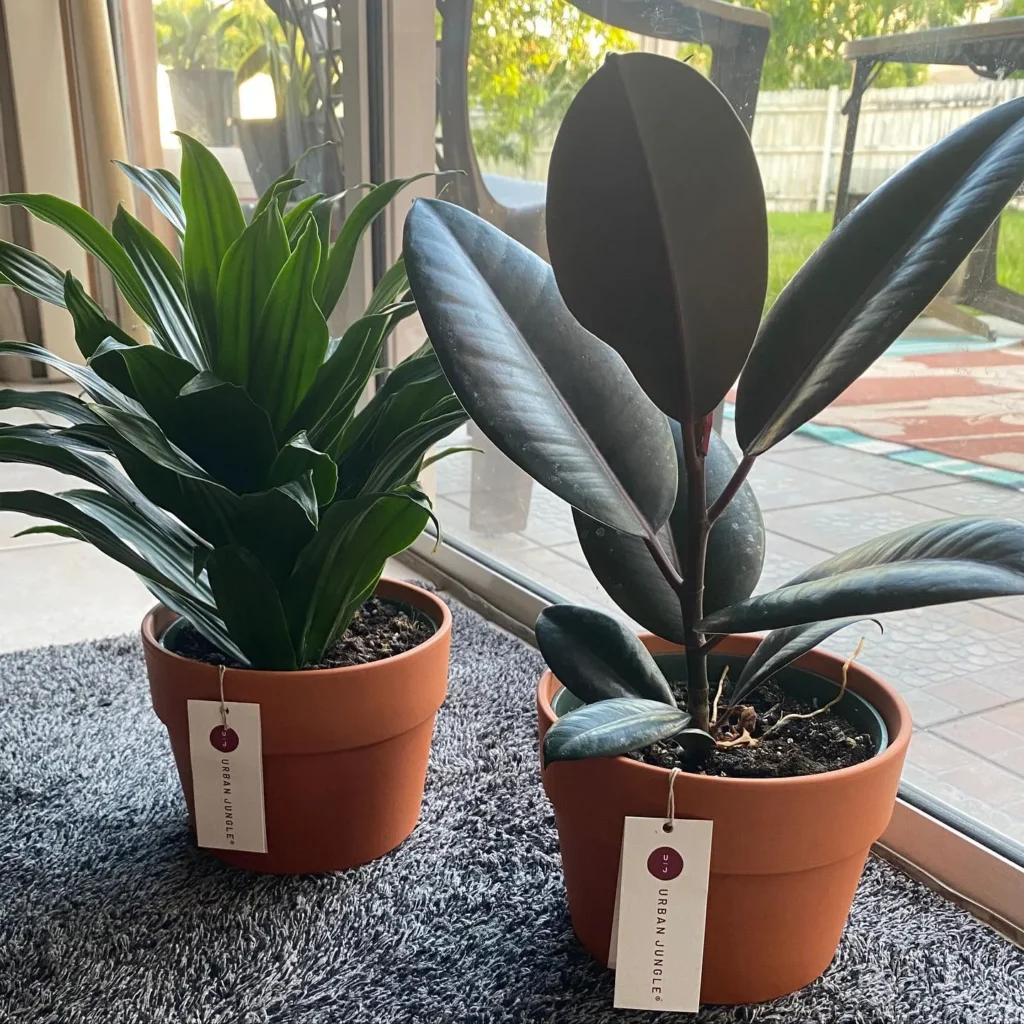
Properly preparing the new pot is a crucial step in repotting your Janet Craig Dracaena. By following these simple guidelines, you’ll create an ideal environment for your plant to thrive.
Cleaning the Pot
Before transferring your Janet Craig Dracaena to its new home, it’s important to ensure the pot is clean and free from any contaminants.
Start by gently scrubbing the pot with a mixture of water and mild soap. Rinse thoroughly and allow it to dry completely.
Adding Appropriate Drainage
Good drainage is essential for the health of your plant’s roots. Place a layer of small rocks or pebbles at the bottom of the pot. This will prevent the soil from becoming waterlogged and help excess water to drain away.
Selecting the Right Potting Mix
Choosing the right potting mix is key to promoting healthy growth in your Janet Craig Dracaena. Look for a well-draining soil mix that provides a balance of nutrients. It should be lightweight and airy to allow oxygen to reach the roots.
Avoid using garden soil, as it can be too heavy and compact for potted plants.
Assessing the Root System
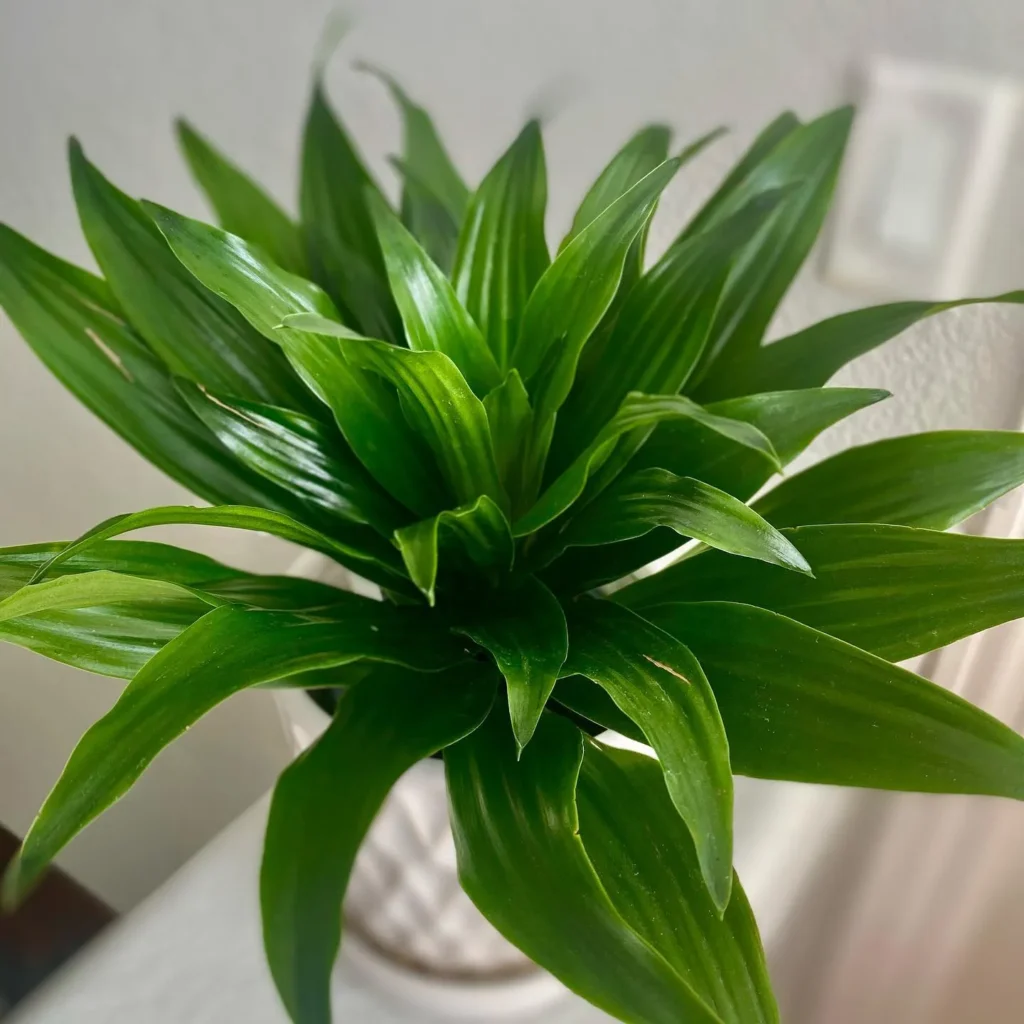
Before repotting your Janet Craig Dracaena, it’s crucial to assess the health of its root system. The roots play a vital role in the plant’s overall well-being and growth. Here are a few steps to help you evaluate the root system:
- Start by gently tapping the pot to loosen the soil and roots.
- Carefully remove the plant from its current pot, holding it by the base of the stem.
- Examine the roots for any signs of overcrowding, discoloration, or root rot.
- Healthy roots should be firm, white, and spread evenly throughout the potting mix.
- If you notice mushy or blackened roots, trim them back with clean, sharp scissors or pruning shears.
- Look out for a tightly packed root ball, which may indicate that the plant has outgrown its current pot.
Removing the Plant from its Current Pot
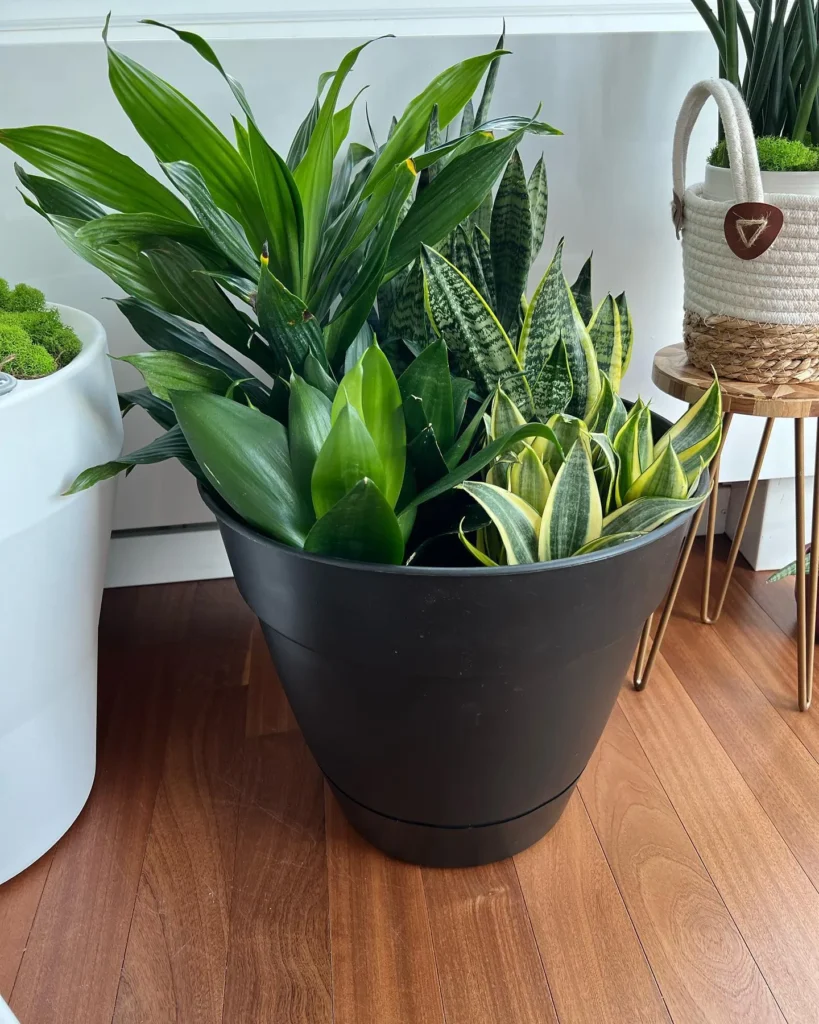
Carefully removing your Janet Craig Dracaena plant from its current pot is crucial to avoid damaging the roots. Follow these step-by-step instructions for a safe removal process:
- Gently water the plant a day or two before repotting to ensure the soil is moist but not soaked.
- Find a suitable workspace where you can comfortably handle the plant.
- Place a tray or towel underneath the pot to catch any soil or water that may spill.
- Hold the base of the plant’s stem with one hand.
- With your other hand, firmly grip the pot and gently tilt it to one side.
- Tap the bottom of the pot to loosen the root ball from the container.
- If the plant doesn’t easily slide out, use a plastic knife or similar tool to gently loosen the edges of the root ball.
- Once the root ball is free, carefully lift the plant out of the pot, supporting the base of the stem and the root ball.
- Inspect the roots for any signs of damage, disease, or overcrowding. Trim away any dead or rotting roots with clean and sharp pruning shears.
- Shake off excess soil from the roots or gently rinse them under running water to remove any remaining soil.
Pruning and Dividing (if necessary)
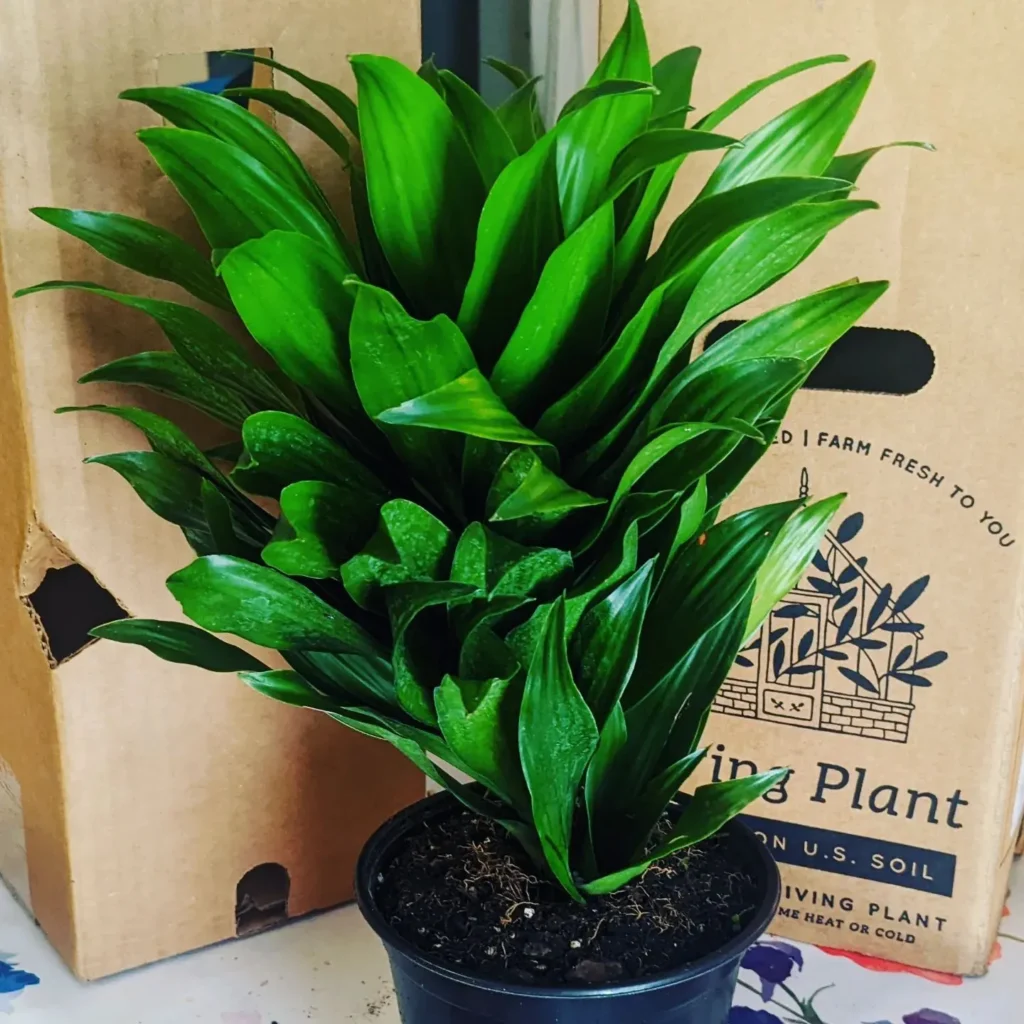
Pruning is a great way to manage the size and shape of your Janet Craig Dracaena plant. By trimming back the foliage, you can help your plant maintain a tidy and compact appearance. It also promotes new growth and encourages branching.
To prune your Janet Craig Dracaena, start by identifying any overgrown or damaged stems or leaves. Using clean and sharp pruning shears, carefully remove these unwanted parts. Make sure to cut just above a leaf node or stem joint to encourage new growth.
If your Janet Craig Dracaena has become too large or overcrowded, you may also consider dividing it into multiple plants. Dividing allows you to create new plants from the existing one, which can be great for expanding your collection or sharing with others.
To divide your plant, gently remove it from its pot and separate the root ball into smaller sections. Each section should have a healthy set of roots and foliage. Replant these divisions into separate pots, using fresh potting mix.
Repotting Process Step-by-Step
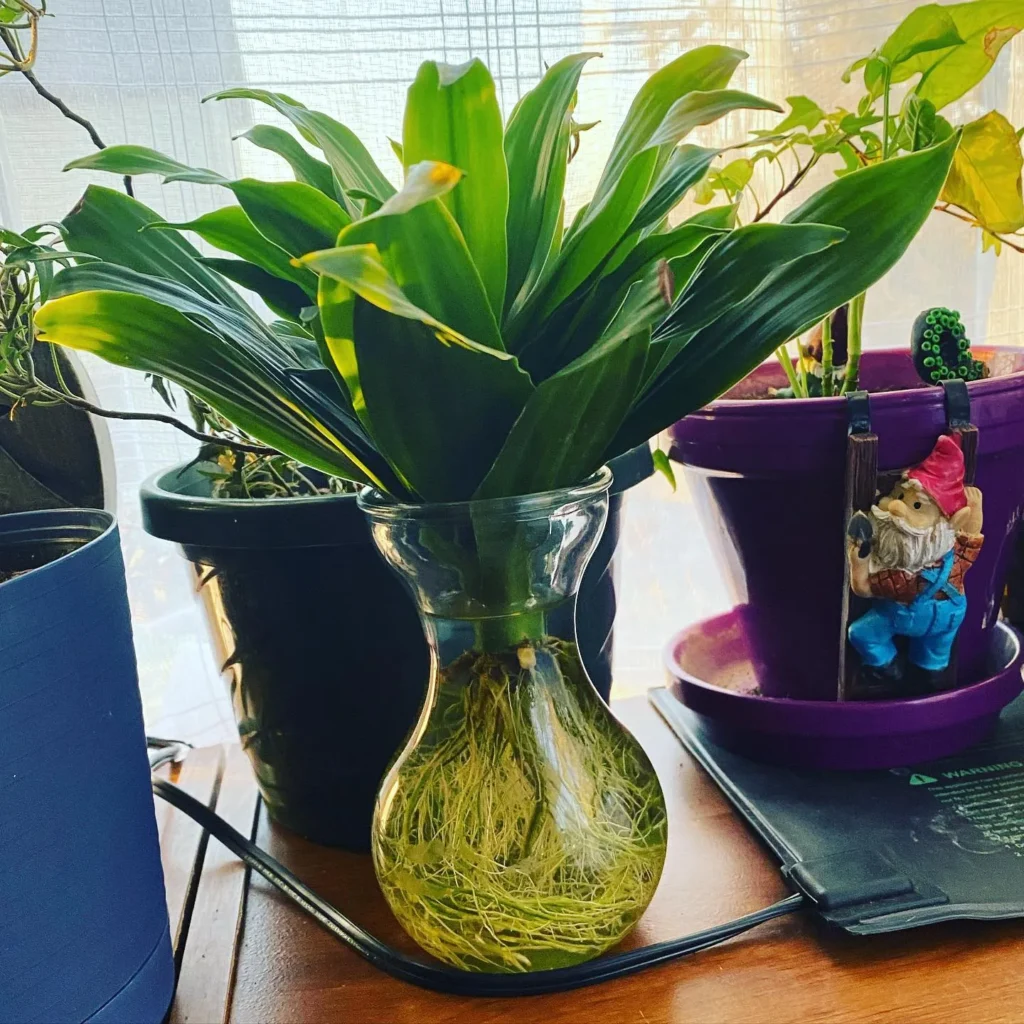
Repotting your Janet Craig Dracaena plant is an essential task for maintaining its health and promoting growth. Don’t worry, it’s easier than it sounds! Follow these simple steps to repot your Janet Craig Dracaena without any stress.
Step 1: Prepare the New Pot
- Choose a slightly larger pot with drainage holes to accommodate the plant’s growth.
- Clean the new pot with mild soap and water to remove any dirt or residue.
- Add a layer of small rocks or broken pottery pieces at the bottom of the pot to ensure proper drainage.
- Fill the pot about one-third full with well-draining potting mix.
Step 2: Assess the Root System
Gently remove the Janet Craig Dracaena from its current pot and inspect the root system. Look for any signs of root rot or overcrowding. If the roots have filled the pot or appear tightly wound, it is time for repotting.
Step 3: Loosen the Roots
Using your fingers or a small gardening tool, carefully loosen the roots of the plant. This will encourage new root growth and prevent them from becoming root-bound in the new pot.
Step 4: Place the Plant in the New Pot
- Position the plant in the center of the new pot, ensuring it is at the same depth as it was in the previous pot.
- Fill in the gaps around the plant with fresh potting mix, gently pressing the mix down to eliminate air pockets.
- Leave about half an inch of space between the top of the pot and the soil line to allow for watering.
Step 5: Water and Settle the Plant
After repotting, thoroughly water the plant until the water drains out from the bottom of the pot. This will settle the soil around the roots and help the plant establish in its new pot.
Step 6: Care Instructions
Place your repotted Janet Craig Dracaena in a spot with bright, indirect sunlight and maintain a consistent watering schedule. Avoid overwatering, as it can lead to root rot. Monitor the plant closely over the next few weeks to ensure it adjusts well to its new pot.
Caring for Your Repotted Janet Craig Dracaena
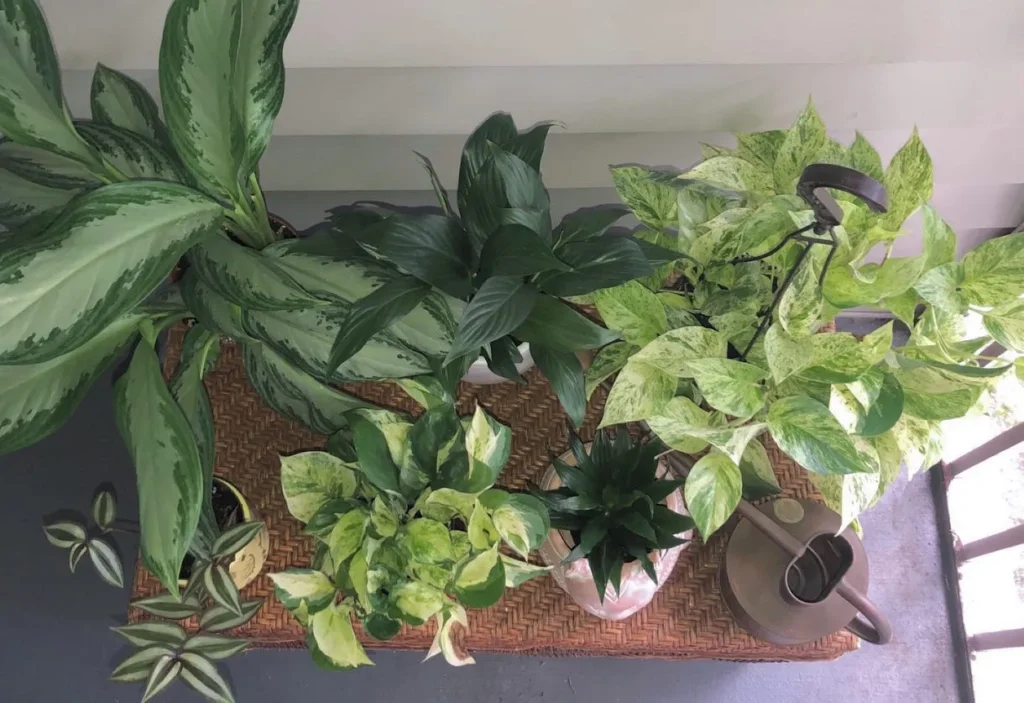
Repotting your Janet Craig Dracaena is just the first step towards ensuring its health and thriving growth. To help your plant flourish, it’s important to provide the right care and attention. Here are some essential tips on caring for your repotted Janet Craig Dracaena:
1. Watering
Proper watering is crucial for the well-being of your Janet Craig Dracaena. After repotting, allow the plant to settle for a few days before watering.
Then, water it thoroughly until the excess water drains out from the drainage holes. Be sure to check the moisture level of the soil regularly and water only when it feels dry to the touch.
2. Light Requirements
Janet Craig Dracaenas thrive in bright, indirect light. Place your repotted plant in a location where it can receive moderate to bright light throughout the day.
Avoid placing it in direct sunlight as it can scorch the leaves. If you notice the leaves becoming pale or yellow, it might be an indication that your plant needs more light.
3. Temperature and Humidity
Janet Craig Dracaenas prefer average room temperatures between 60°F and 75°F (15°C to 24°C). Keep your repotted plant away from drafts and extreme temperature fluctuations.
They also appreciate higher humidity levels, so consider using a humidifier or placing a tray filled with water and pebbles near the plant.
4. Fertilizing
To promote healthy growth, fertilize your Janet Craig Dracaena after repotting. Use a balanced, water-soluble fertilizer formulated for houseplants. Follow the instructions on the fertilizer packaging for proper dilution and application.
Fertilize your plant every 2-4 weeks during the growing season (spring and summer) and reduce frequency during winter.
5. Pruning
Regular pruning is important to maintain the shape and size of your Janet Craig Dracaena. Remove any yellowing, damaged, or leggy foliage with clean, sharp pruning shears.
Additionally, if your plant becomes too large for its space, you can propagate it by division during repotting or later on.
Common Mistakes to Avoid
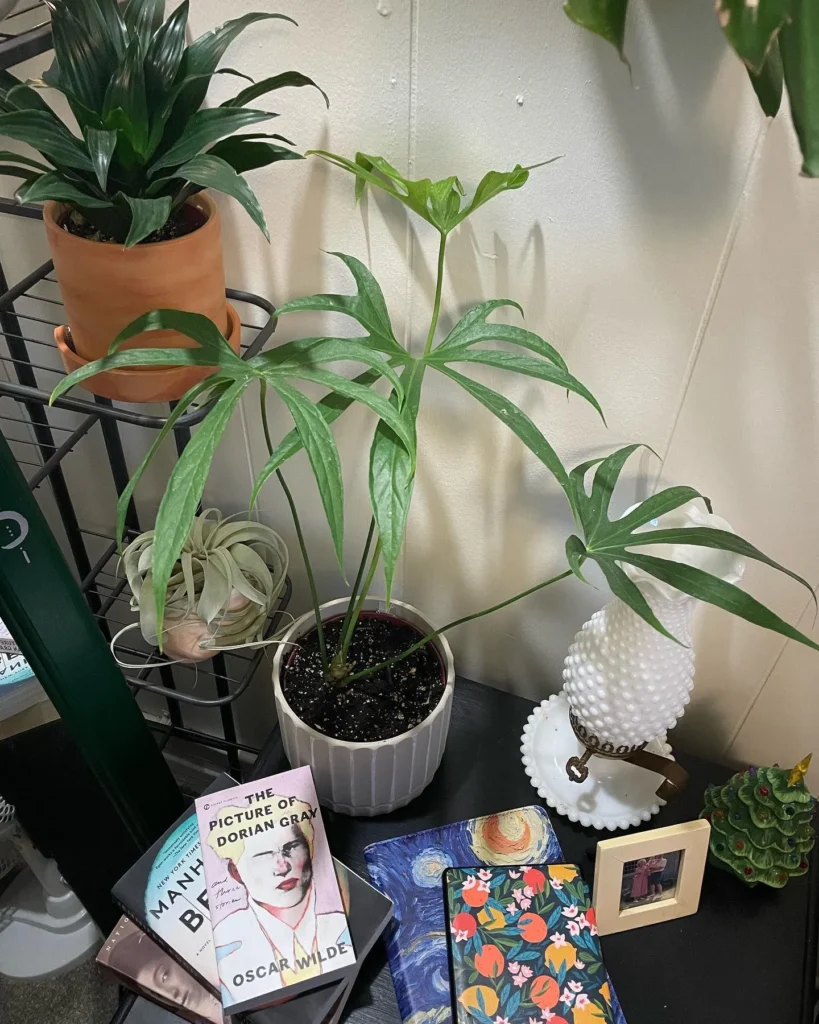
When it comes to repotting your Janet Craig Dracaena, it’s important to be aware of common mistakes that can hinder the health and growth of your plant.
By understanding these pitfalls, you can avoid them and ensure your Janet Craig Dracaena thrives in its new pot.
One common mistake is selecting the wrong pot size. Choosing a pot that is too small can restrict the root growth and lead to stunted development.
On the other hand, opting for a pot that is too large can cause excess moisture retention and increase the risk of root rot. It’s essential to find the right balance and select a pot that allows for adequate root space without being excessively large.
Another mistake to watch out for is using the wrong potting mix. Janet Craig Dracaenas prefer well-draining soil that is not overly compact.
Using regular garden soil or heavy potting mixes can suffocate the roots and hinder their ability to absorb nutrients and moisture properly. Opt for a well-draining potting mix specifically formulated for indoor plants or a mix that includes a combination of peat moss, perlite, and vermiculite.
Overwatering is a common mistake made during the repotting process. It’s important to remember that even though your plant has a new pot, its watering needs may not change dramatically.
Overwatering can lead to root rot and other fungal diseases. Be sure to allow the top layer of soil to dry out between watering sessions and adjust the watering frequency based on the specific needs of your Janet Craig Dracaena.
- Choosing the wrong pot size
- Using the wrong potting mix
- Overwatering
Lastly, improper handling during the repotting process can cause damage to the delicate roots of your Janet Craig Dracaena. Be gentle when removing the plant from its current pot and avoid pulling on the foliage or stems.
It’s best to loosen the root ball with your fingers or a tool to separate the roots from the old soil. This will help reduce stress on the plant and minimize the risk of root damage.
Avoiding these common mistakes will help ensure a smooth repotting process and promote the healthy growth of your Janet Craig Dracaena.
By providing the right pot, appropriate potting mix, and proper handling techniques, you’ll set your plant up for success in its new home.
Signs of Successful Repotting
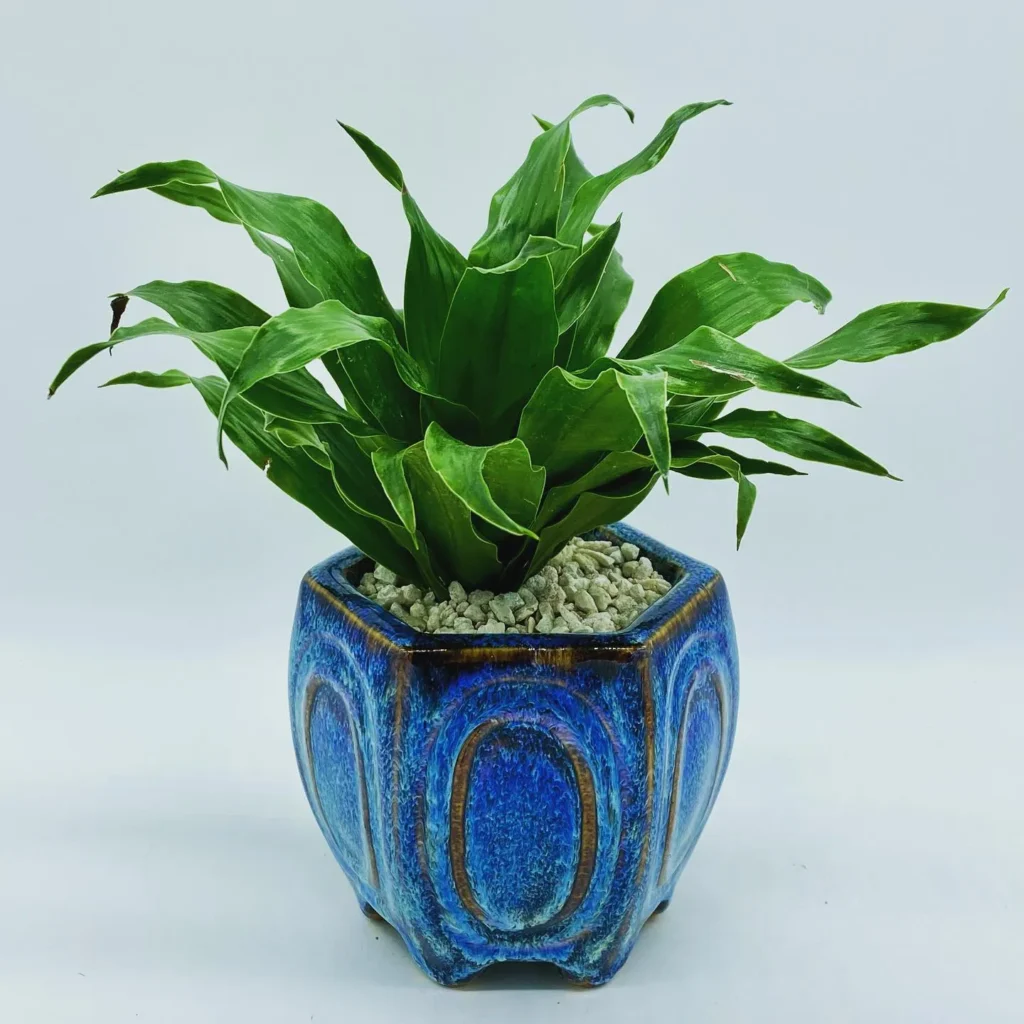
After repotting your Janet Craig Dracaena, you may be wondering how to tell if your efforts were successful. Keep a close eye on your plant and watch out for these signs that indicate a smooth transition and a thriving Dracaena:
- New Growth: One of the clearest signs of successful repotting is the emergence of new growth. Look for fresh leaves or shoots sprouting from the plant, indicating that it is adapting well to its new pot.
- Healthy Foliage: Take a close look at the foliage of your Janet Craig Dracaena. A successful repotting will result in vibrant, lush leaves that appear healthy and free of discoloration or wilting.
- Root Development: Check the root system of your plant after repotting. Healthy roots should be firm, white, and well-distributed throughout the potting mix. If you notice new root growth, it’s a positive sign of successful repotting.
- Improved Stability: A well-repotted Janet Craig Dracaena should exhibit improved stability in its new pot. The plant should stand upright without any wobbling or leaning, indicating that its roots have established a strong hold in the new potting mix.
- Increased Watering Tolerance: Successful repotting often results in increased water absorption and tolerance for your plant. If you notice that your Janet Craig Dracaena can now withstand longer intervals between waterings without showing signs of stress, it’s a positive indication of successful repotting.
Troubleshooting Common Issues
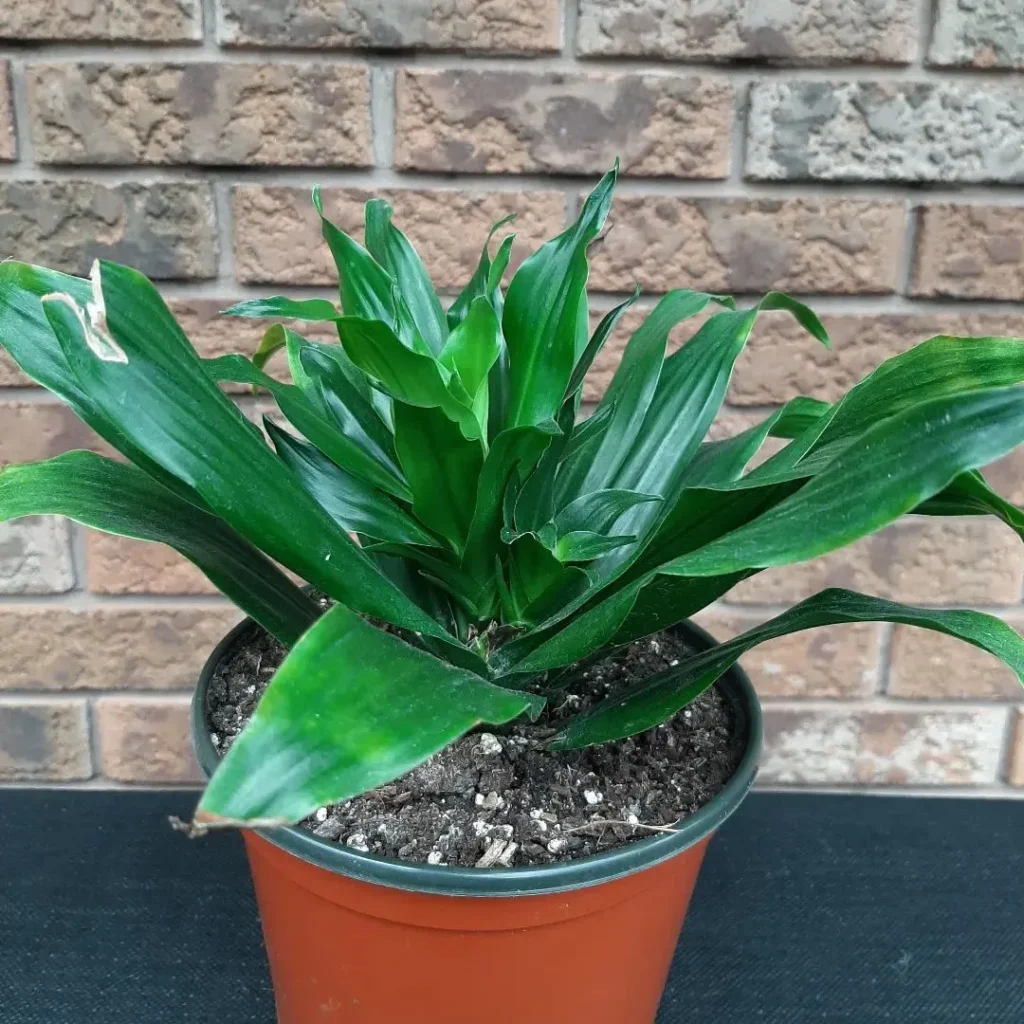
While repotting your Janet Craig Dracaena plant can help promote healthy growth, there are still potential issues that may arise during the process. Don’t worry, I’m here to help you troubleshoot these common problems and keep your plant thriving.
1. Root Damage: Accidentally damaging the roots while removing the plant from its current pot is a common issue. If you notice any broken or injured roots, gently trim them with clean, sharp scissors and apply a rooting hormone to encourage new growth.
2. Watering Problems: Overwatering or underwatering your Janet Craig Dracaena after repotting can lead to stress or root rot. Ensure that your new pot has proper drainage and monitor the moisture levels carefully.
Water your plant only when the top inch of the soil feels dry to the touch.
3. Transplant Shock: Repotting can cause temporary shock to your plant, leading to wilting or drooping foliage. To alleviate transplant shock, keep your Janet Craig Dracaena in a shady area for a few days after repotting and gradually expose it to more light.
Be patient, as it may take some time for your plant to adjust to its new environment.

