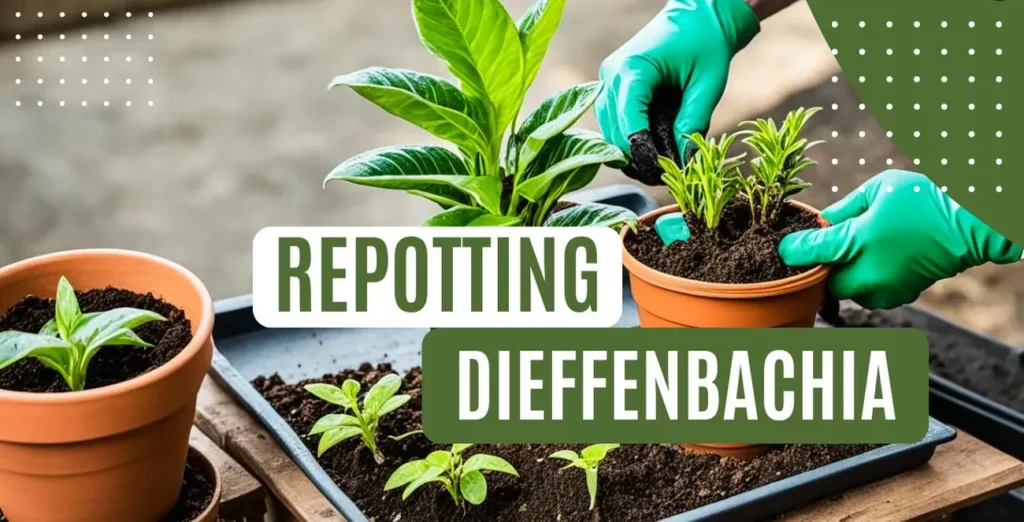
To repot Dieffenbachia, gently remove the plant from its current pot, prune any damaged roots, place it in a new pot with fresh, well-draining soil, ensuring the plant sits at the same depth it was in the original pot, and water thoroughly.
This guide offers a comprehensive approach to repotting Dieffenbachia, covering the ideal timing, selecting the right pot and soil, and a detailed process to ensure your plant’s health and vitality.
It includes preventative measures for root-bound problems and post-repotting care, aiming to enhance your gardening skills and promote your plant’s well-being in its new setting.
Why Repotting Dieffenbachia is Important
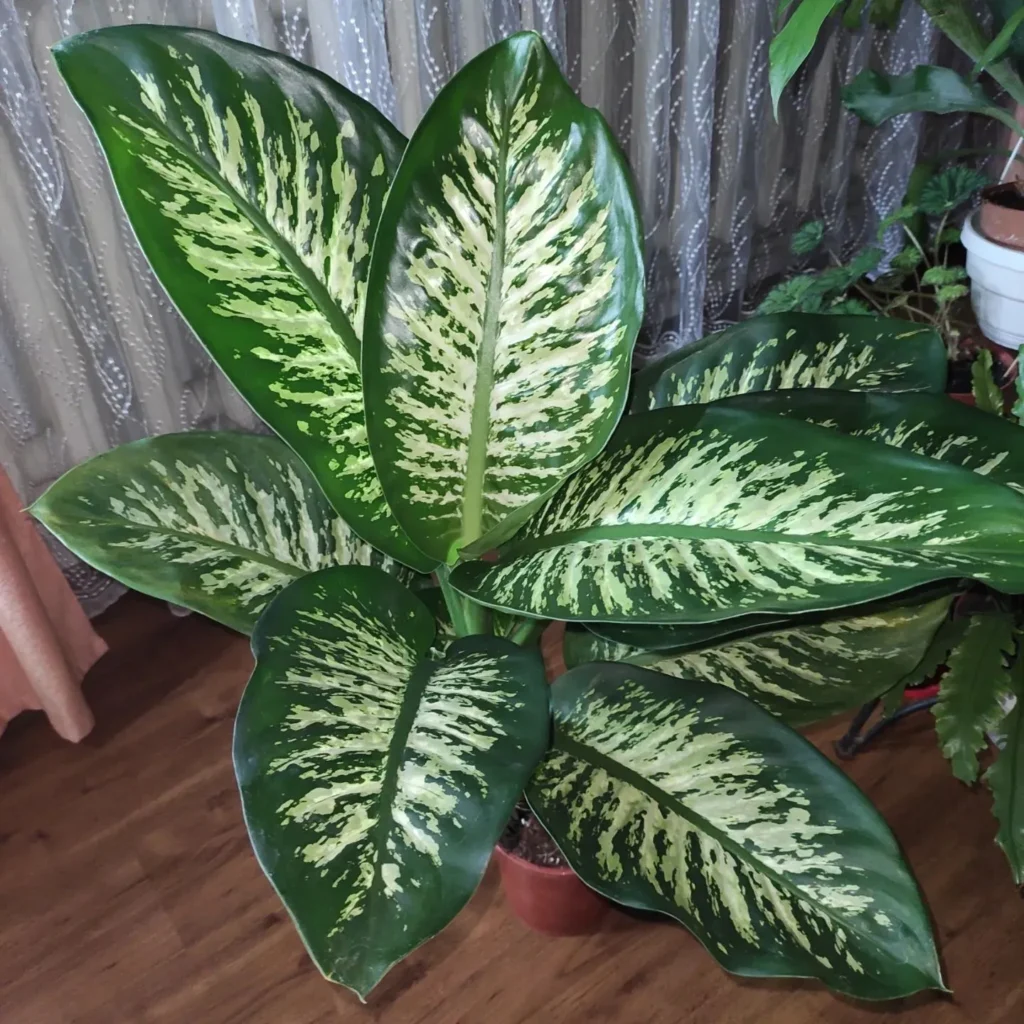
Repotting Dieffenbachia is essential for the health and growth of your plant. By repotting, you provide a fresh environment that offers numerous benefits to your Dieffenbachia.
- Refreshes the Soil: Over time, the soil in the current pot becomes depleted of nutrients, reducing its ability to support healthy plant growth. Repotting allows you to replace the old, nutrient-depleted soil with fresh potting mix, providing essential nourishment for your Dieffenbachia.
- Promotes Better Growth: Repotting encourages your Dieffenbachia to develop a stronger root system, enabling it to absorb nutrients and water more effectively. This strong root system leads to overall better plant growth and vitality.
- Prevents Root-Bound Issues: As Dieffenbachia grows, its roots may become crowded and root-bound in its current pot. Repotting gives the roots more space to spread and grow, preventing circulation problems that can hinder the plant’s health and development.
- Enhances Overall Plant Health: By providing fresh soil and ample space for root growth, repotting Dieffenbachia ensures optimal plant health. The new environment allows the plant to thrive, reducing the risk of diseases and increasing its longevity.
Choosing the Right Time for Repotting Dieffenbachia
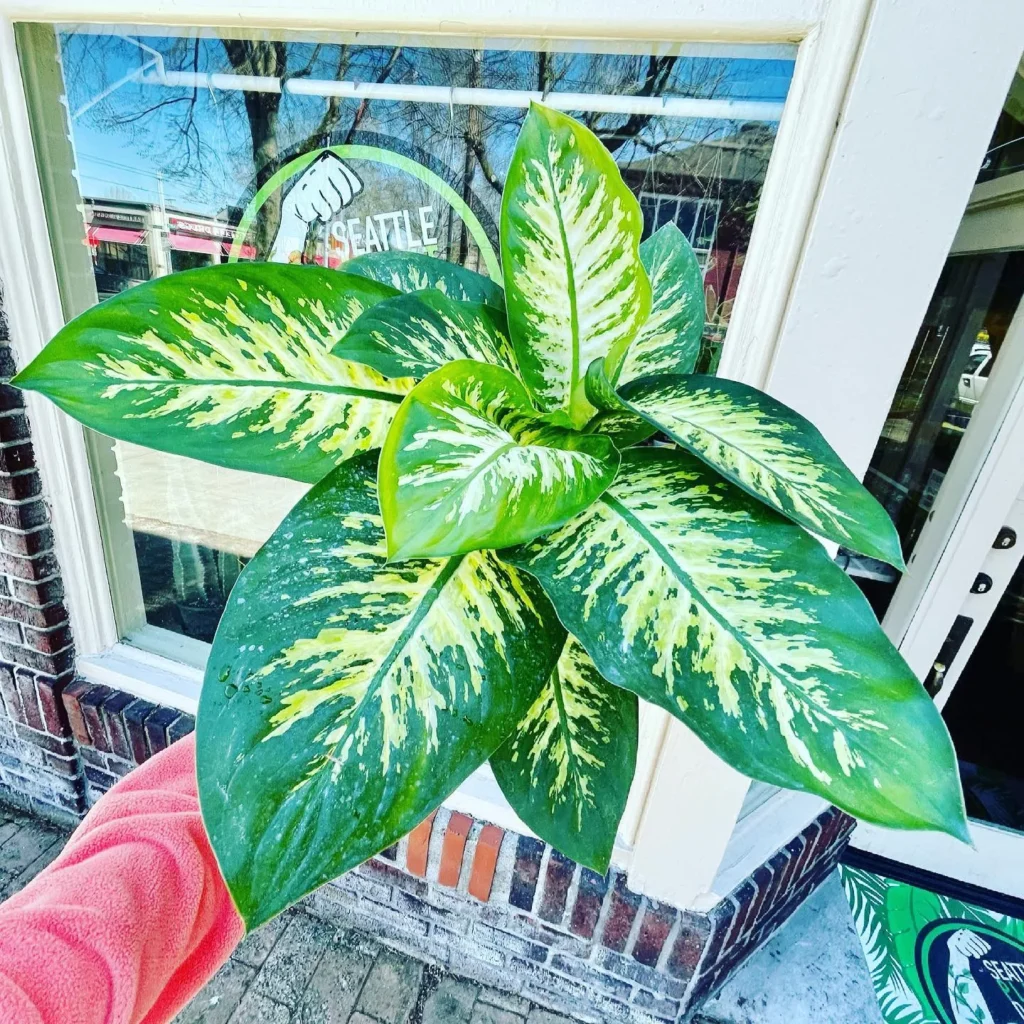
Repotting your Dieffenbachia at the ideal time is crucial for a successful transplantation. Seasonal considerations and signs from your plant can help you determine when it’s time for repotting.
Seasonal Considerations
The ideal time to repot your Dieffenbachia is during its active growing season, which typically occurs in the spring or early summer. During this time, the plant is actively producing new leaves and roots, making it more resilient to the stress of repotting.
However, if your Dieffenbachia is showing signs of distress or outgrowing its current pot, repotting can be done anytime throughout the year.
Signs for Repotting
When observing your Dieffenbachia, look out for the following signs that indicate it’s time for repotting:
- The plant’s roots are visible through the drainage holes of the pot.
- The plant is top-heavy and tipping over, indicating the root system is overcrowded.
- The plant’s growth has slowed down or stopped.
- The soil is consistently drying out much faster than before, indicating it may be root-bound.
- The current pot is cracked, damaged, or no longer appropriate for the size of the plant.
These signs suggest that your Dieffenbachia has outgrown its current pot, and repotting is necessary to provide it with the space and nutrients it needs to thrive.
Selecting the Perfect Pot and Soil Mix
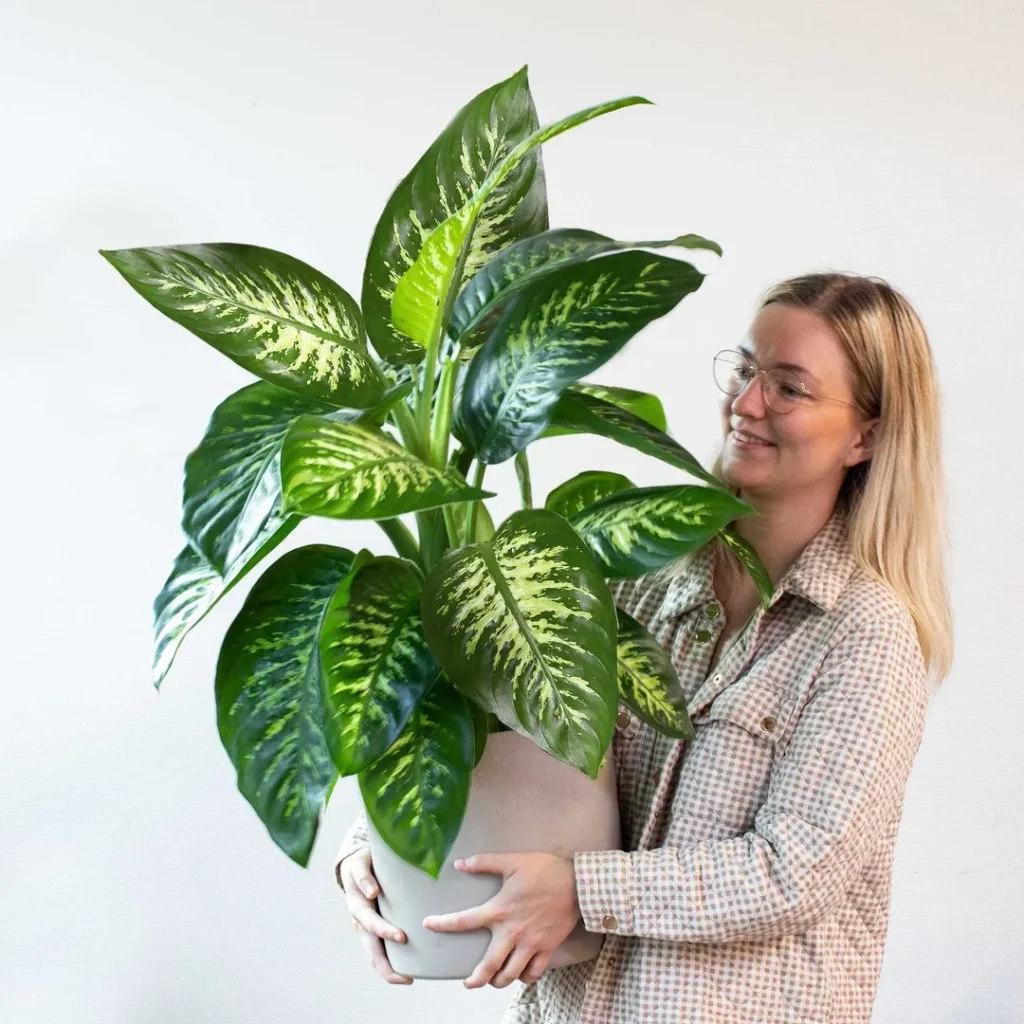
Pot Selection: Start by selecting a pot that is slightly larger than the current one, allowing room for your Dieffenbachia’s roots to grow. A general rule of thumb is to choose a pot that is 1-2 inches larger in diameter.
You can opt for materials such as terracotta, ceramic, or plastic, depending on your preference and the conditions in your home.
Soil Mix: The soil mix for your Dieffenbachia should be well-draining yet moisture-retentive. A recommended mixture includes peat moss, perlite, and organic compost.
The peat moss helps retain moisture, while perlite improves drainage. Organic compost enriches the soil with nutrients essential for the plant’s growth.
Tips for Potting Mix Ingredients:
- Peat moss: Provides moisture retention for the roots.
- Perlite: Enhances drainage and prevents waterlogging.
- Organic compost: Enriches the soil with nutrients essential for growth.
Preparing Dieffenbachia for Repotting
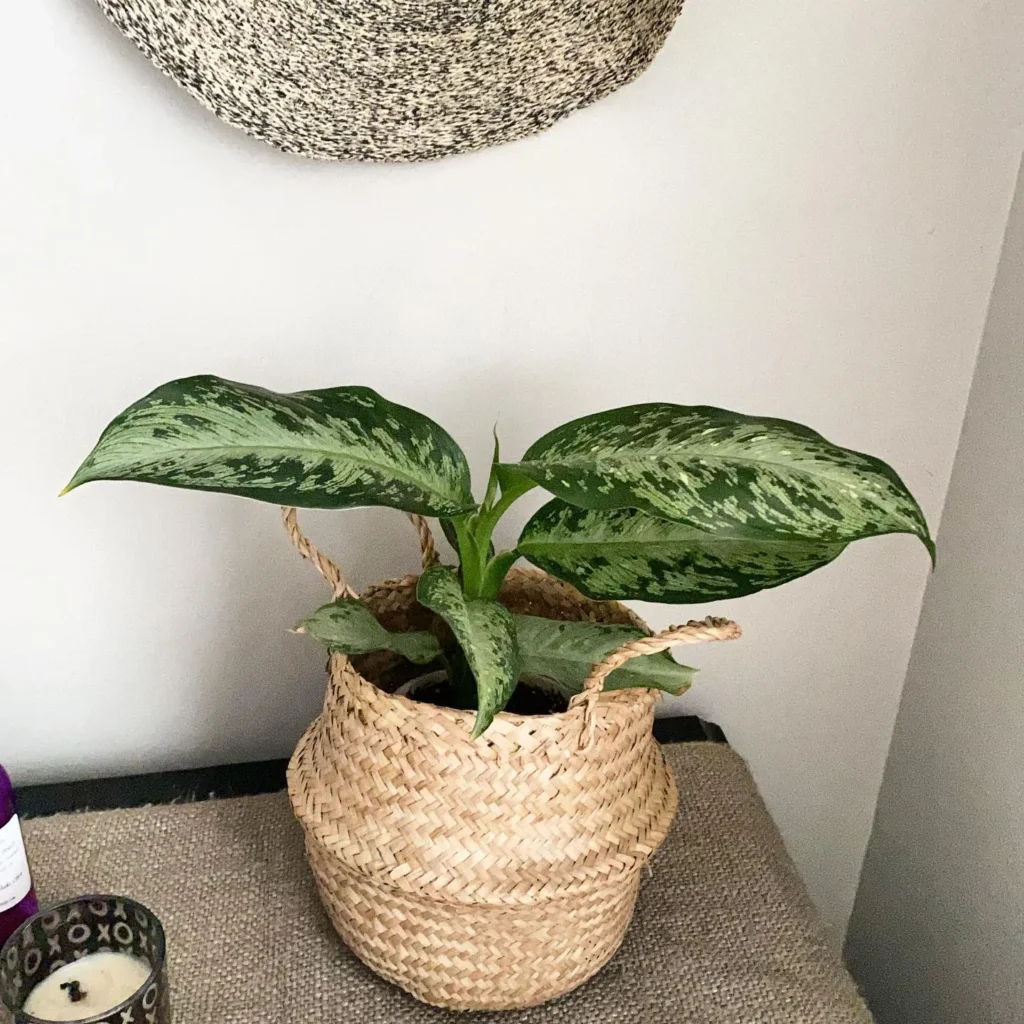
Before you embark on the repotting process for your Dieffenbachia, it’s important to make the necessary preparations. These steps will ensure that your plant is well-prepared for the transplant and can thrive in its new pot.
Here’s a guide on how to prepare your Dieffenbachia for repotting:
Removing the Plant from Its Current Pot
Start by gently loosening the soil around the edges of the pot using your fingers or a small trowel. Once the soil is loosened, carefully tip the pot to slide the plant out. Be gentle to avoid damaging the roots.
Inspecting the Root System
Once you have removed the plant from its pot, take a close look at the root system. Check for any signs of root rot, such as mushy or discolored roots. Healthy roots should be firm, white, and well-distributed throughout the soil.
If you notice any signs of root rot or overcrowding, it’s crucial to address these issues before repotting. Trim away any damaged or rotting roots using clean, sharp scissors or pruning shears.
Additionally, gently untangle any tangled or circling roots to promote healthy root growth.
Preparing for Transplantation
After inspecting and addressing any root issues, it’s time to prepare your Dieffenbachia for transplantation. Prepare a clean pot that is slightly larger than the current one, ensuring it has drainage holes at the bottom.
To create an ideal environment for your Dieffenbachia, fill the new pot with a well-draining potting mix. Avoid using garden soil, as it can be too heavy and may hinder root growth.
Instead, opt for a commercial potting mix specifically formulated for houseplants or make your own mix using ingredients like peat moss, perlite, and compost.
Carefully place the Dieffenbachia into the new pot, ensuring that the top of the root ball is level with the rim of the pot. Fill in any empty spaces around the roots with the potting mix, gently pressing it down to secure the plant.
Once your Dieffenbachia is securely planted in its new pot, give it a thorough watering to settle the soil and provide hydration to the roots. Avoid overwatering, as excessive moisture can lead to root rot.
Repotting Dieffenbachia: Step-by-Step Instructions
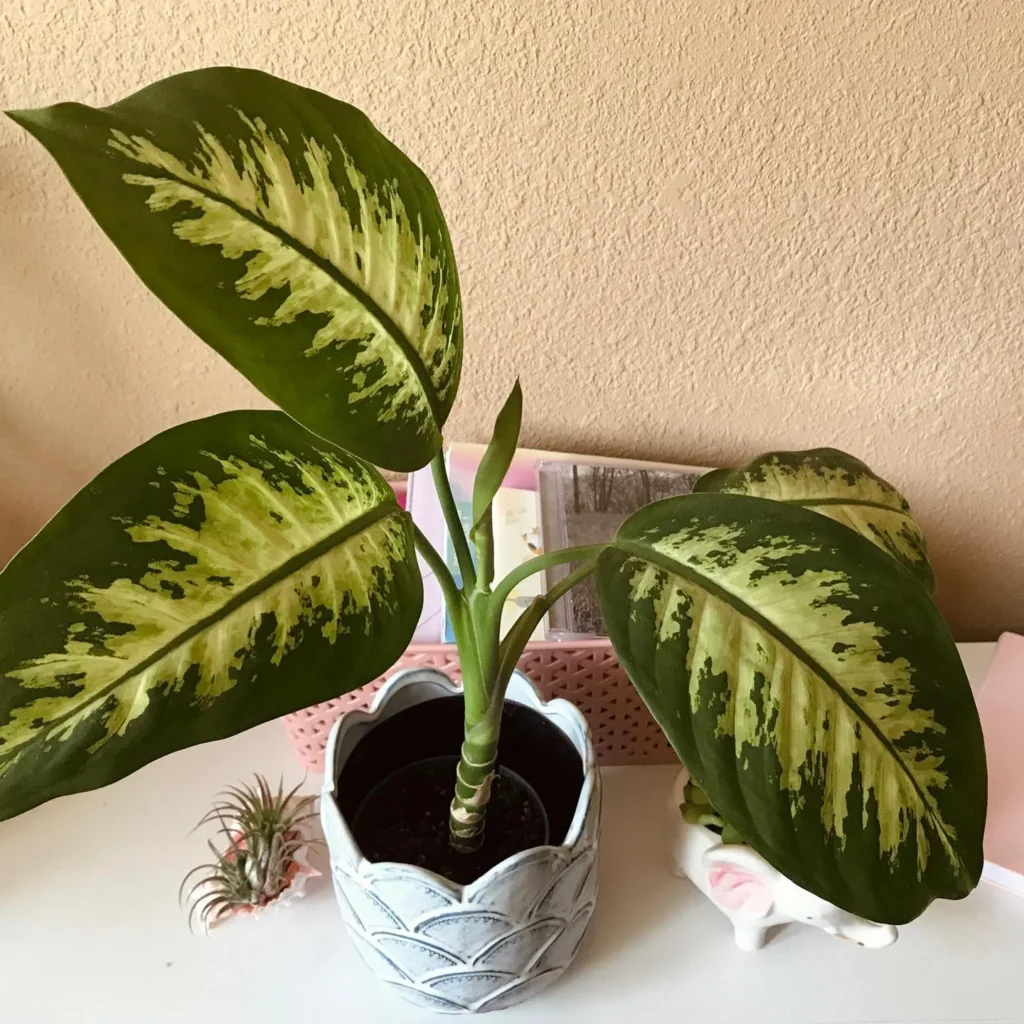
Repotting your Dieffenbachia is a crucial process that requires careful attention and proper techniques to ensure the health and longevity of your plant.
In this section, I will guide you through the step-by-step repotting process, providing you with valuable insights and tips along the way.
Before we begin, gather the following materials:
- A new pot that is one size larger than the current one
- Well-draining potting mix
- Watering can or spray bottle
- Gardening gloves
- Garden pruners or shears
Now, let’s proceed with the repotting process:
- Prepare the new pot: Start by cleaning the new pot with water and mild soap. Rinse thoroughly to remove any residue.
- Prepare the potting mix: Use a well-draining potting mix suitable for tropical plants. Avoid heavy soil mixes that can retain excessive moisture and cause root rot. Fill the new pot about one-third full with the potting mix.
- Remove the plant from its current pot: Gently loosen the soil around the base of the plant using your hands or a tool. Carefully lift the plant out of the pot, holding it by the stem near the base.
- Inspect the roots: Gently shake off excess soil from the root ball. Inspect the roots for any signs of rot, damage, or overcrowding. Trim off any dead or mushy roots using clean garden pruners or shears.
- Plant the Dieffenbachia: Place the plant in the center of the new pot. Ensure that the crown of the plant is level with or slightly above the rim of the pot. Fill the remaining space in the pot with the potting mix, gently pressing it down to secure the plant.
- Water the plant: Give the newly repotted Dieffenbachia a thorough watering until water drains freely from the bottom of the pot. This helps settle the soil and removes any air pockets.
- Place the plant in a suitable location: Choose a spot with bright, indirect light for your Dieffenbachia. Avoid direct sunlight as it can scorch the leaves. Maintain a temperature range of 65-75°F (18-24°C) for optimal growth.
- Monitor and care for your repotted Dieffenbachia: After repotting, keep a close eye on your plant for the first few weeks. Maintain proper watering, allowing the top inch of soil to dry out before watering again. Fertilize the plant with a balanced houseplant fertilizer according to the package instructions, usually every 4-6 weeks.
Post-Repotting Care for Dieffenbachia
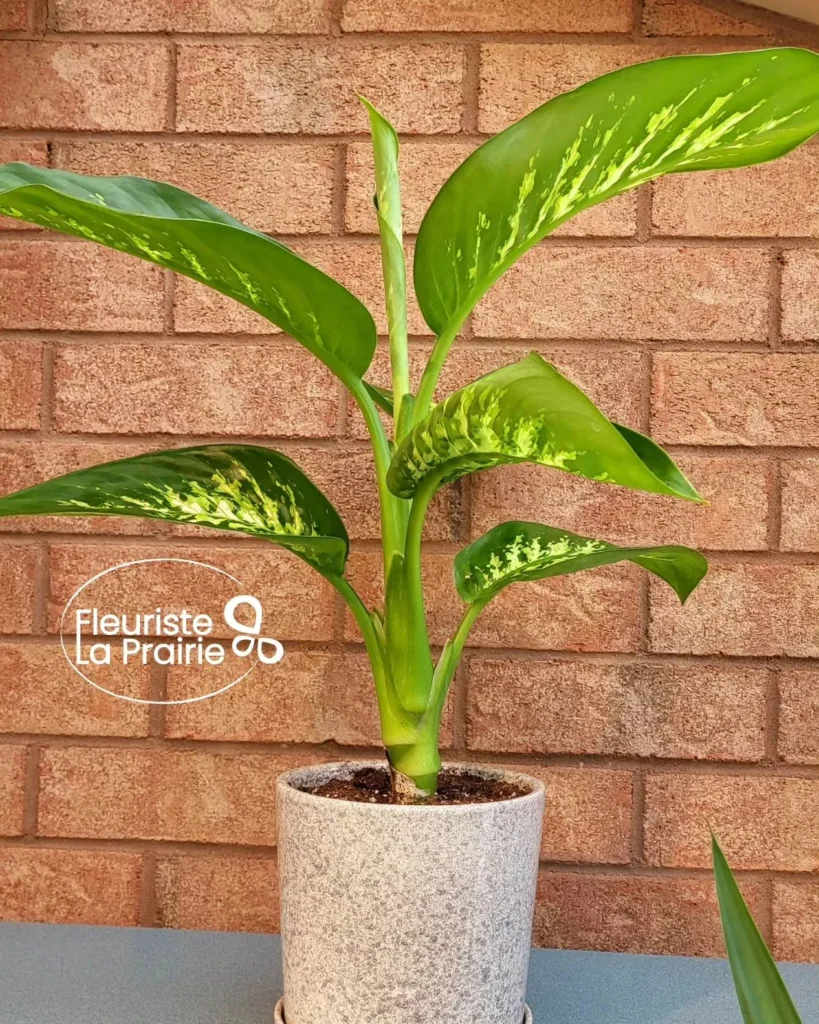
Now that you have successfully repotted your Dieffenbachia, it’s important to provide proper care to ensure its continued growth and well-being. Here are some essential post-repotting care instructions to follow:
Watering after Repotting
Watering is a crucial aspect of caring for your recently repotted Dieffenbachia. After repotting, wait for a few days before watering the plant to allow it to adjust to its new environment.
Once the waiting period is over, thoroughly water the plant until the water runs through the drainage holes of the pot. Ensure that the soil is moist but not soggy, as over-watering can lead to root rot.
Light and Temperature Requirements
Dieffenbachia plants thrive in bright, indirect light. Place your repotted Dieffenbachia in a location where it can receive bright but filtered sunlight. Avoid placing it in direct sunlight, as this can scorch the leaves.
Additionally, maintain a temperature range of 65-75°F (18-24°C) during the day and slightly cooler temperatures at night to provide optimal growing conditions.
Fertilization
To support the healthy growth of your repotted Dieffenbachia, regular fertilization is essential. Use a balanced, water-soluble fertilizer specifically formulated for indoor plants.
Follow the instructions on the fertilizer packaging to determine the correct dosage and frequency of application. Fertilize your Dieffenbachia during the growing season, typically from spring to early fall, and reduce or cease fertilization during the dormant period in winter.
Troubleshooting Common Repotting Issues
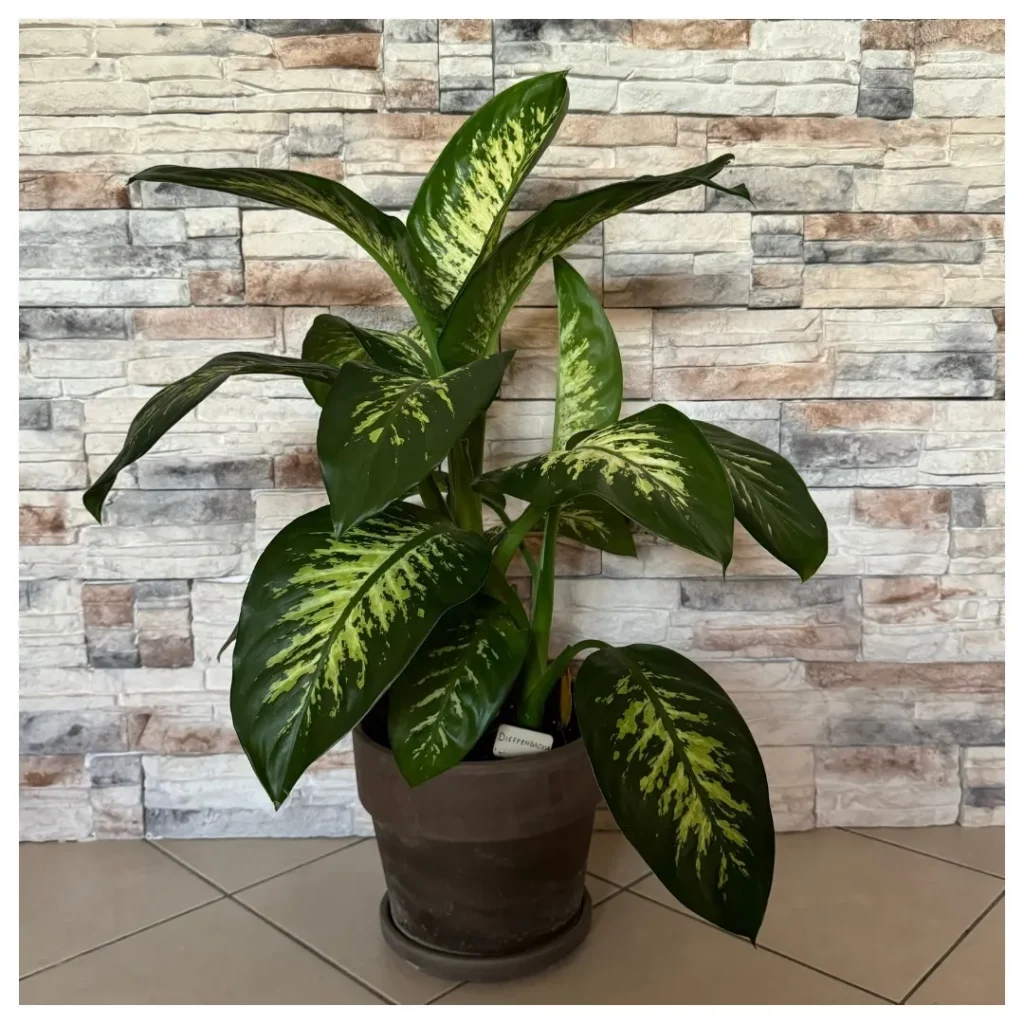
While repotting your Dieffenbachia plant can be a rewarding experience, it’s not uncommon to encounter some issues along the way.
In this section, I will address the most common problems that may arise during the repotting process and provide you with troubleshooting tips to overcome them.
1. Root Rot
Root rot is one of the most common repotting problems, usually caused by overwatering or using poorly drained soil. To prevent root rot, make sure to use a well-draining potting mix specifically designed for tropical plants like Dieffenbachia.
Additionally, avoid overwatering your plant and ensure that the pot has proper drainage holes. If you notice signs of root rot, such as mushy or discolored roots, trim off the affected areas and repot the plant in fresh, well-draining soil to promote healthy root growth.
2. Transplant Shock
Transplant shock can occur when a plant is moved to a new pot or environment. Signs of transplant shock include wilting, yellowing, or drooping leaves.
To minimize transplant shock, be gentle while handling your Dieffenbachia during repotting. Provide adequate water and humidity after repotting, and avoid exposing the plant to direct sunlight until it has fully adjusted to its new pot.
Additionally, consider using a rooting hormone or a growth-promoting fertilizer to encourage new root development and help your plant recover from the shock.
3. Yellowing Leaves
Yellowing leaves can be a sign of various issues, including nutrient deficiencies, overwatering, or underwatering. During repotting, the disturbance to the root system can also cause temporary leaf yellowing.
To address this problem, ensure that you are providing your Dieffenbachia with the appropriate amount of water and allow the soil to dry slightly between waterings.
Additionally, periodically fertilize your plant with a balanced houseplant fertilizer to provide it with essential nutrients. If the yellowing persists or spreads to healthy leaves, it may indicate a more serious problem, and you should consider consulting a plant expert for further assistance.
FAQ
Q: How often should I repot my Dieffenbachia?
A: Dieffenbachia plants typically require repotting every 1-2 years. However, it is best to check the root system annually and look for signs of being root-bound, such as roots growing out of the drainage holes or the plant becoming top-heavy.
Q: Can I use regular potting soil for repotting my Dieffenbachia?
A: While regular potting soil can be used, it is recommended to use a well-draining potting mix specifically formulated for tropical plants. This helps prevent waterlogging and promotes healthy root growth.
Q: What should I do if my Dieffenbachia has root rot after repotting?
A: If you notice signs of root rot, such as wilting leaves or a foul odor, it is crucial to address it immediately. Carefully remove the affected roots, ensure proper drainage in the new pot, and avoid overwatering.
If the condition persists, consult with a plant expert for further guidance.
Q: Can I repot my Dieffenbachia during winter?
A: It is generally best to avoid repotting during the winter months when Dieffenbachia plants are in their resting phase. Instead, it is recommended to repot in the spring or early summer when the plant is actively growing.
Q: How long should I wait before watering my Dieffenbachia after repotting?
A: After repotting, wait at least a week before watering your Dieffenbachia to allow the roots to adjust and prevent overwatering. During this time, monitor the soil moisture level and ensure it doesn’t become excessively dry.
Q: Can I repot my Dieffenbachia into a larger pot?
A: It is generally recommended to increase the pot size by no more than 2 inches in diameter when repotting Dieffenbachia. This ensures that the plant has enough room for root growth without the risk of overpotting, which can lead to waterlogging and root rot.
Q: How can I prevent transplant shock after repotting?
A: To prevent transplant shock, avoid exposing your Dieffenbachia to direct sunlight immediately after repotting. Place it in a shady location for a few days and gradually introduce it to brighter conditions.
Additionally, provide adequate humidity by misting the leaves or using a humidifier.

